Tag: fresh fig

Innovation Station | Inlaid Die Cutting

Hello my crafty peeps and welcome to another Innovation Station post! This is a monthly feature, focusing innovative tips and tricks. During the 2nd week of each month I plan to share an innovation that I find myself going to again and again.

This month’s innovation is inlaid die cutting. Inlaid die cutting is the process by which you place the negative space pieces back into the die cut creating a one layer background. This technique works well with background dies, but it also works with shapes and words. Inlaid die cutting adds color and interest to full panel die cuts and allows you to create many different looks. Inlaid die cutting is pretty straightforward, which is what makes it such a wonderful card making staple. Basically you run the item through your die cut machine over and over, using different card stock and/or pattern papers. It’s really that simple. I have come up with a few tips that I find helpful, which I share at the end of this post.

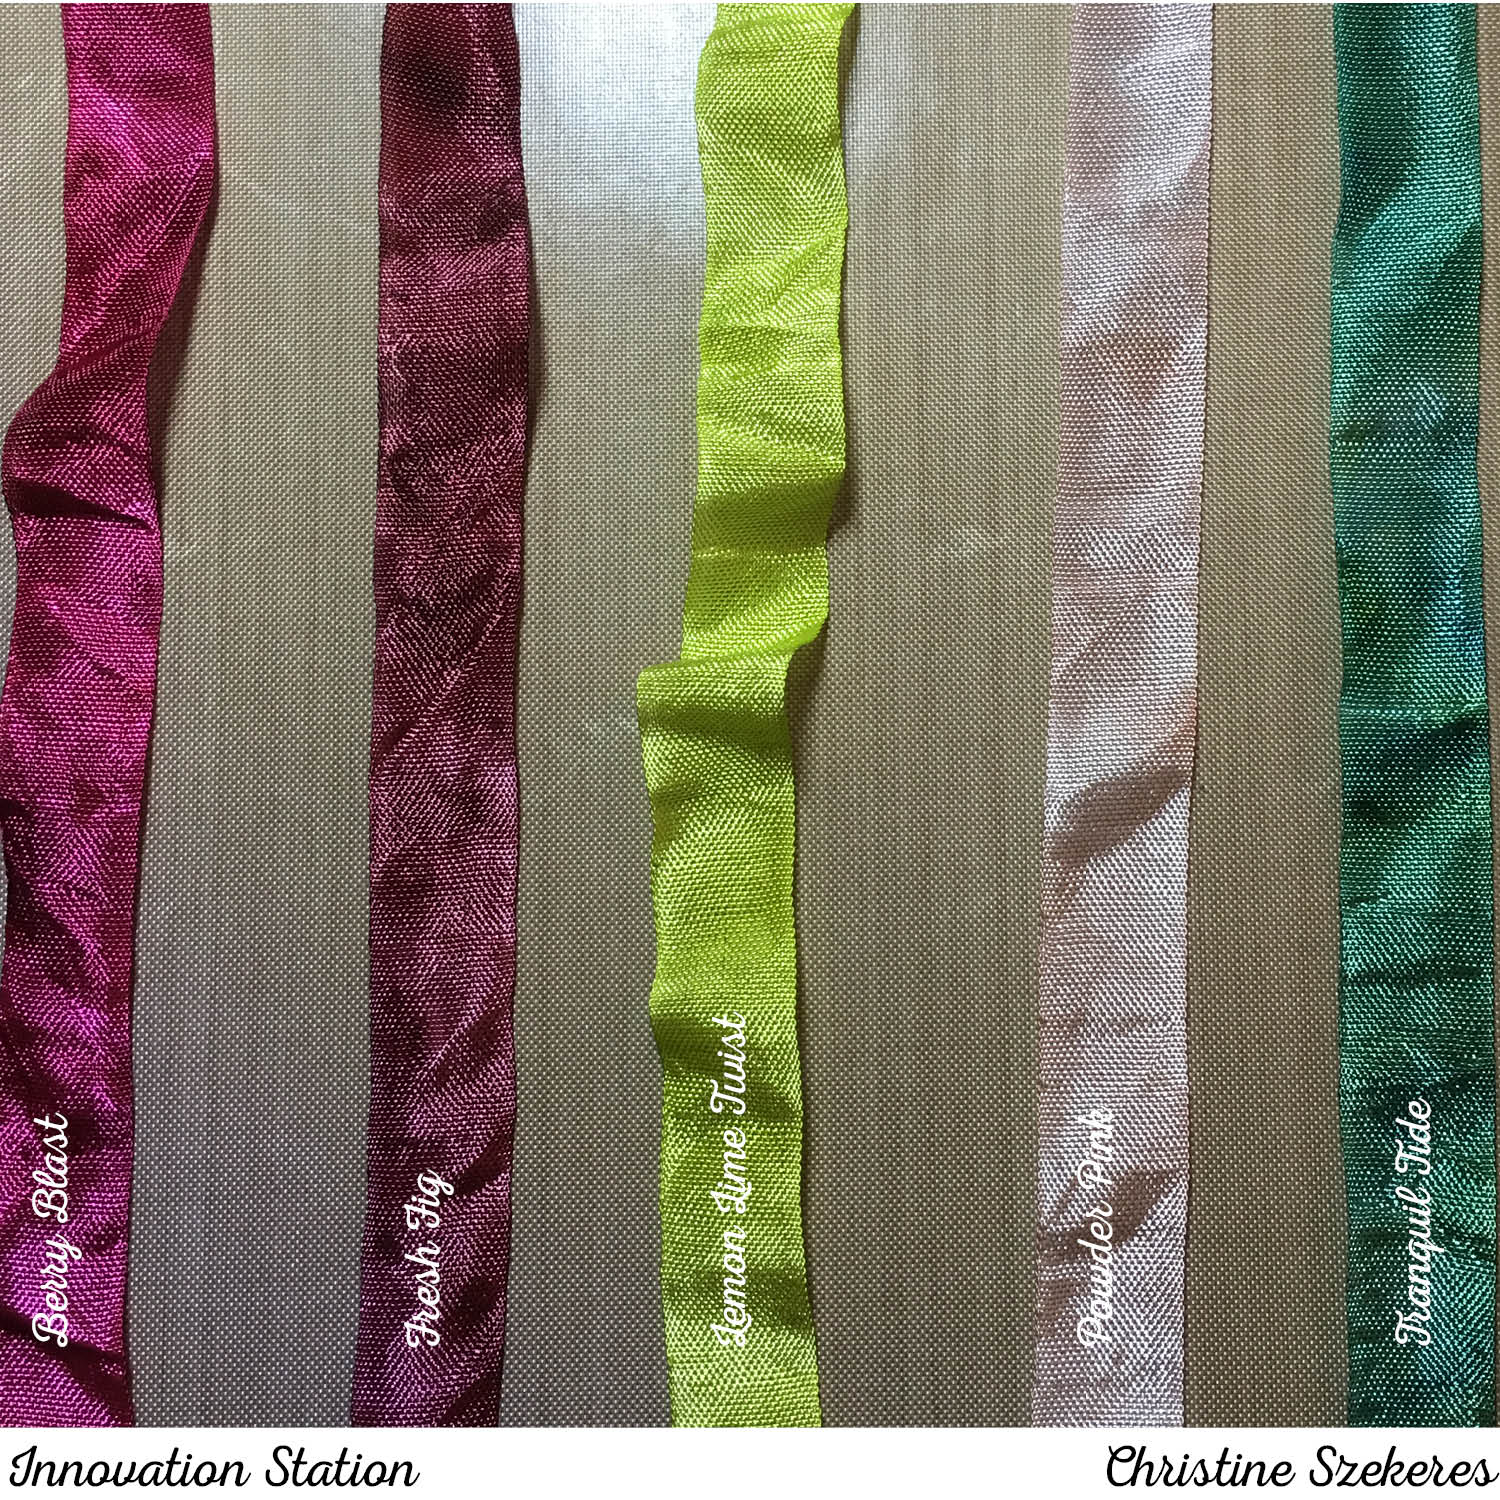
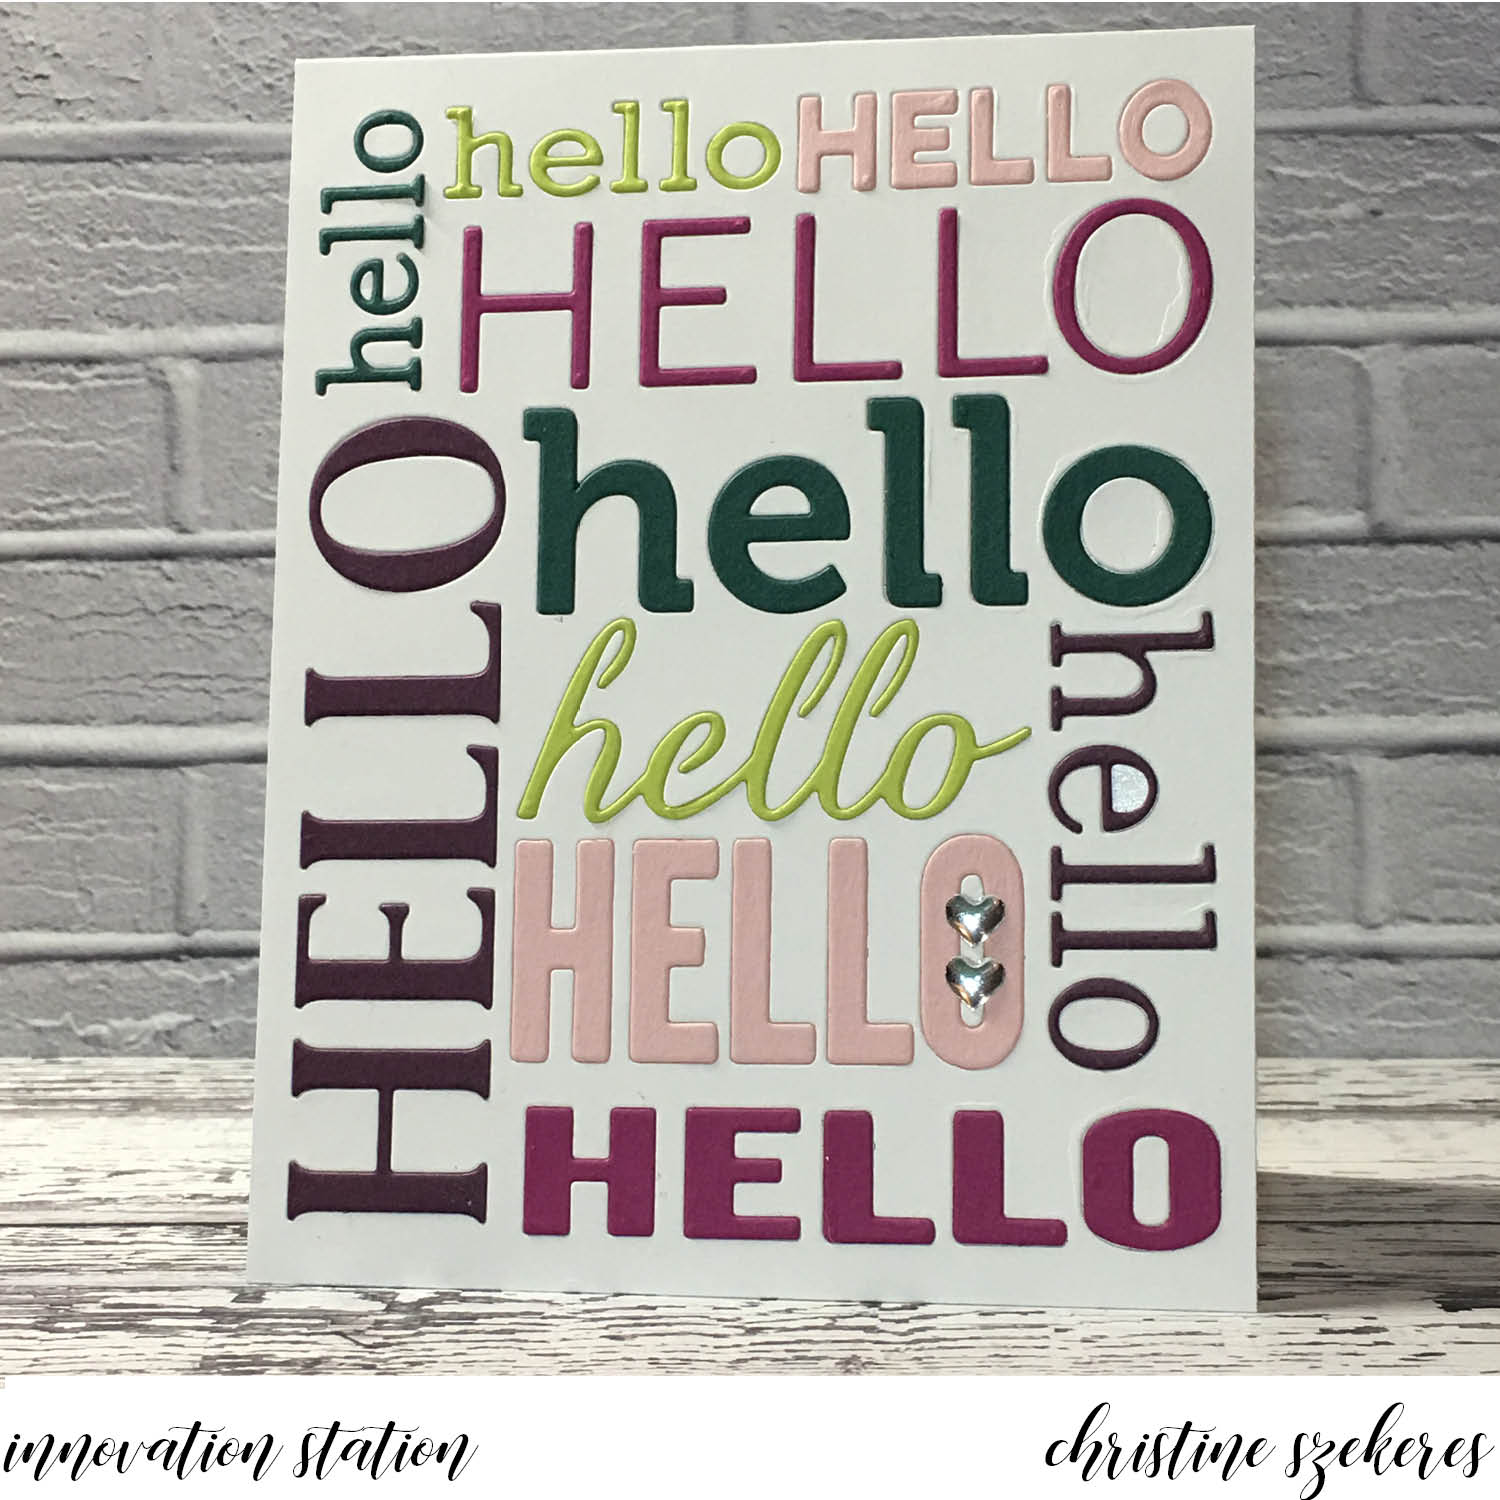
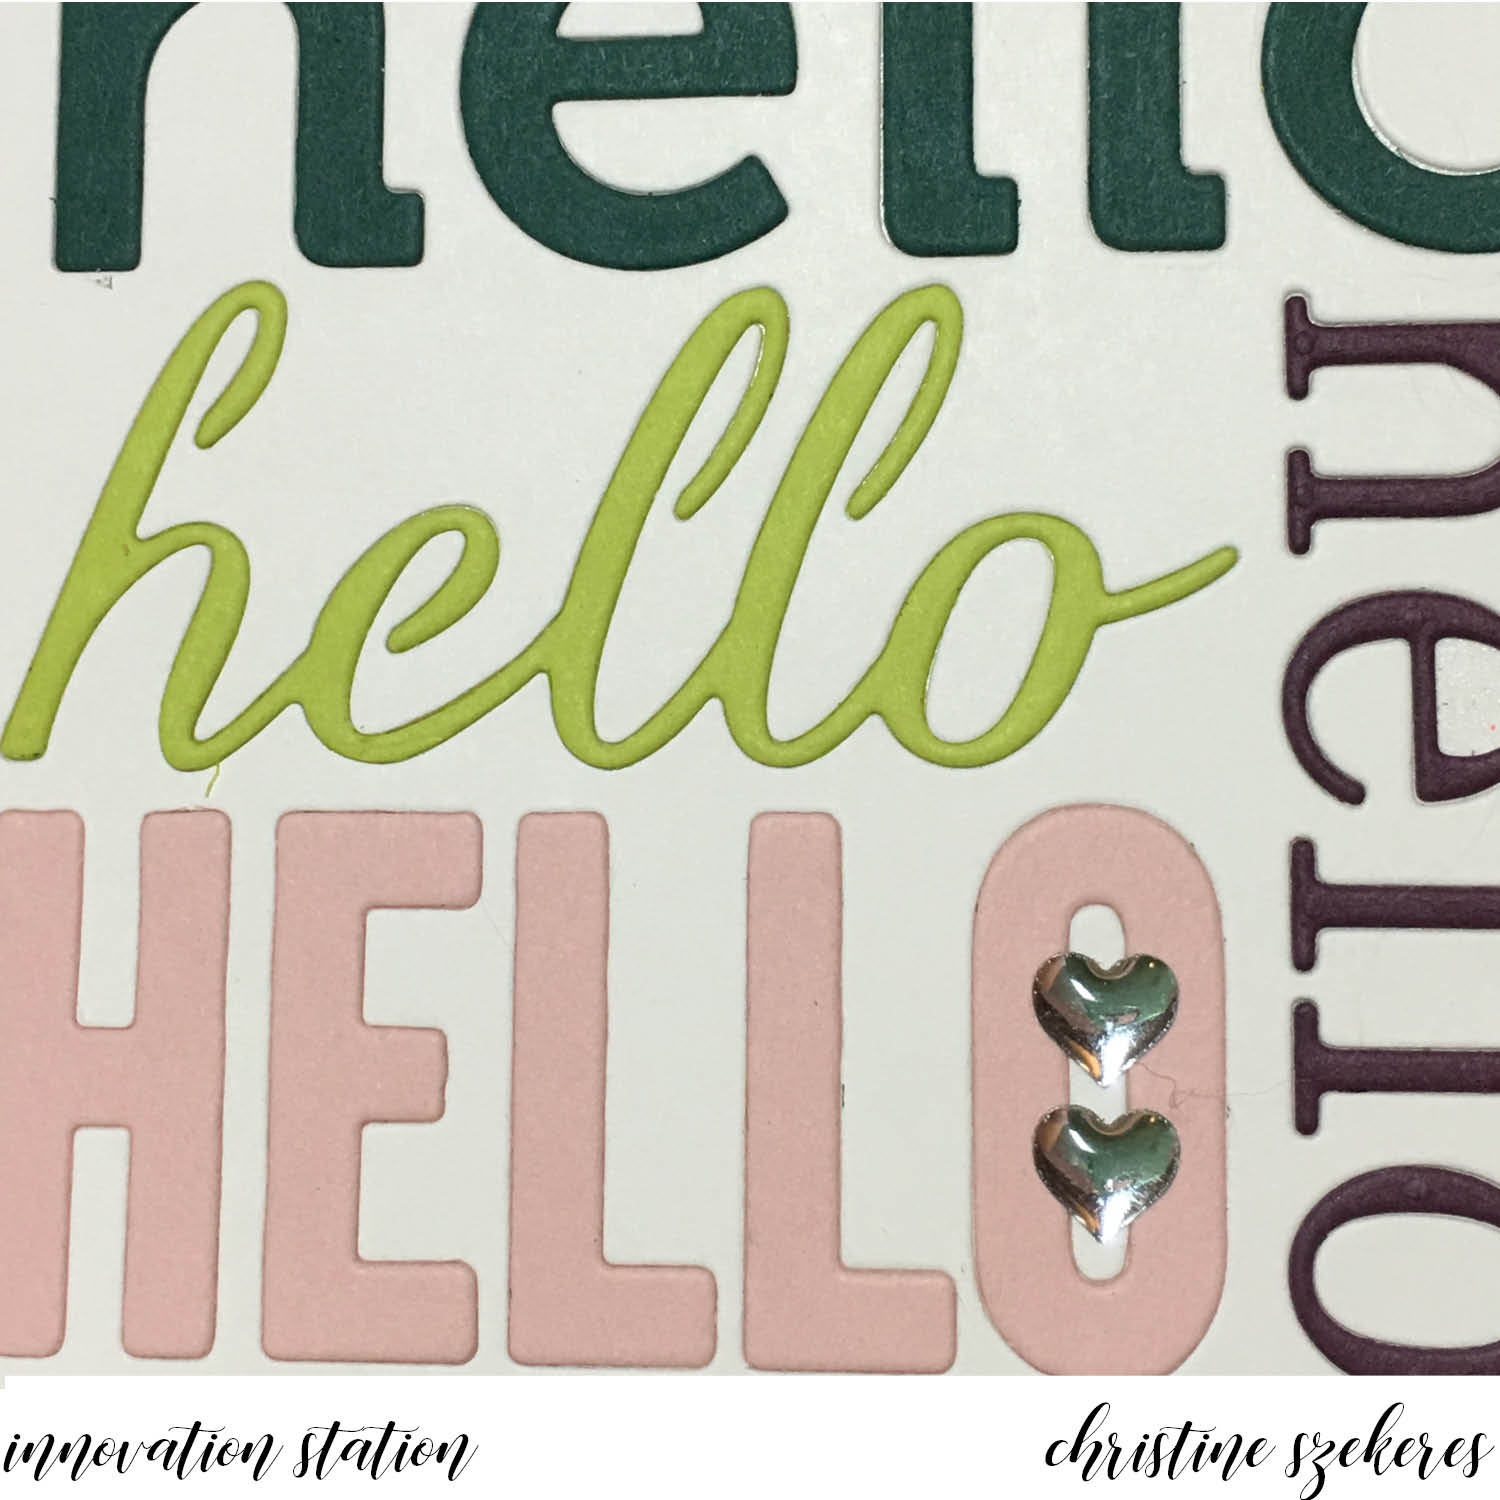
Now onto the cards. For the first card I used the Hello cover plate from Poppy Stamps. I started with a top folding card base and I die cut the plate into the card face. I set those letters and inserts (the inside of the O’s and E’s) aside. Next, I die cut the plate from several pieces of card stock in the new InColors (lemon lime twist, tranquil tide, powder pink, berry burst, and fresh fig) and I cut a slightly smaller backing for the card front, which I turned into a sticker by adhering it to a piece of Stick It! adhesive and placed it behind the card face. Finally, I began inlaying letters, making sure to include the white inserts for the O’s and E’s. For the finishing touch, I added two silver enamel hearts to one of the O’s.


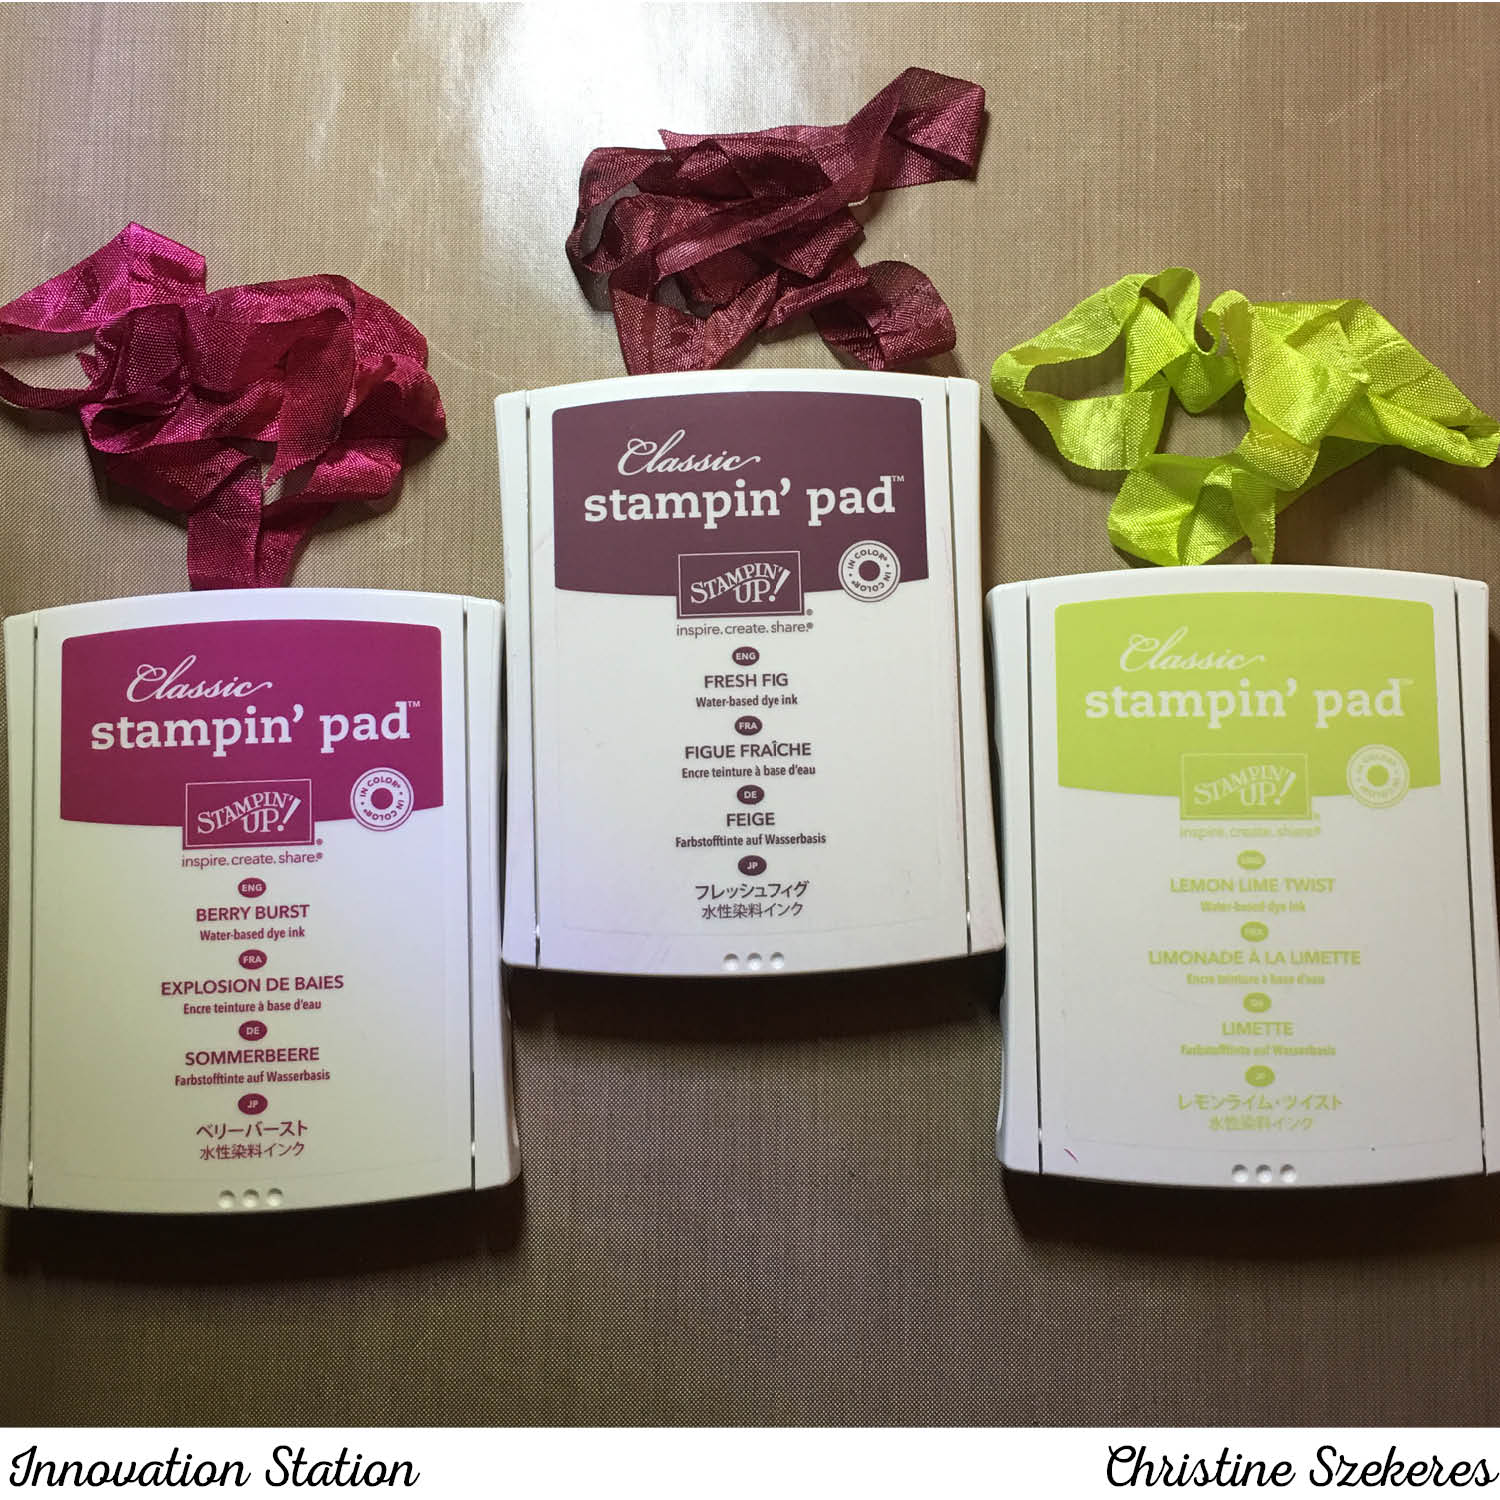
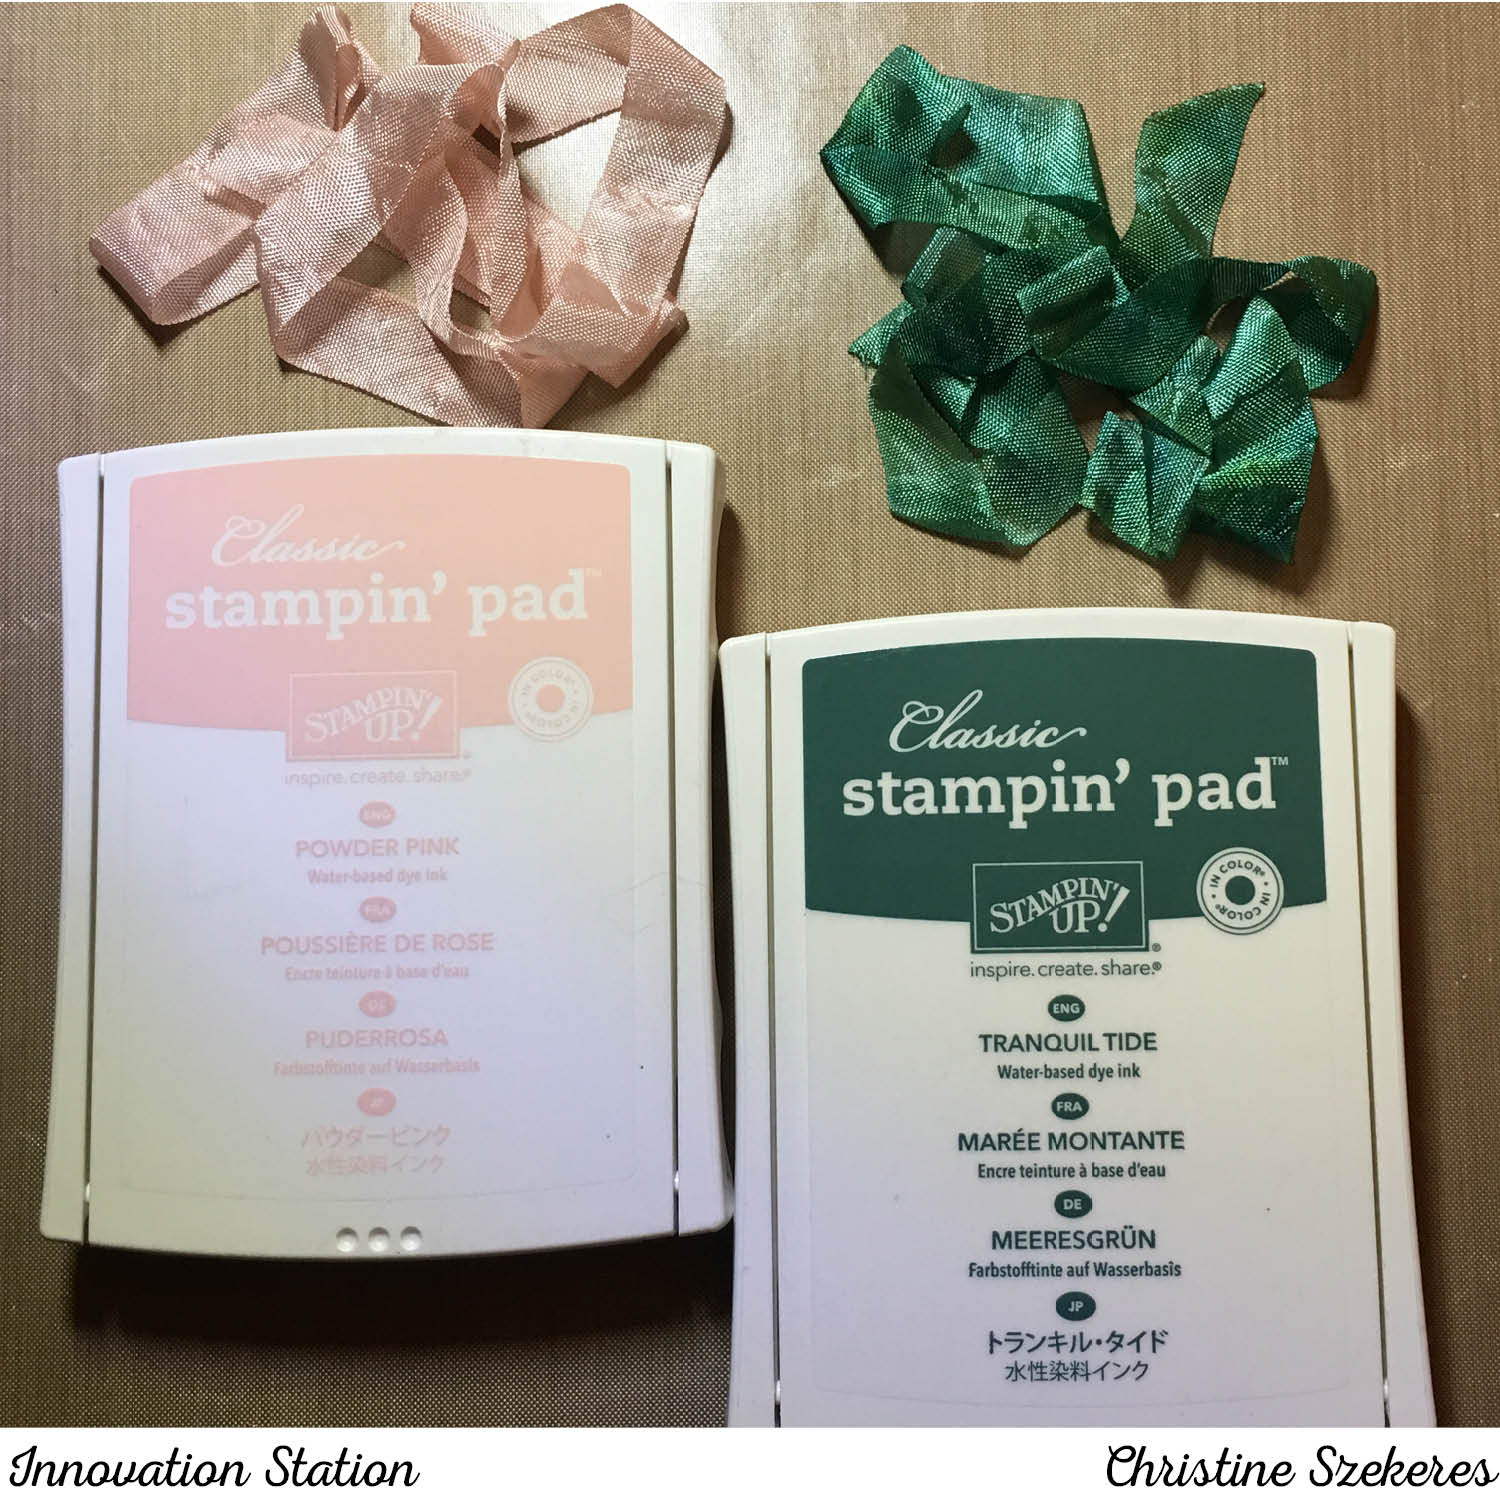
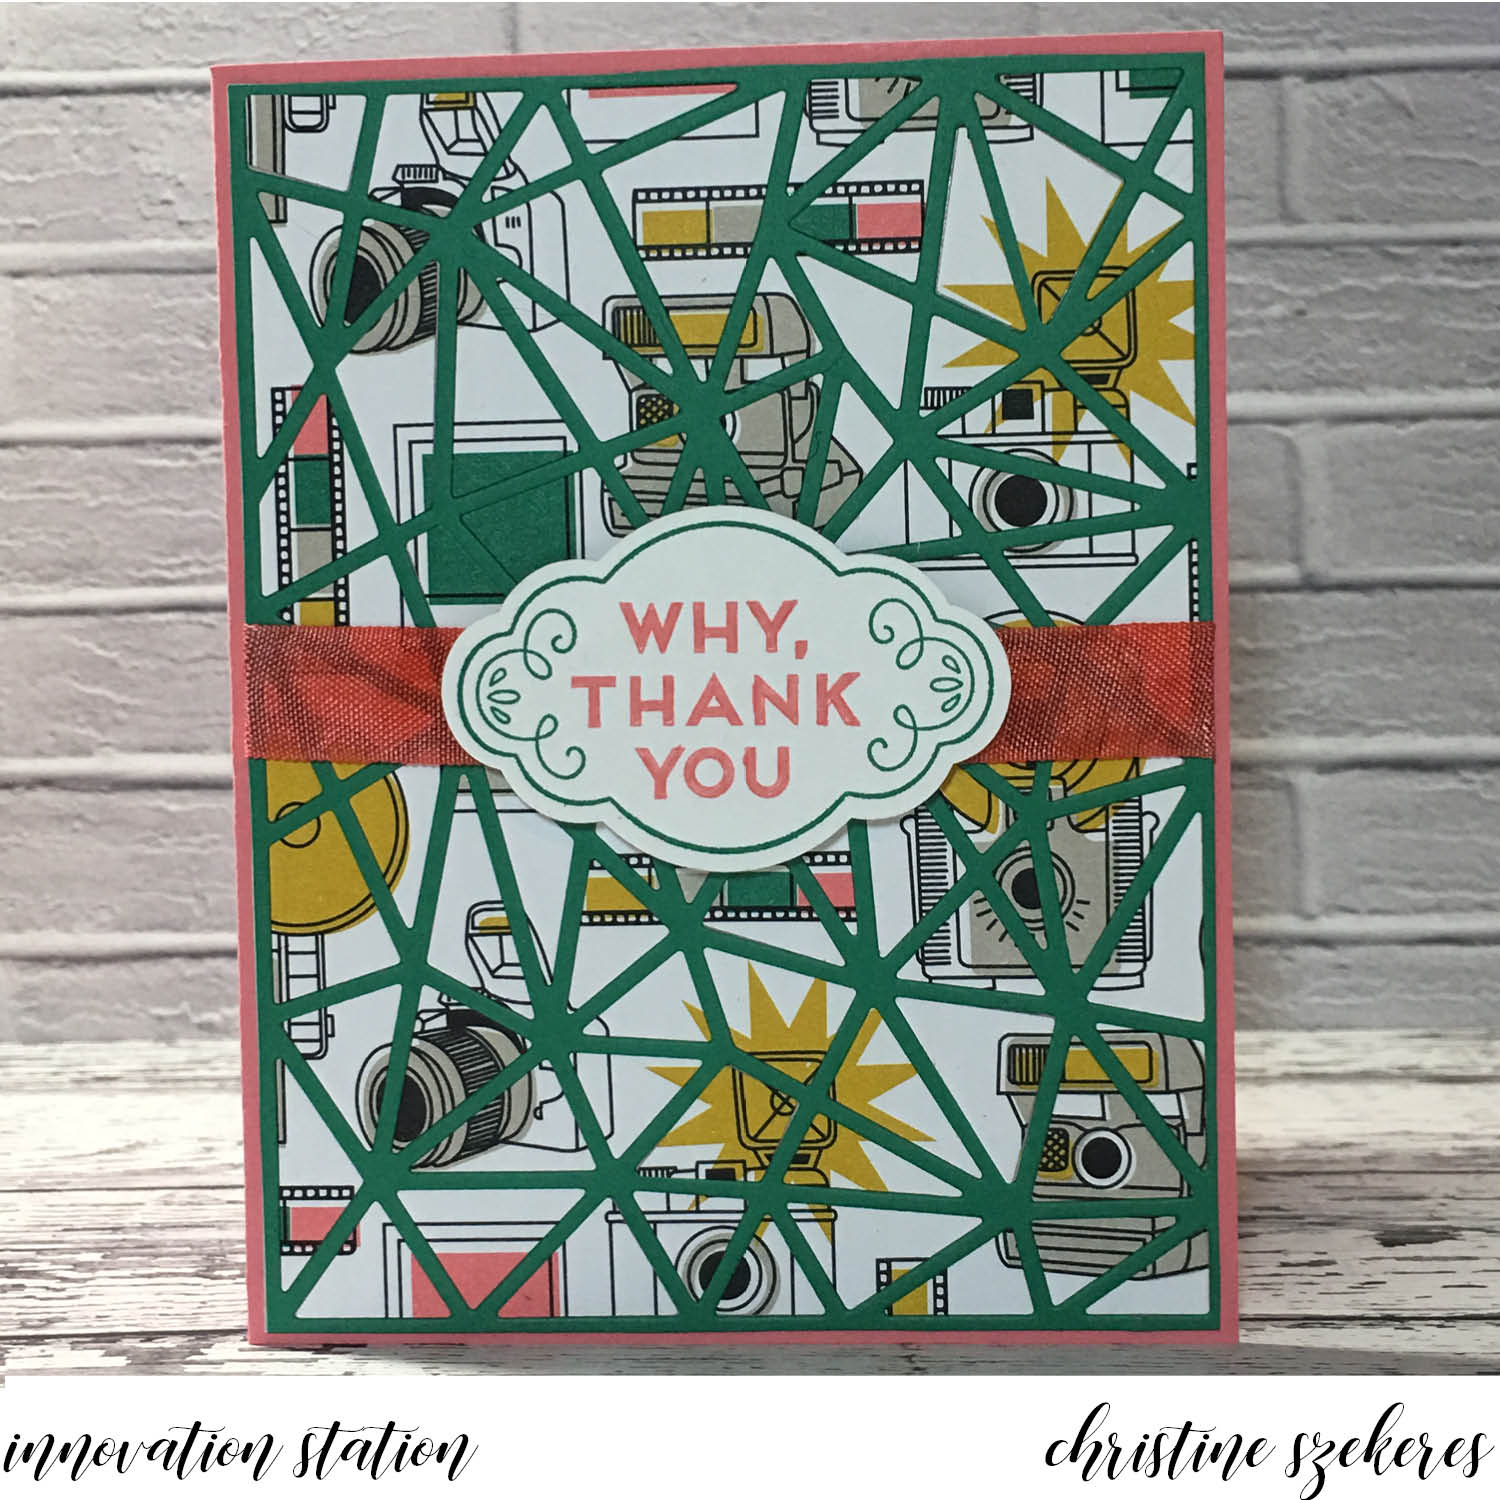
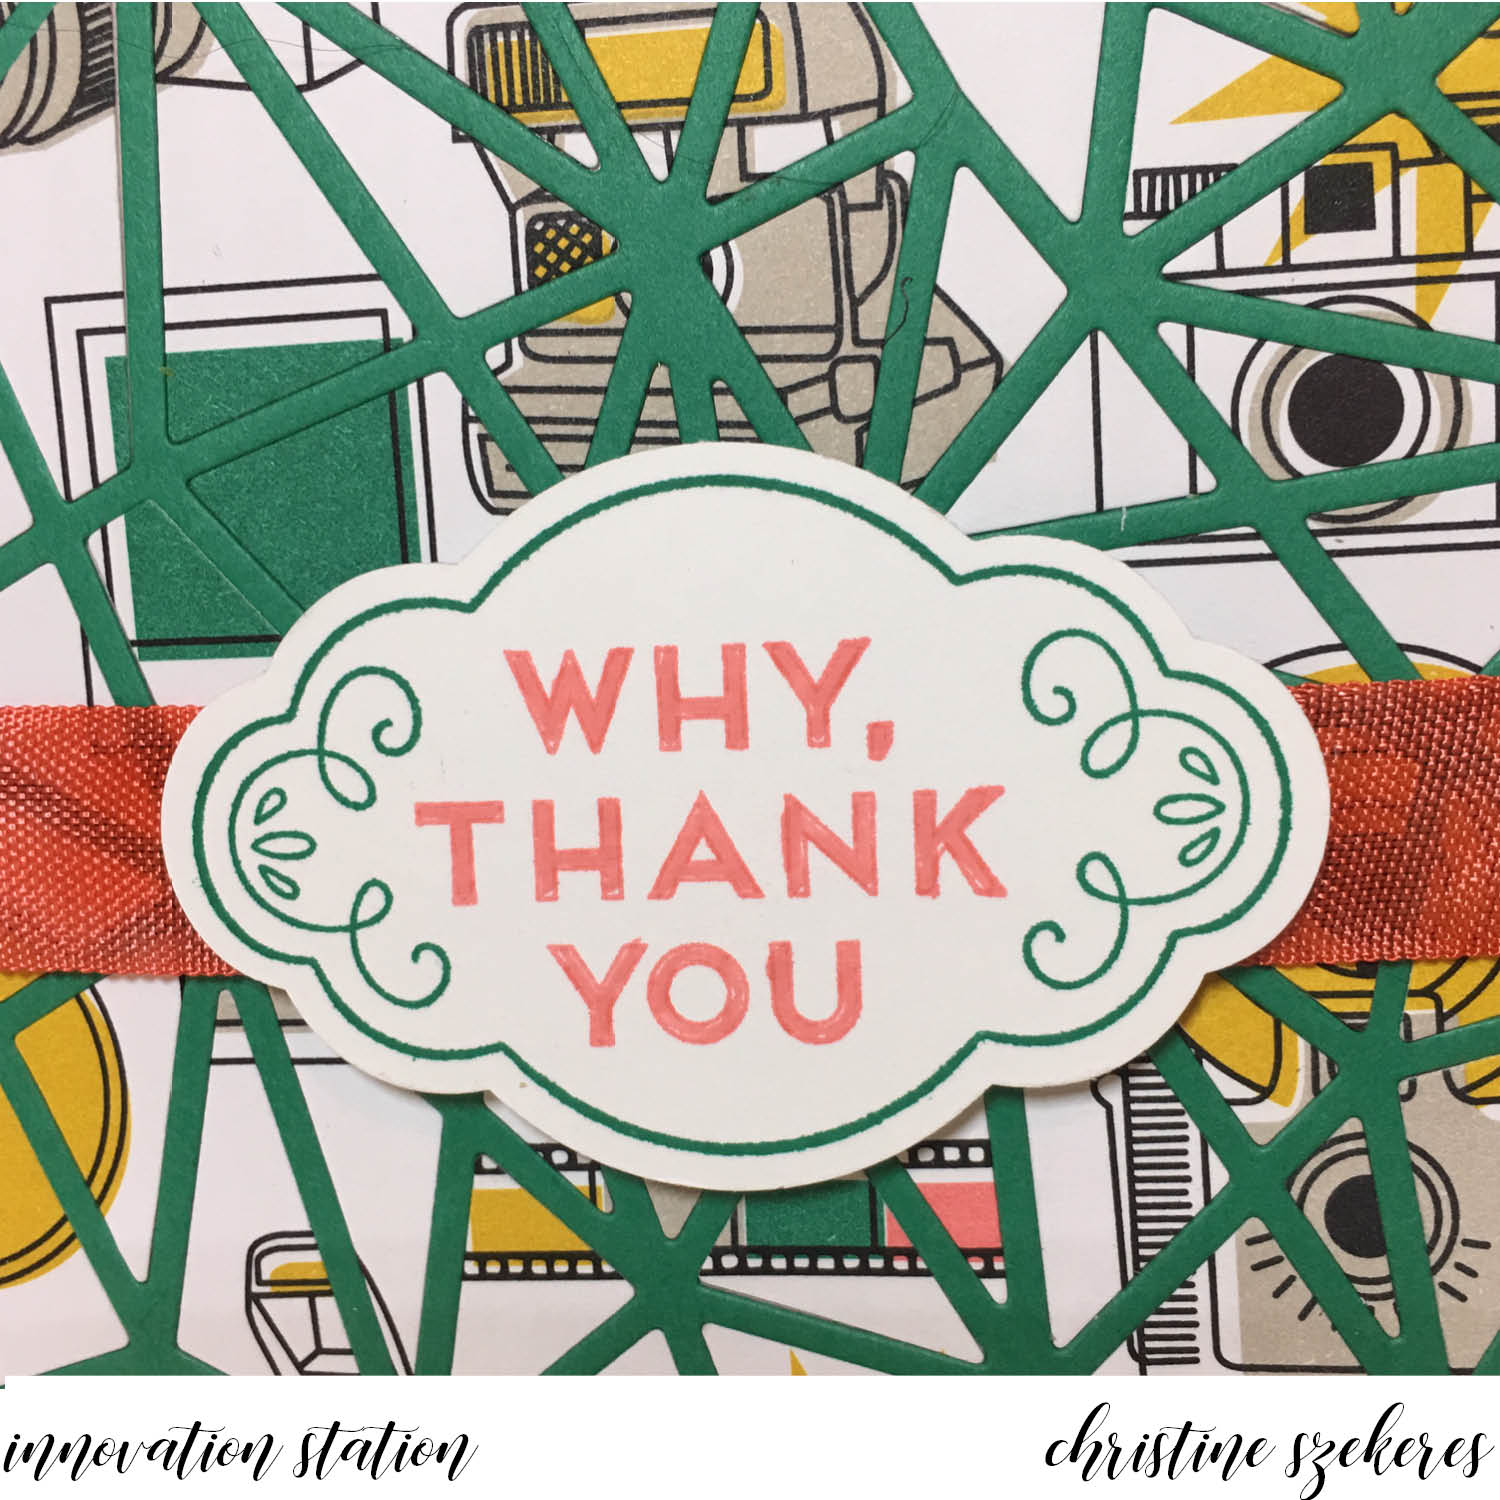
For my second card I die cut Winnie & Walter’s Multifaceted cover plate out of a piece of Emerald Envy card stock and also out of a piece of the Pick a Pattern DSP. Using Stick It! adhesive, I turned the Emerald Envy die cut into a sticker and adhered it to a Flirty Flamingo card base. Next, I began placing all the shapes from the DSP using the outline version to help me figure out which pieces went where. I stamped the label frame in Emerald Envy and the sentiment in Flirty Flamingo and colored in the letters using a Flirty Flamingo marker. Using my Flirty Flamingo reinker, I dyed a piece of white seam binding and also punched out the frame using the new Pretty Label punch and popped it up on dimensionals over the ribbon.


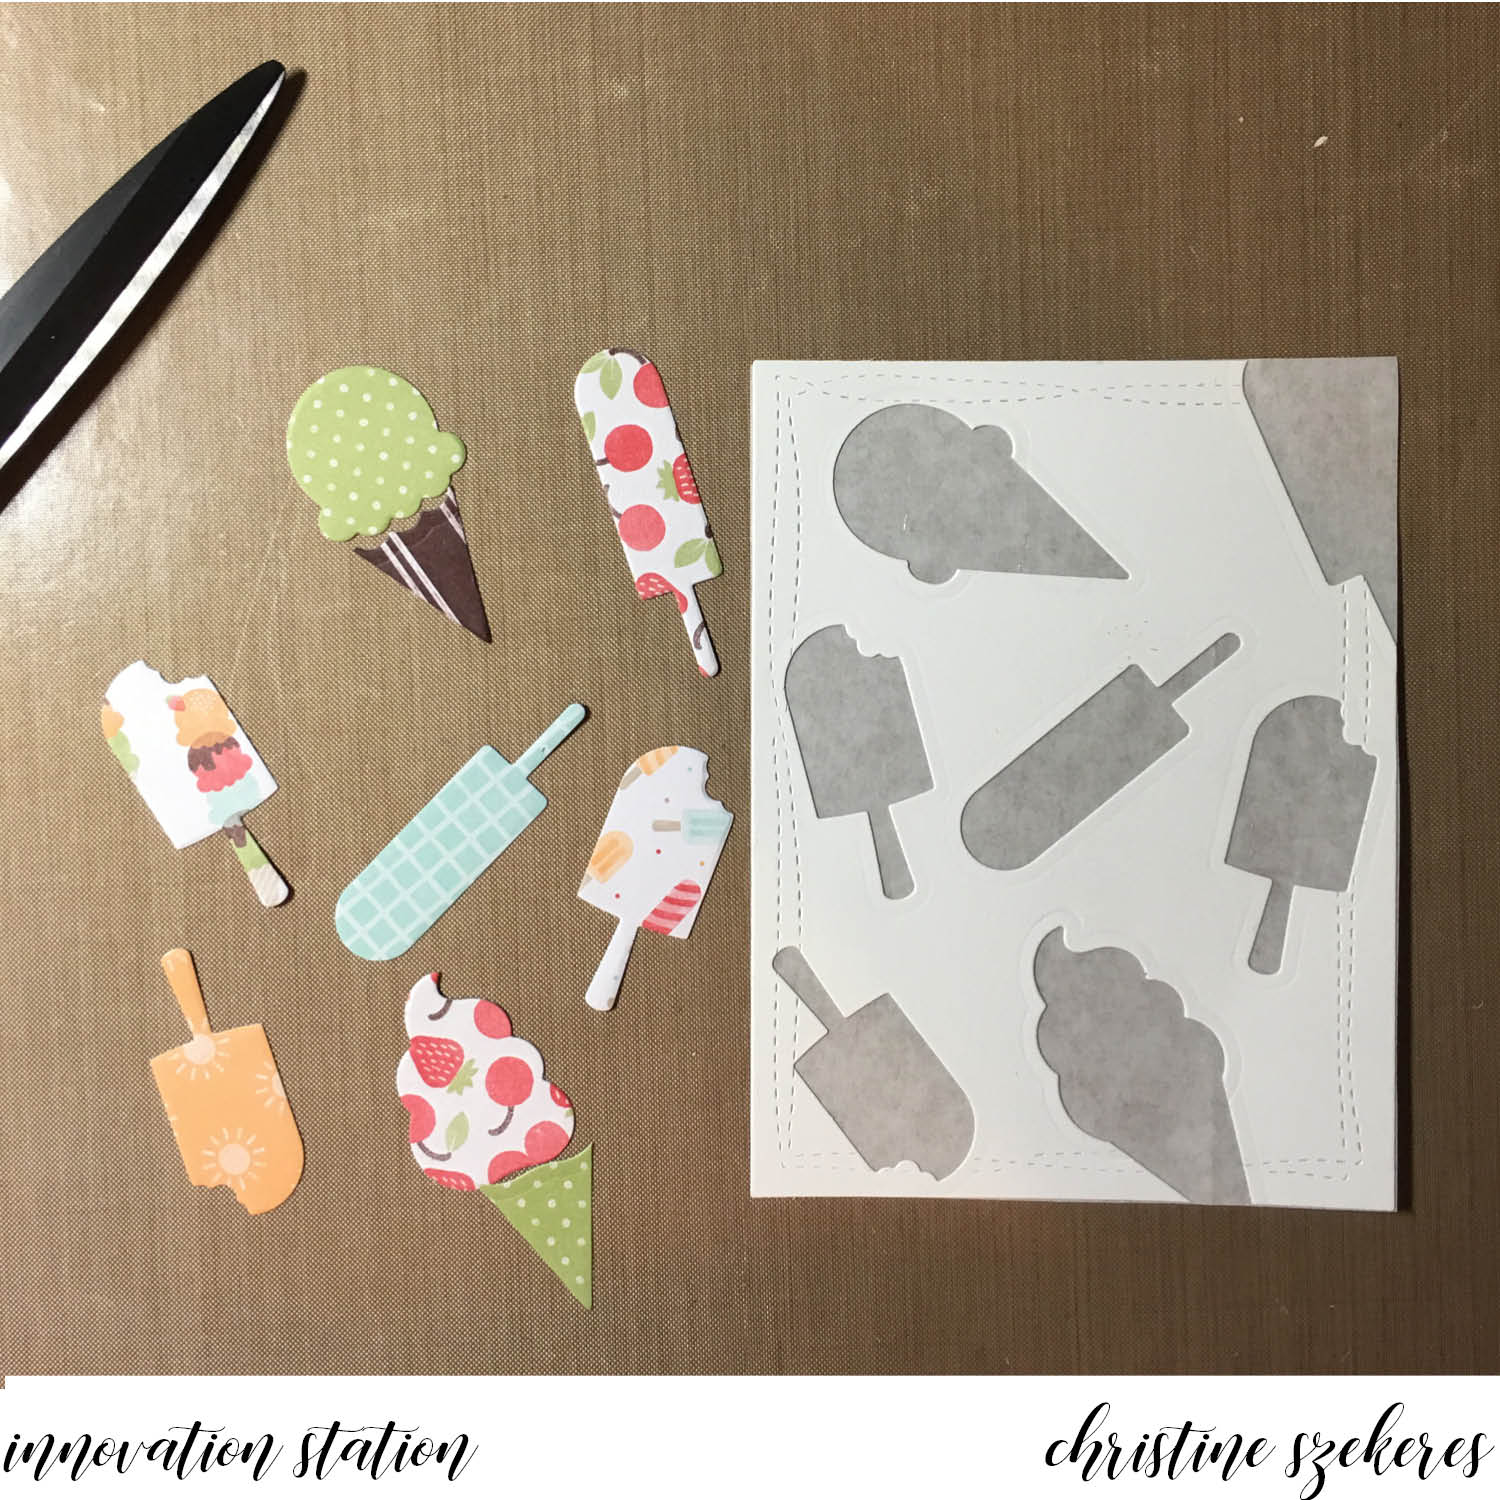
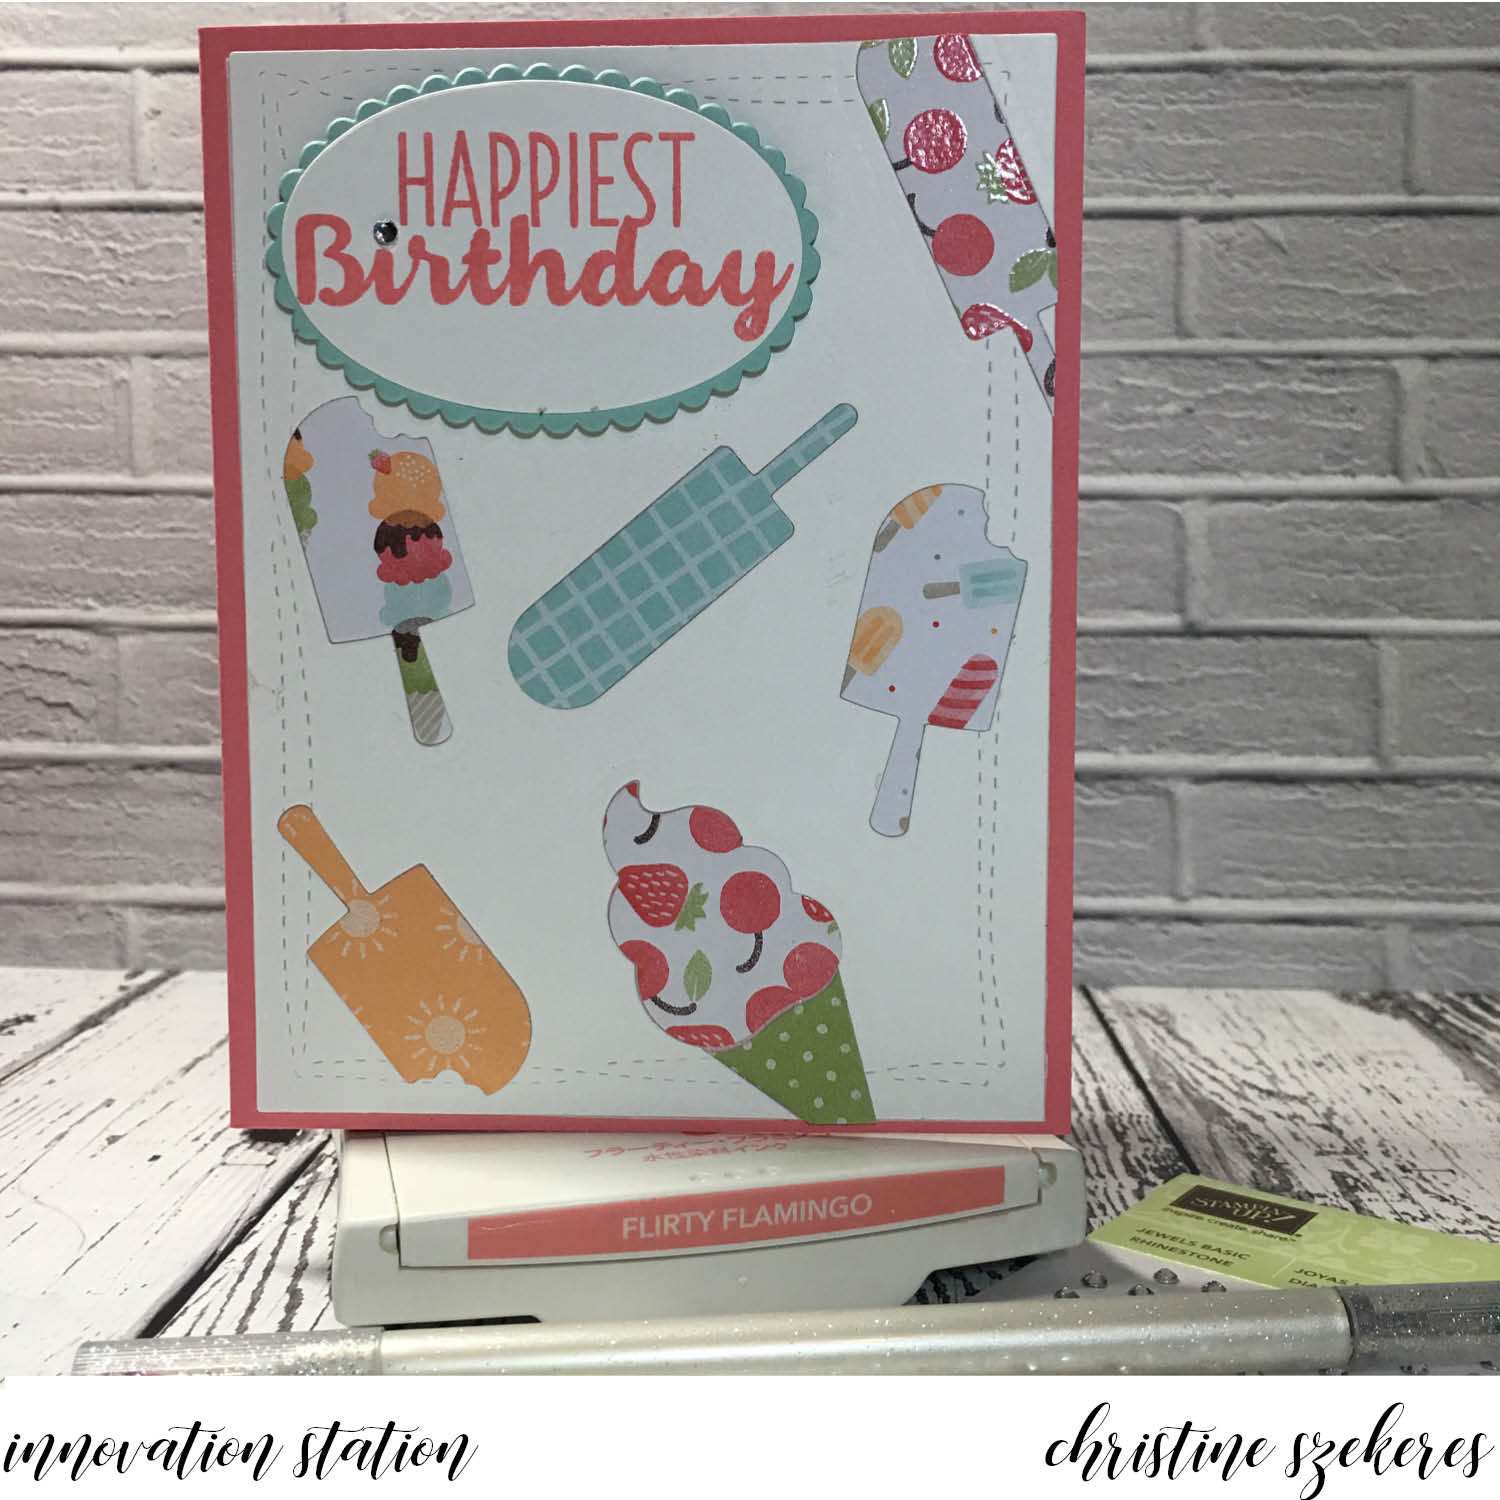
I took a friend to the airport at 4am this morning and I was leaving the house when I remembered another style of inlaid die cut I had planned to show: using smaller dies to create a background. The wheels were turning (both my car’s and my brain’s) and by the time I returned from the airport this card was almost completely designed! Bonus! I created it using the Frozen Treats dies and it shows how creative you can get with inlaid die cutting. HINT: To get a seamless one layer cut for the ice cream cone follow these steps. Cut the cone out of the white panel first and then overlap the ice cream die so it looks like one clean cut (see below left). Next, place the panel back on the BigShot’s magnetic platform, inserting the proper cone in its spot and placing the ice cream die in position in the hole left by the first time you die cut it. Run that through the machine again and voila, the cone and ice cream meet up and look seamless. I finished off the card with one of the sentiments from the Cool Treats stamp set cut out using the Layering Ovals.


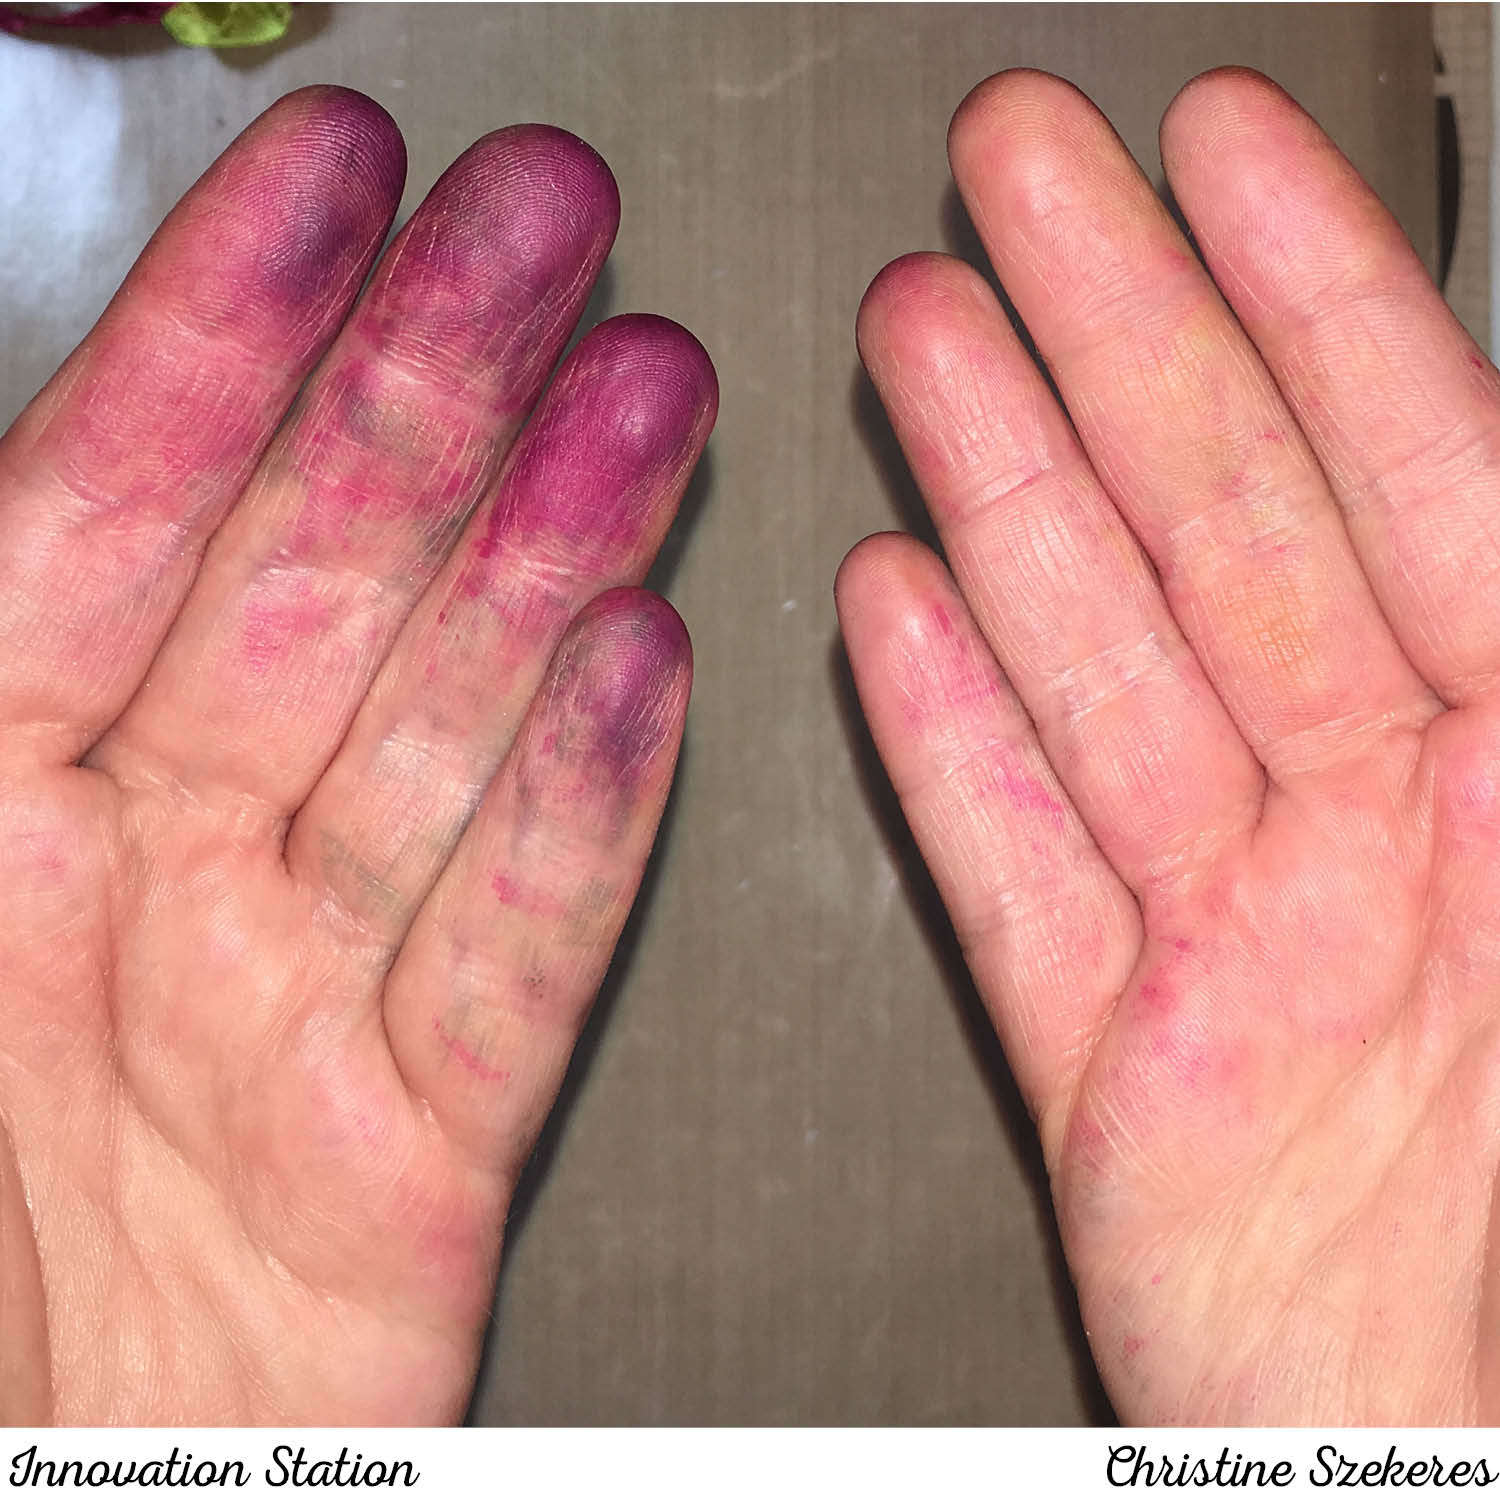
TIPS & TRICKS: A few things I’ve learned along the way… If the die has a lot of pieces I often adhere my frame to a piece of Stick It adhesive sheet so that thin, edge to edge adhesive is showing through the negative spaces where I will put the die cuts in. I love Stick It! because it’s double sided adhesive so you can glue your panel to the card front and the negative spaces also have adhesive! When I do use glue I tend toward Multi Matte Medium or SU! Fine Tip Glue Pen as both provide pinpoint application, dry clear and give a strong bond. I will sometimes die cut something out of a lot of different colors and patterns and save them up for future cards. I will often store these die cuts in the pocket with the dies. With intricate full panels I will often us the version I cut out of DSP to help me figure out where all the little pieces go. The best thing about inlaid die cutting is that you can dress them up with a sentiment, but visually they are interesting enough to carry the card without needing much more.

Thanks for hanging out with me, and learning (or relearning) about inlaid die cutting! Join me next month for another of my go to innovations, marble backgrounds. Until next time, remember, creativity and imperfection live together in all we do. “Grace is the face love wears when it meets imperfection.”

~xoxo

Supplies Used:
Dies: Winnie & Walter Multifaceted, Poppy Stamps Hello, Frozen Treats (142756), & Layering Ovals
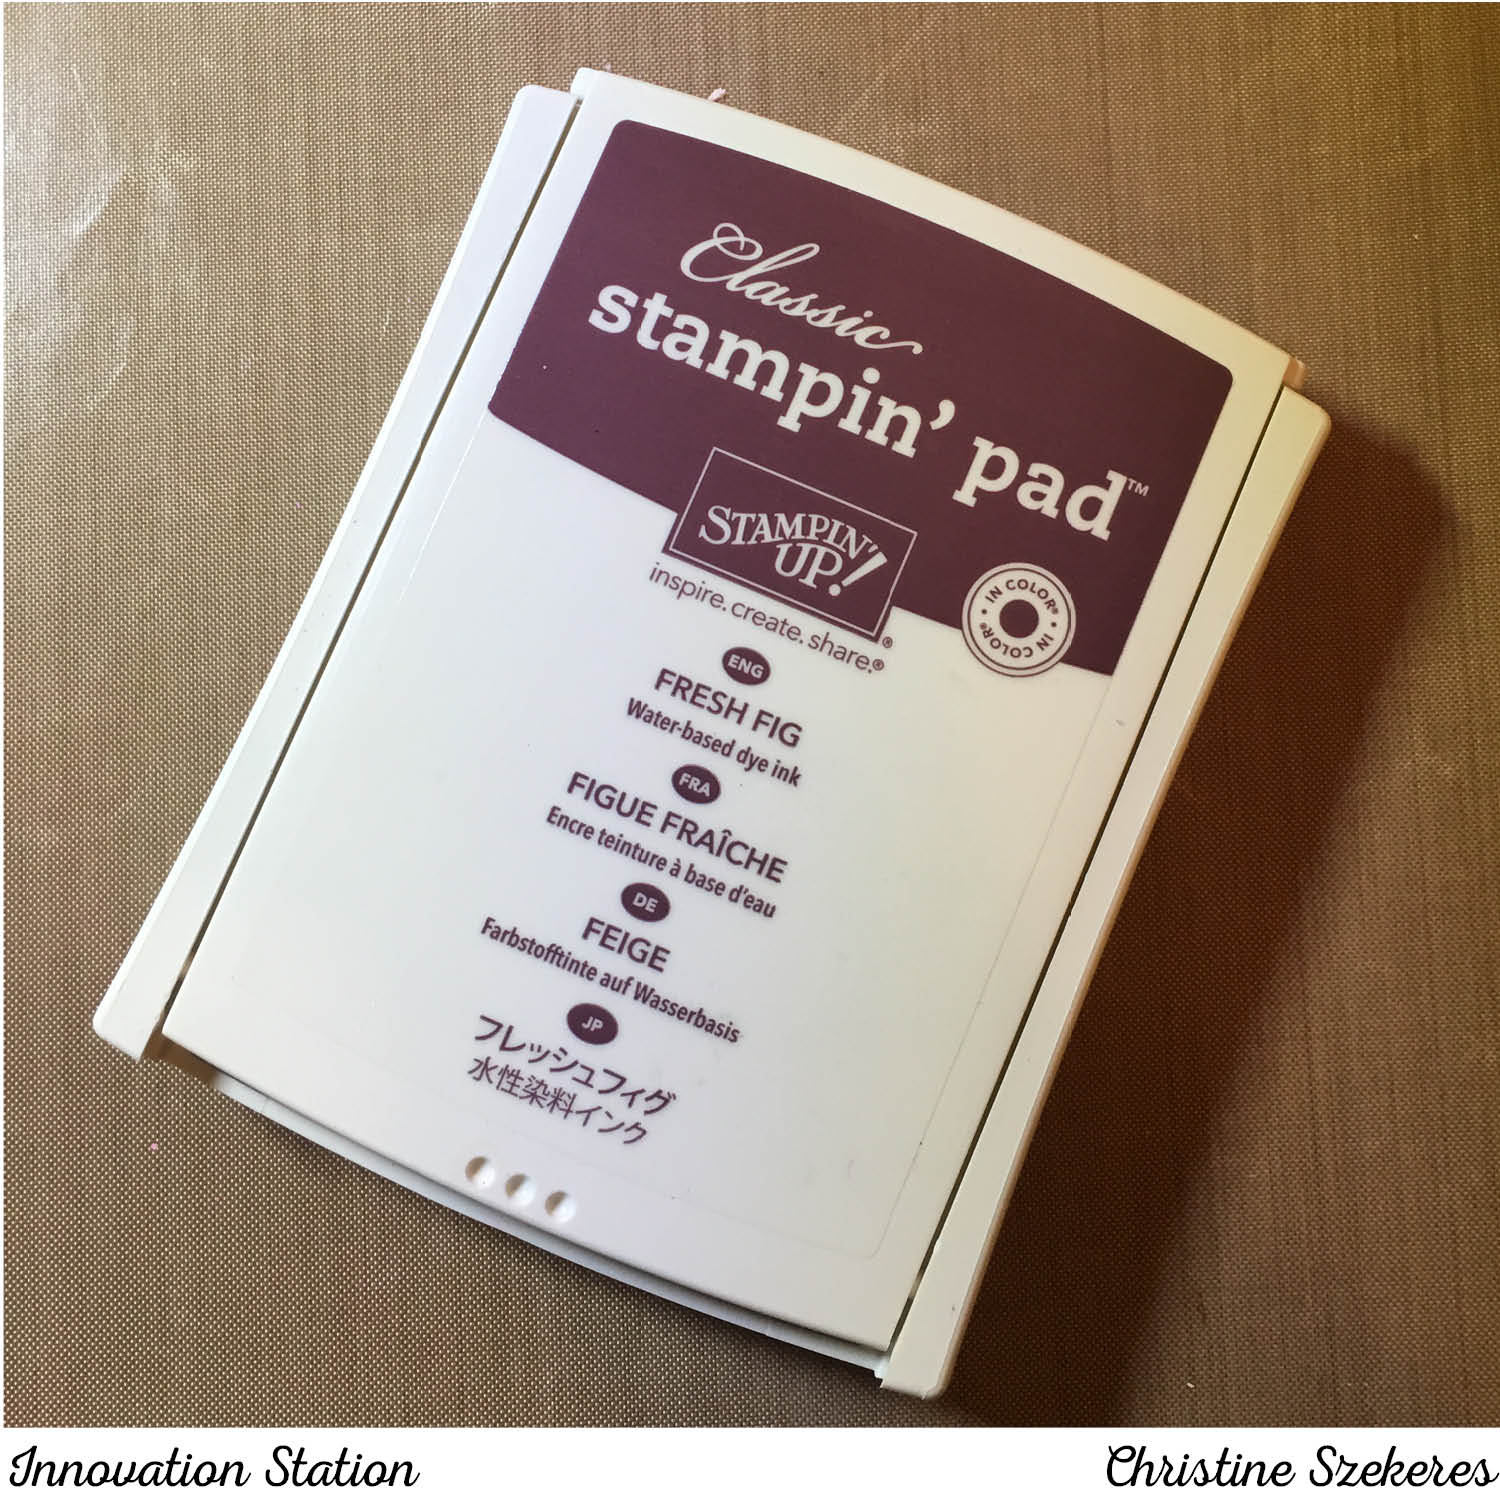
Card Stock: Whisper White, Emerald Envy, Flirty Flamingo, Lemon Lime Twist, Tranquil Tide, Fresh Fig, Powder Pink & Berry Burst
Designer Series Paper: Pick a Pattern (144163) & Cool Treats
Stamps: Pieces & Patterns (143843) & Label Me Pretty (143861)
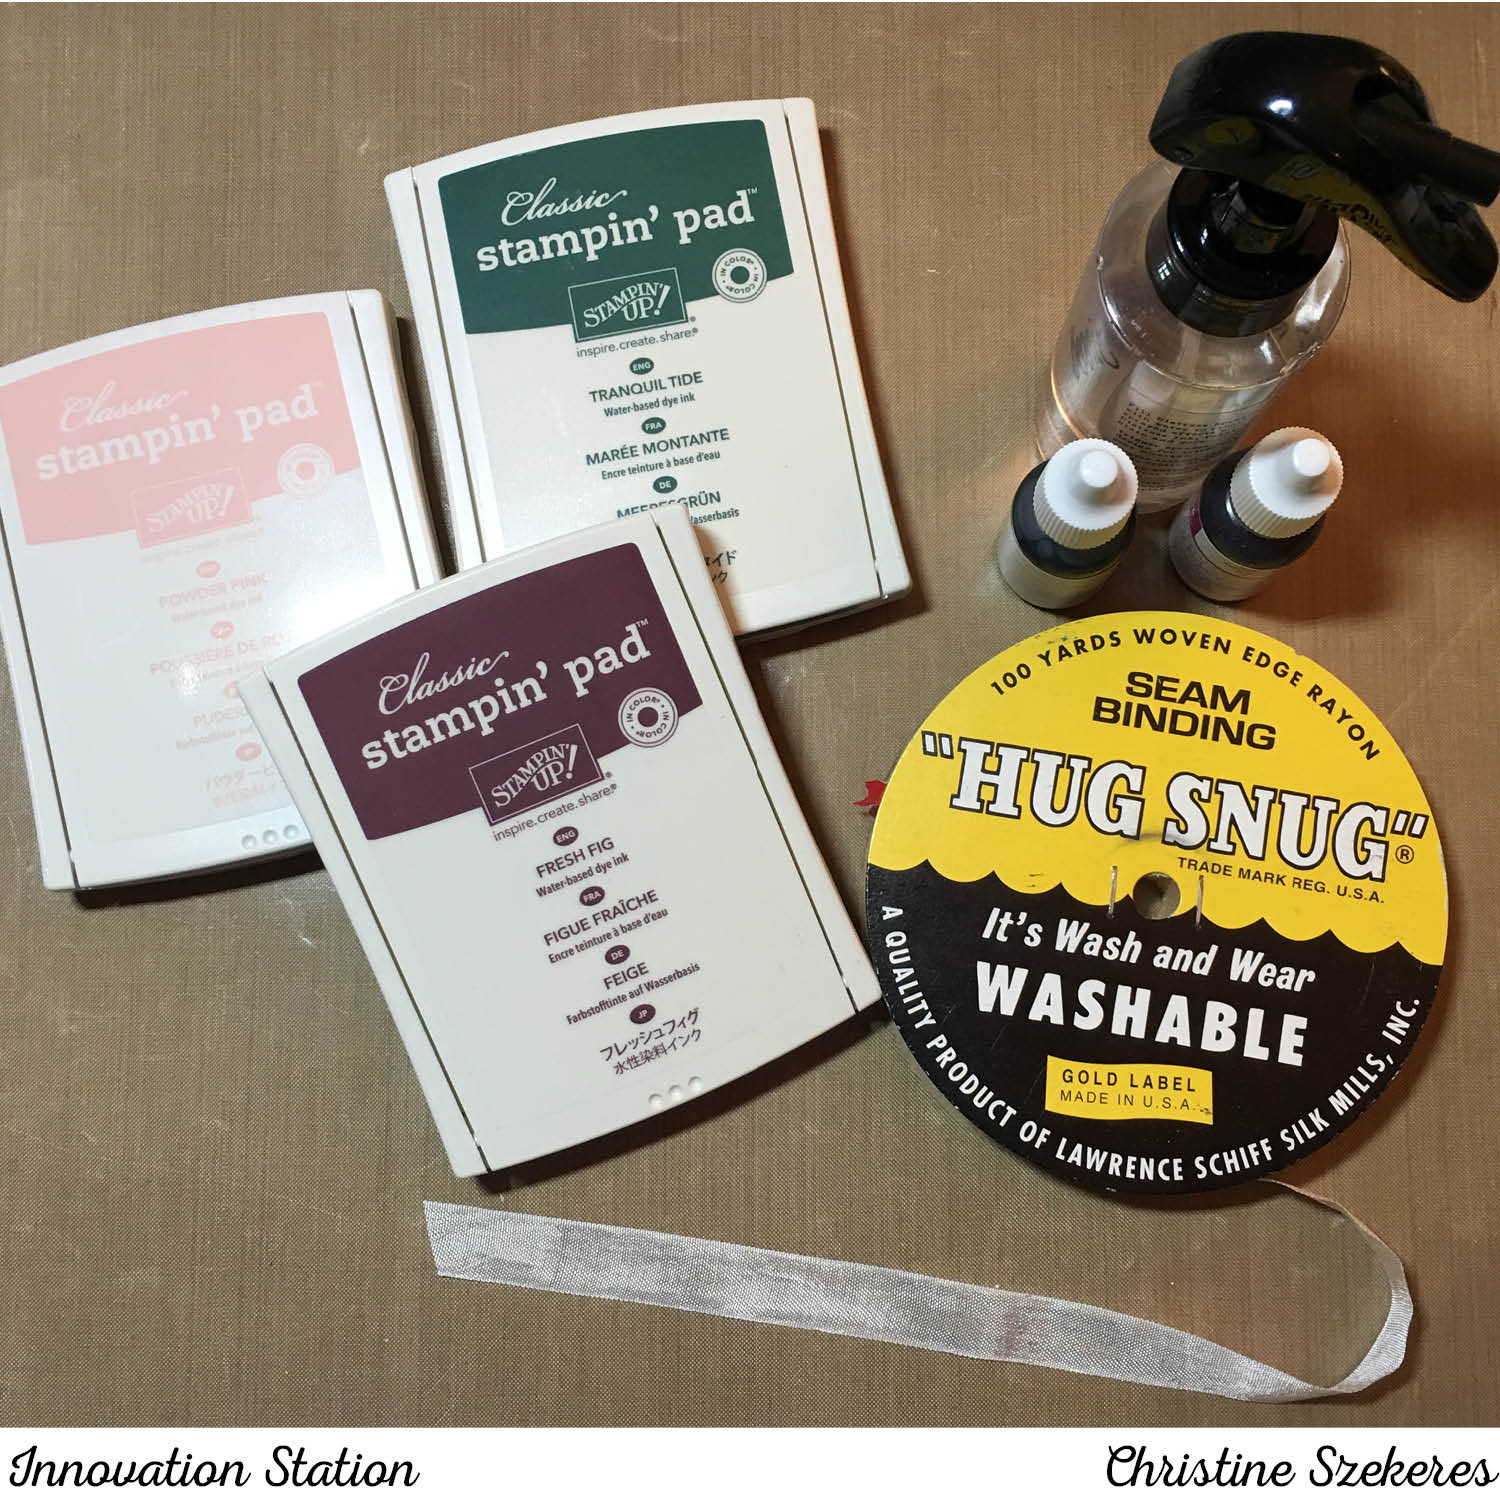
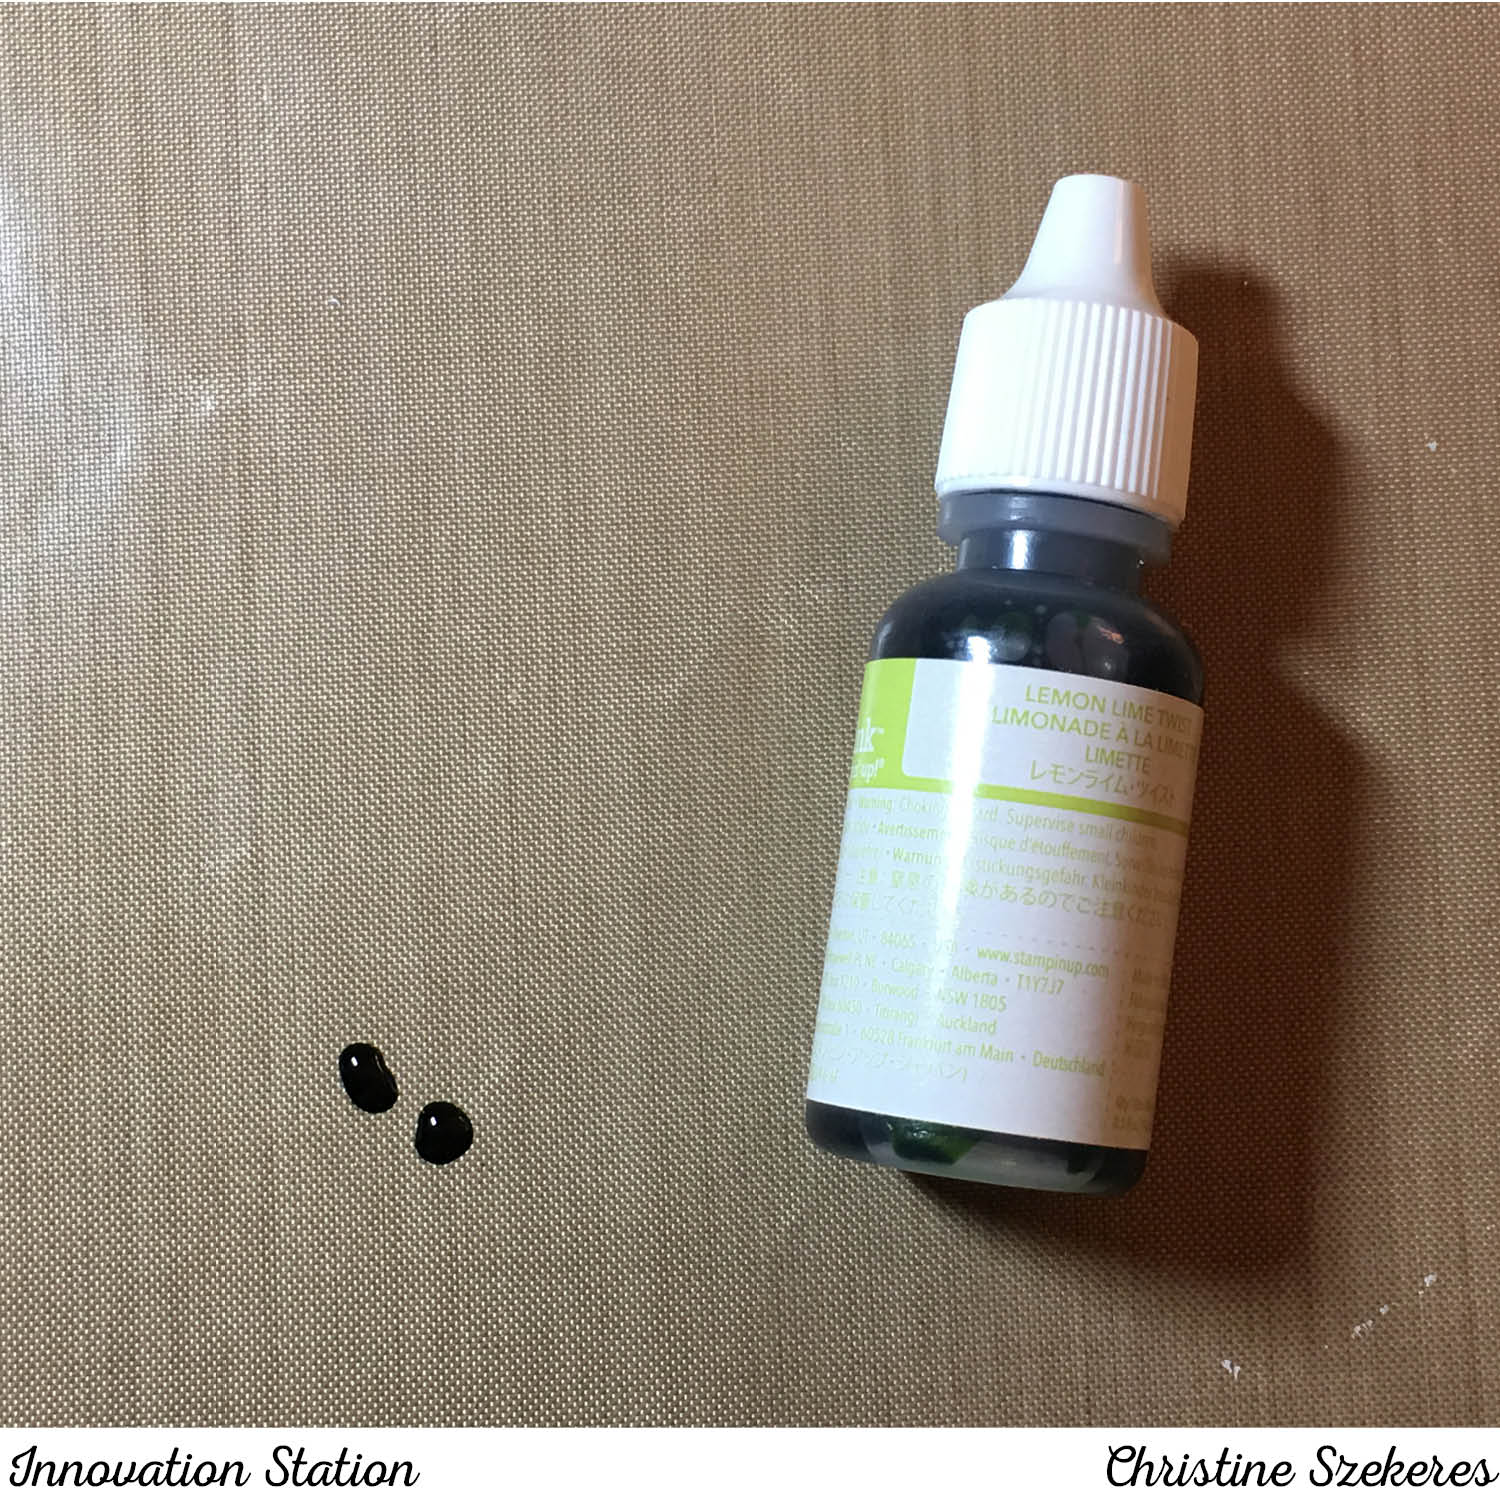
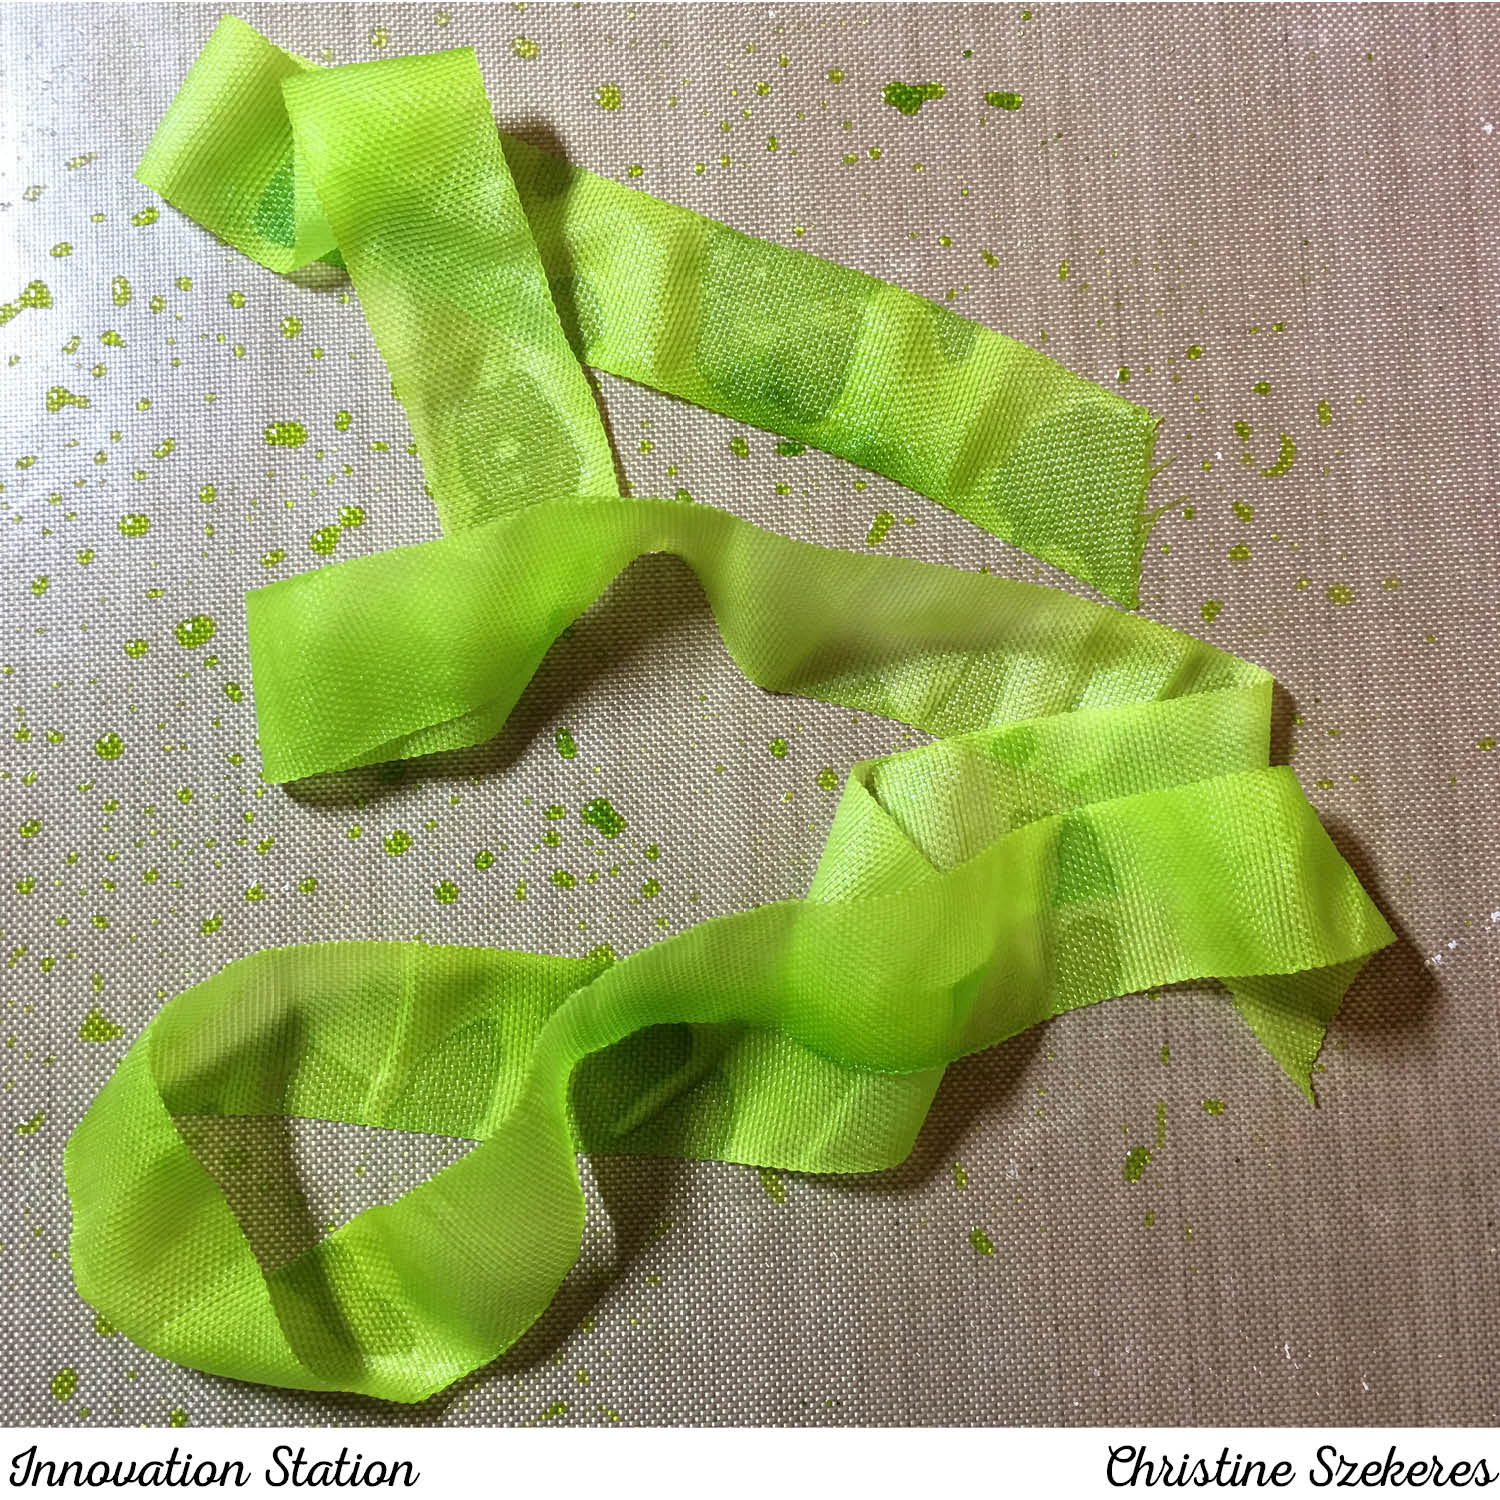
Inks & Markers: Emerald Envy & Flirty Flamingo
Extras: Metallic Enamel Shapes (141678), Stick It!, Tweezers, Pretty Label Punch (143715) & Seam Binding

Innovation Station | Custom Dyed Ribbon

Hello my crafty peeps and welcome to my first Innovation Station post! This is a new monthly feature, focusing innovative tips and tricks. During the 2nd week of each month I plan to share an innovation that I find myself going to again and again.

I’ve been “innovating” since I bought my first stamp at The Stamp Cabana in Winter Park, FL back in 1997. Over the years I’ve seen things come and go and come back again! In all this time, I’ve found myself going “back to the well” for techniques that never seem to get old.

There’s nothing worse than finishing a card only to realize it’s missing something! Often I find what’s missing is a textile and my go to textile is ribbon. Many times I can get by with an off the rack neutral ribbon (black, brown, gold, silver), but there are times when I think, “If only I had a color-matched ribbon, all would be right in the universe!”, which brings me to this month’s innovation: custom dyed ribbon.

My go to ribbon for this innovation: seam binding. It’s cheap, readily available, and holds up well, but you could use any ribbon for this process. You can use many things to dye ribbon (Color Burst powders, Distress stains and sprays, or Perfect Pearls) but my favorite for custom color matching is reinkers or ink pads. Here is what you need:

White Ribbon or Seam Binding
Craft Mat
Reinkers
Ink Pads
Water bottle
Heat Tool
Baby Wipes
Craft Scrubbie
Ribbon Iron (optional)
Gloves (optional, if you don’t like inky fingers)


Custom dying ribbon is a very simple process. First, cut the length of ribbon you need for your project. Next, place a few drops of reinker, or smear the ink pad, onto your craft sheet. I start with 2 drops of reinker (you can always add more if needed). Add water to the ink. 


Using the ribbon, soak up the liquid, making sure the entire ribbon is saturated. If needed, you can also spray water onto the ribbon. After the ribbon is completely covered you can add more ink if you want a deeper color.

Once you are happy with the color, dry the ribbon with your heat tool (if you have time you can let it air dry). Sometimes I scrunch it up so it looks “ruched” and other times I dry it flat and run it through my ribbon iron. I hold it in my hand, moving it around until it’s completely dry and volià, custom dyed ribbon, a perfect finishing touch for any card or scrapbook layout.


By the time you are done dying ribbon your fingers are quite inky (left hand) so it’s the Craft Scrubbie to the rescue (right hand). Inky fingers don’t stand a chance when you have the Ranger Craft Scrubbie.

Thanks for hanging out with me, and learning (or relearning) a fun innovation! Join me next month for another of my go to innovations, white washing. Until next time, remember, creativity and imperfection live together in all we do. “Grace is the face love wears when it meets imperfection.”

~xoxo

Supplies Used:
Inks: Berry Blast, Fresh Fig, Lemon Lime Twist, Powder Pink, & Tranquil Tide
Ribbon: Hug Snug Winter White Seam Binding
Ranger Craft Scrubbie
Ranger Craft Mat
Distress Water Bottle

Fun & Crafty | Mom’s Are Golden

Hello my crafty peeps! I’m happy to be here again this month as part of the Fun & Crafty blog hop. This month’s theme is Mother’s Day. A day to honor that woman who taught you right from wrong, wiped every tear, and kissed every boo-boo! She stands firm and steady as a rock for her kids as they venture farther and farther from home, always knowing they have a safe place to return. Mom’s are golden.

My Mom is gone, having passed almost 7 years ago. So is my Gran, who is really the woman I think of as my Mom since she raised me. I have so many wonderful memories of times with my Gran that though she isn’t here with me, I feel her presence and remember the lessons and life truths she taught me. She was feisty, loyal, fierce when crossed, generous, and independent. She instilled in me a drive to be self-sufficient, to obtain all the education I could, and to never give up on my dreams. I miss her but honor her each day. Owing to the fact that both of my “Mom’s” are gone, I never really invested in any “Happy Mother’s Day” stamps so when this month’s theme was announced I was at a loss as to what to do … enter the new Eastern Palace suite from Stampin’ Up! I am always looking for alternate uses for the stamp sentiments I have and was pleased to find that the sentiments in this set are versatile, but more on that in a minute.

When I first saw the suite I didn’t immediately fall in love. Actually, it was quite the opposite, I really didn’t like it very much but I challenged myself to order one of the bundles and work with it during the month of April. Little did I know when I set this challenge it would turn out to help me create this month’s Mother’s Day card and help me fall a little in love with the Eastern Palace suite. The suite features three new In Colors, Tranquil Tide, Fresh Fig, and my favorite, Lemon Lime Twist. It features mandala imagery, some interesting dies, and wonderful embellishments. The DSP showcases geometric shapes and adds in Dapper Denim to the other colors. It’s opulent and rich. In May, everyone will have a chance to purchase one of two bundles (premier or starter) before the new catalog goes live.


For my card I used a piece of Tranquil Tide card stock cut to A2 size (4.25″ x 5.5″). The DSP was cut to 4″ x 5.25″, and I also used a 3″ piece of the Fresh Fig card stock behind the DSP. First, I cut out the flower mandala shape using the matching thinlit die. This die is unique in that it doesn’t cut out the outer shape, but instead cuts out the “petals”, which you can lift up, adding dimension to your card. I decided I also wanted to split the DSP so that I could insert a piece of Fresh Fig card stock behind and create some interest in my card. I used one of the layering circle dies to cut out a badge for the center of the mandala die cut and used one of the circle stamps and a sentiment (to think of you is to smile) from the Eastern Palace stamp set. I stamped the circle in Fresh Fig and the sentiment in Tranquil Tide on Whisper White card stock. While not overtly “Mother’s day” this sentiment reminded me that whenever I remember my Gran I always smile, which seemed perfect. Because the card base is so dark I also inserted a 4″ x 5.25″ Whisper White panel inside and stamped one of the smaller images from the Eastern Palace suite to tie in the Lemon Lime Twist ink. The finishing touch, a rhinestone on the circle for that little pop of bling!


There is a ton of inspiration throughout this hop. Since you started here, I encourage you to grab a cup of coffee and visit the other talented team members listed below to leave them some blog love! Next up is the talented Pamela over at Stinky Tofu. Until next time, remember, creativity and imperfection live together in all we do. “Grace is the face love wears when it meets imperfection.”

~xoxo
Beanie


  1. Christine – Artful Musings (you are here)
  2. Pamela – Stinky Tofu
  3. Kathy – Stamp-A-Blog
  4. Susan – Stampin’ by the SF Bay
  5. Stacey – A Work of Carte
  6. Jennifer – Northwest Stamper

Supplies Used:
Eastern Palace Premier Bundle
Inks: Lemon Lime Twist, Fresh Fig, & Tranquil Tide
Paper: Eastern Palace DSP
Card Stock: Tranquil Tide, Fresh Fig, & Whisper White
Rhinestones