Hello, friends! I’m on the blog today with my second entry for the Pretty Pink Posh Valentine Challenge. Learn more about this challenge by clicking the image below.

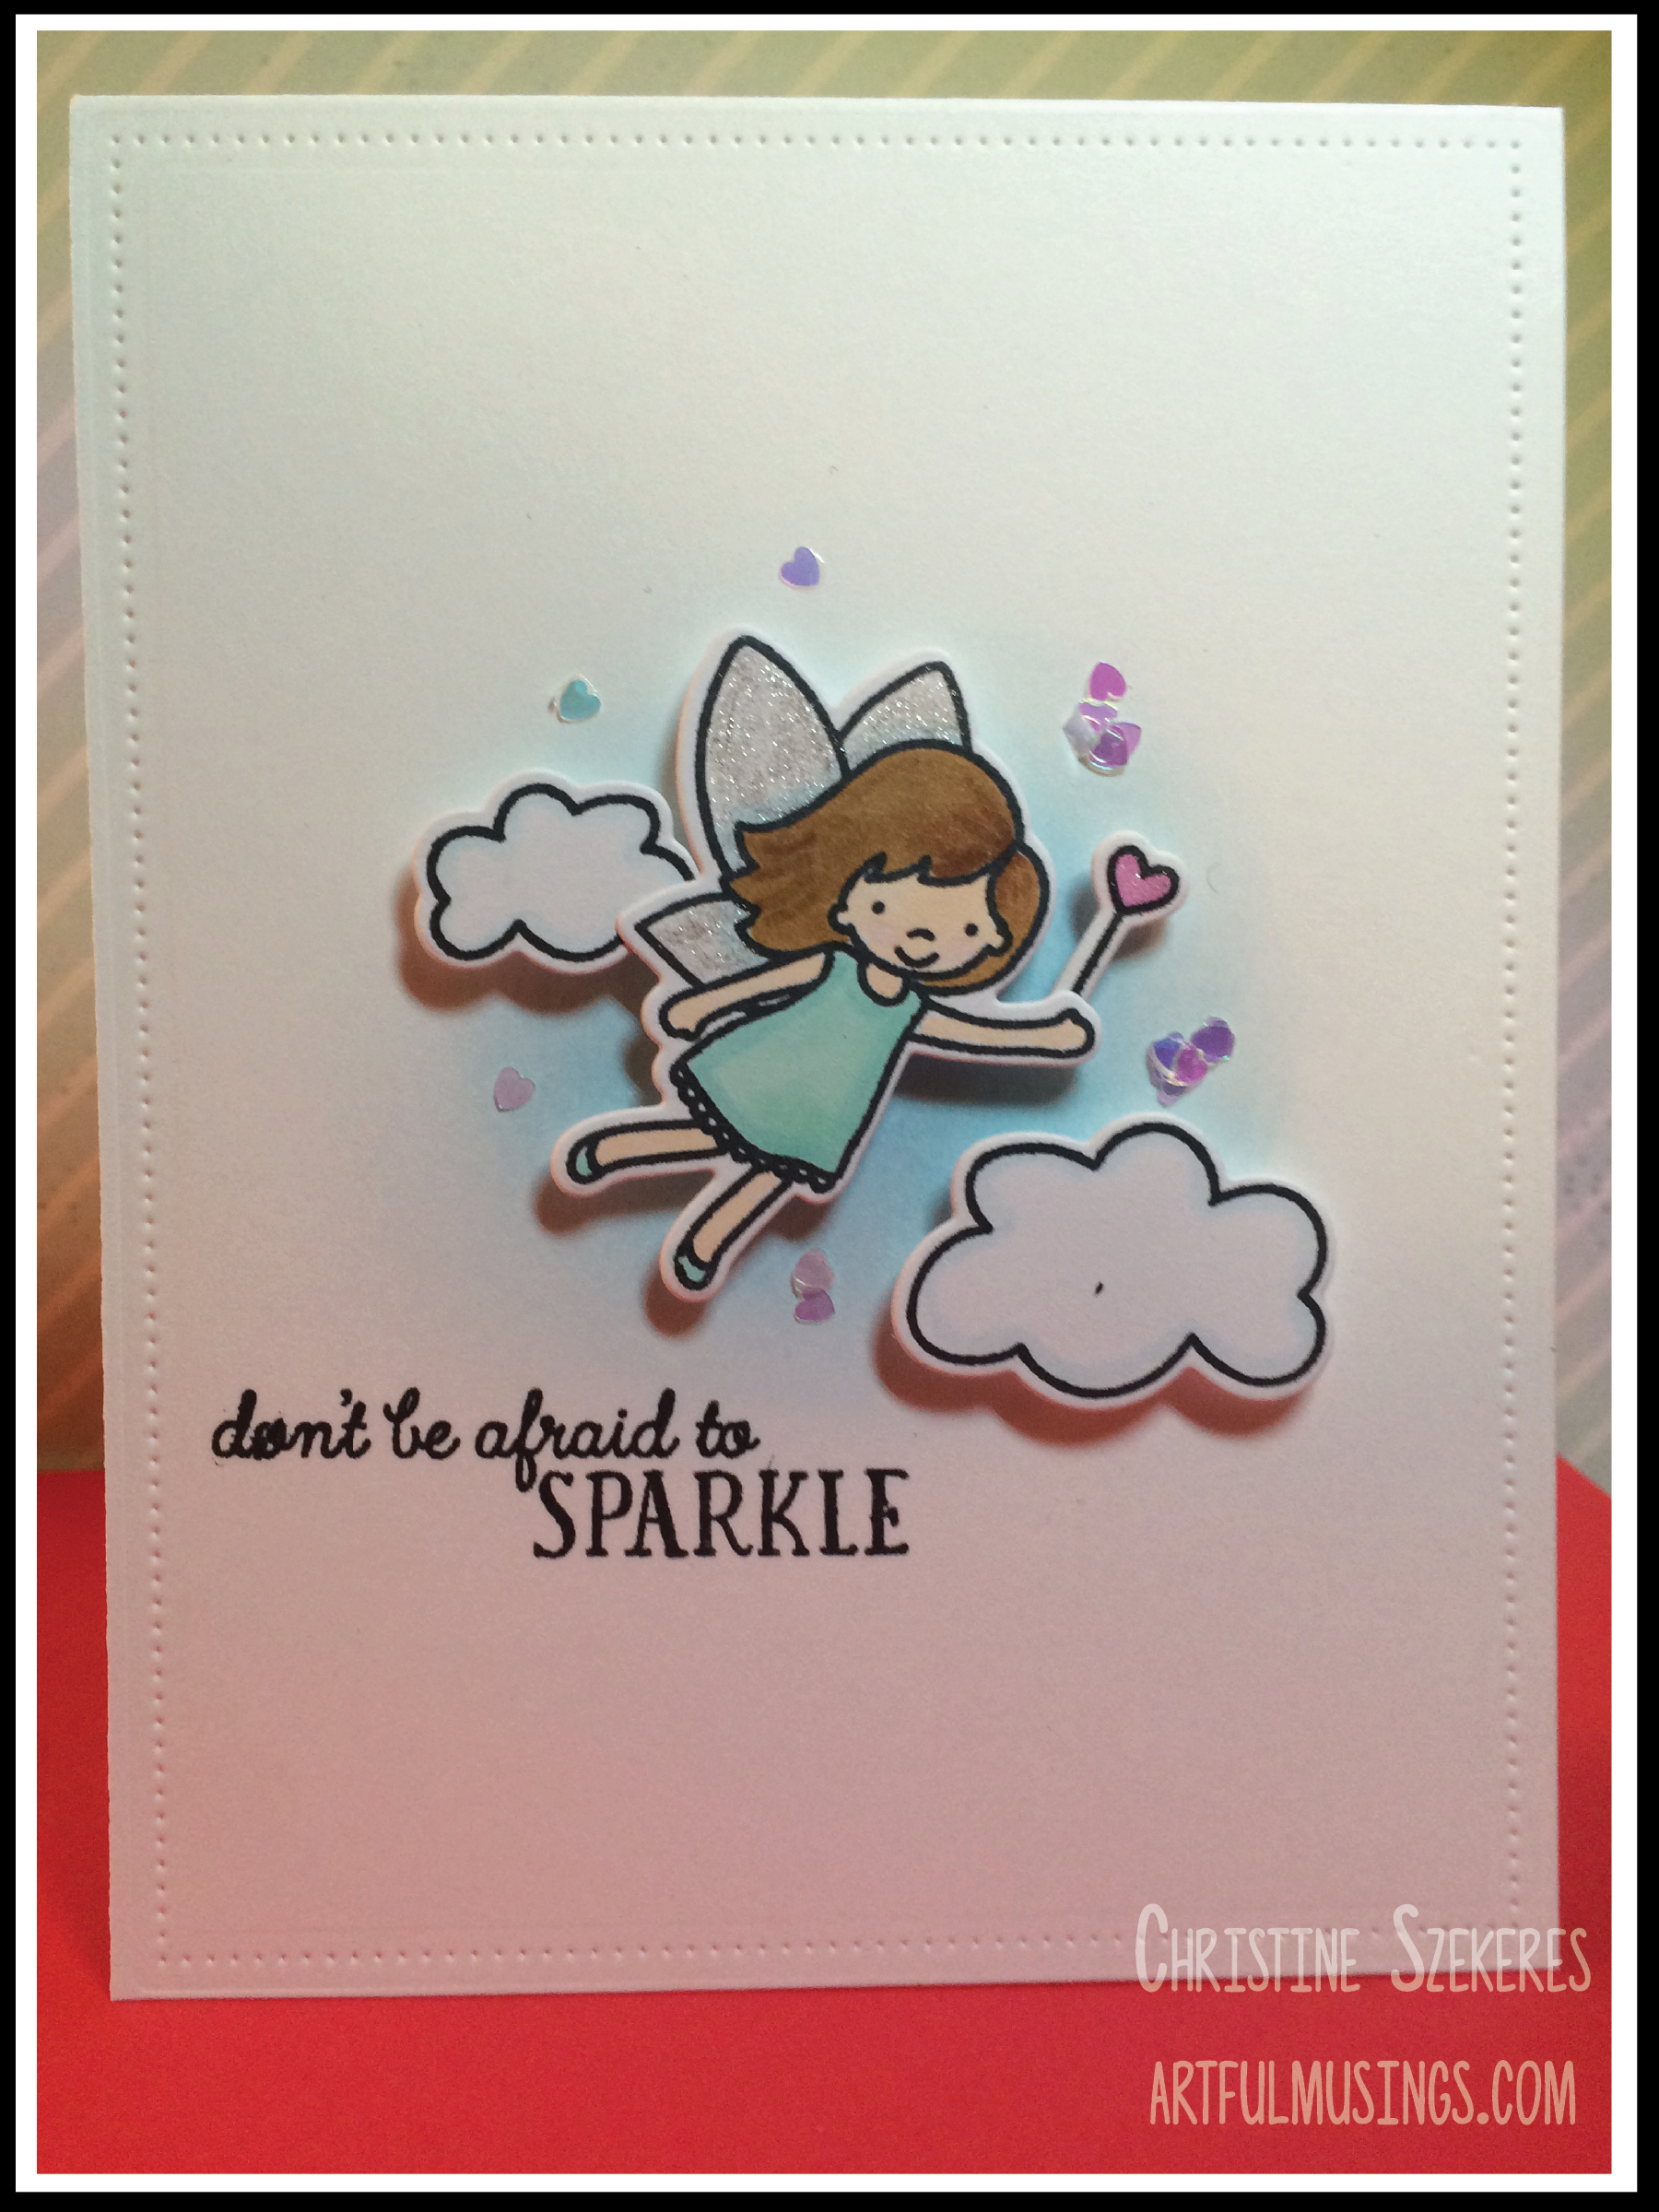
For this challenge entry, I created a sweet birthday card using the Avery Elle Pixie Dust stamp and die set. This set is perfect for all the little princesses in your life and I love the sassy and sweet sentiments included. I particularly love that this card could also be a Valentine! I was inspired by Joni’s card and the wonderful Copic work she did.
First, I embossed the front of my card using Avery Elle’s Pierced Rectangles dies. This set of dies pierces the paper with evenly spaced dots – it doesn’t cut the rectangles. If you want to cut rectangles that are also pierced then this is the die set you want. I have both! 😛
Next, using Memento Tuxedo Black ink, I stamped my images (pixie, wand, and the small and large clouds) on Copic blending paper. A quick note about Copic blending paper. While you can use any paper with your Copic markers, I find the Copic blending paper not only holds up better to color blending but also bleeds through less and is easier on your markers (no stray paper pilling to deal with). I get mine locally at Impress, but it can also be ordered online here.
I colored in the pieces using Copic markers in these colors: pixie (hair E08 & E35, dress & shoes BG13 & BG34, skin E50, and wand RV02), and for the clouds BG000. I used Wink of Stella on her wings. Once everything was dry I die cut the pieces and set them aside.
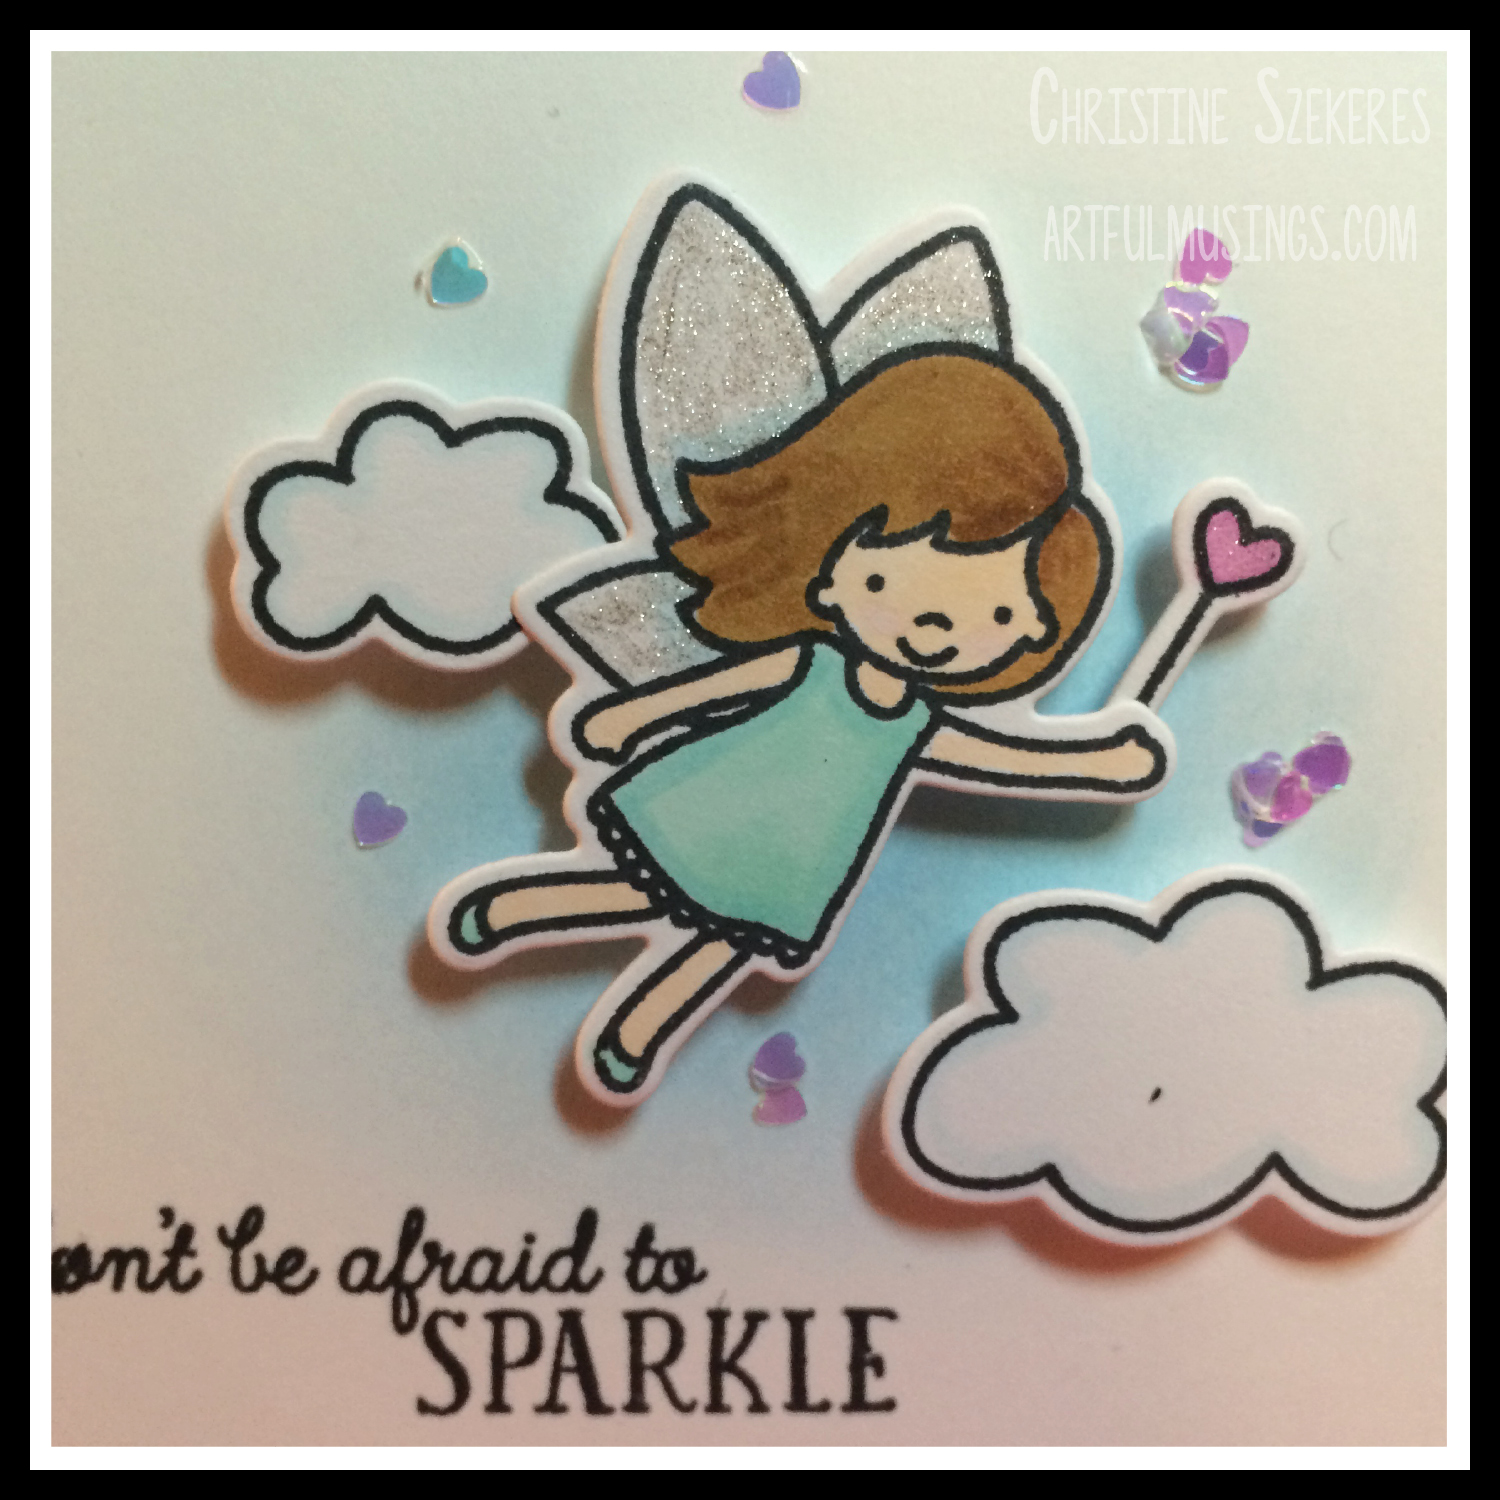
Next, I stamped the sentiment, “don’t be afreaid to SPARKLE” using Memento Tuxedo black ink and once dry I added some color to the center of the card. Using a blending tool and some Broken China Distress ink I sponged ink in a circular motion in the middle of my card front. TIP: I ink up my round blending tool and test the ink level on scratch paper first. When applying it to the card front I use light pressure and a circular motion, avoiding pressing hard or going fast so I don’t get any defined lines or dark splotches.
Finally, using foam tape I applied the clouds, pixie, and wand to the card and for that final flourish, added the new iridescent mini heart confetti from PPP.
I hope you were inspired to participate in this challenge or another that speaks to your creative muse. Until next time, remember, creativity and imperfection live together in all we do. “Grace is the face love wears when it meets imperfection.”
~xoxo
Beanie