Tag: 7 Dots Studio

Nani ke Ola Blog Hop: Butterfly Kisses & Dandelion Wishes Album

Hello and welcome to the first ever Nani ke Ola blog hop! Today each blogger is focusing on the new 7 Dots Studio collections, Cotton Candy and Writer’s Block. I love 7 Dots Studio and was so excited for the new collections, particularly Cotton Candy. You should have arrived from Heather Thompson’s blog and started at the Nani ke Ola blog. There is a giveaway so make sure to visit each blog and leave some love for a chance to win a sweet prize!

I’ve been a member of the NKO Design Team for a little over a year, and in that time, I’ve had a chance to spread my wings, get messy, and be inspired by some of the most wonderful artists around. I know you will agree that these are some talented ladies, when you see all the creativity of this blog hop.

butterflykisses1

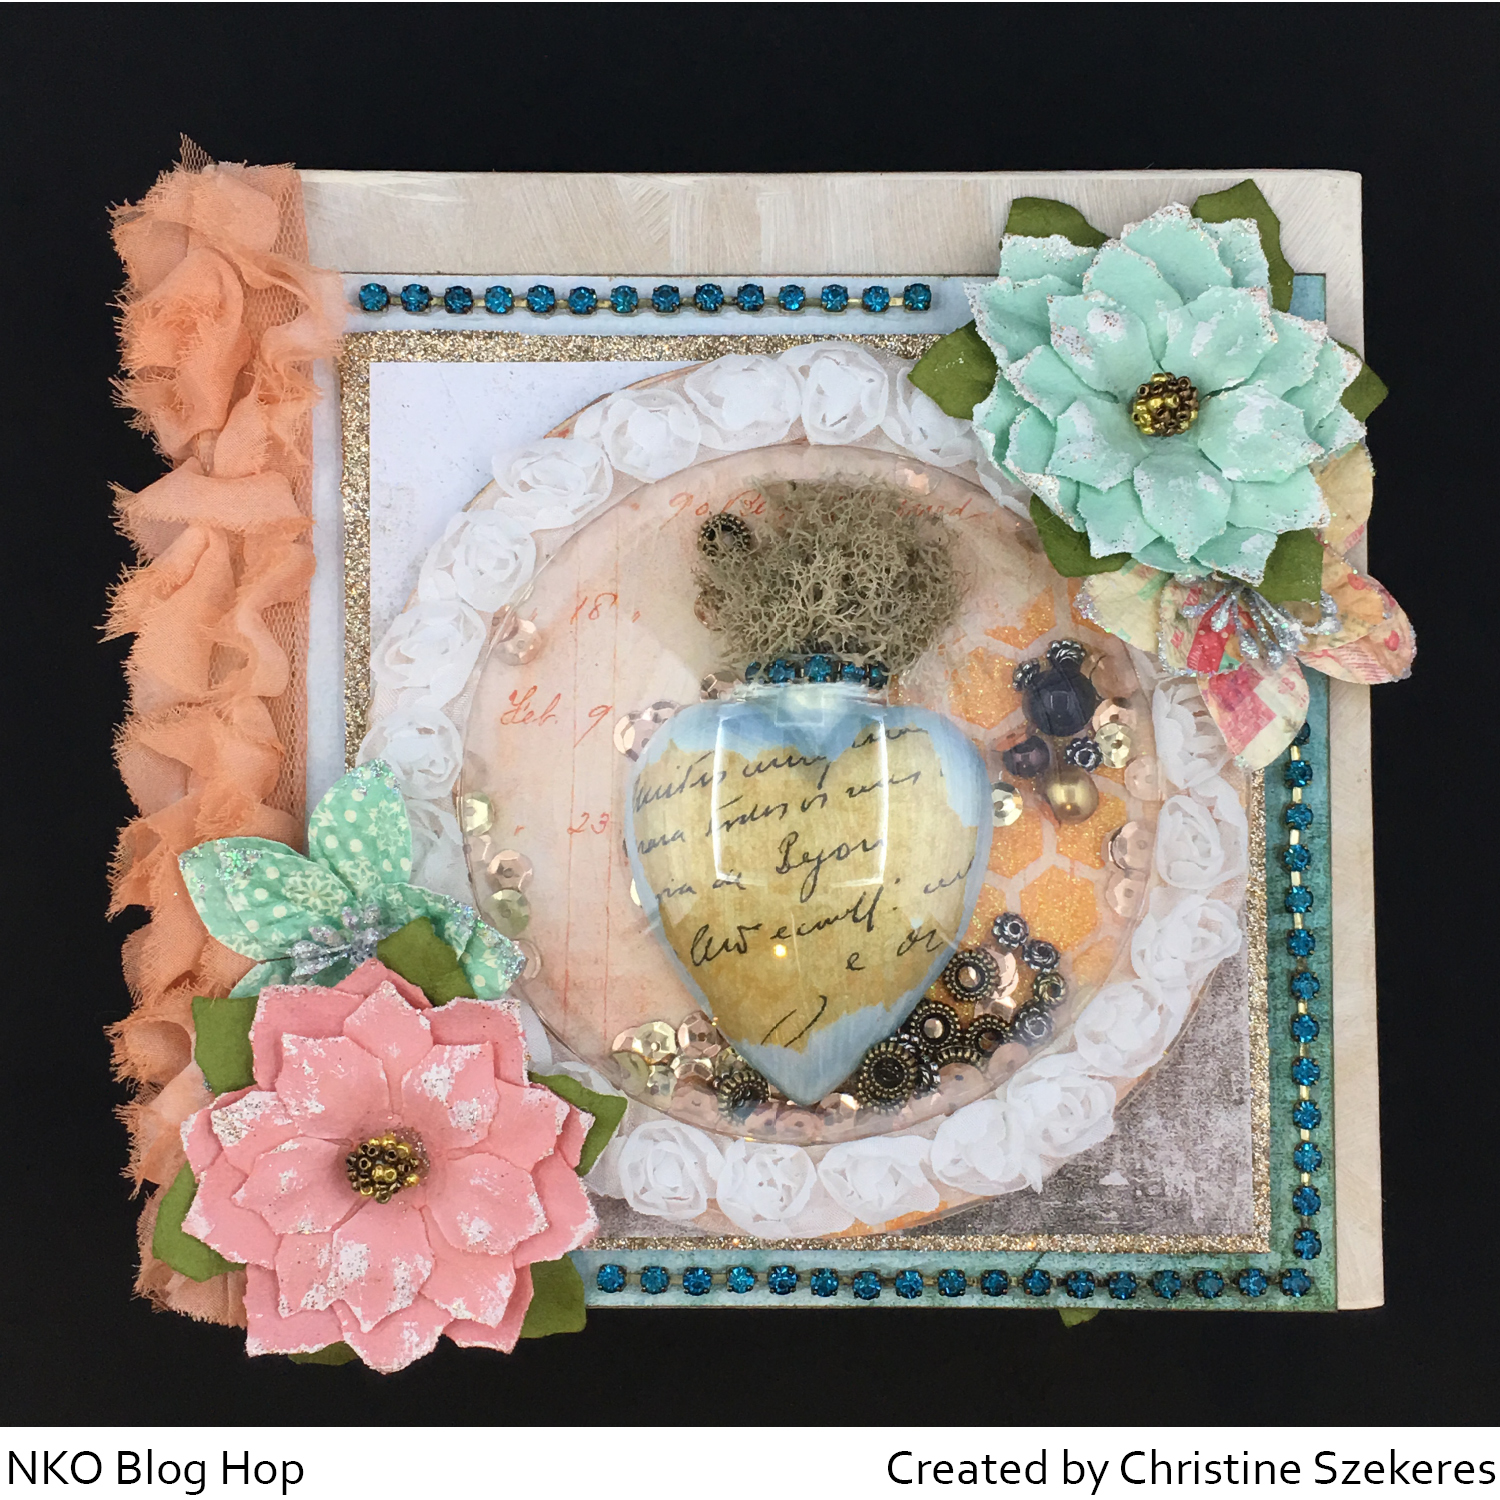
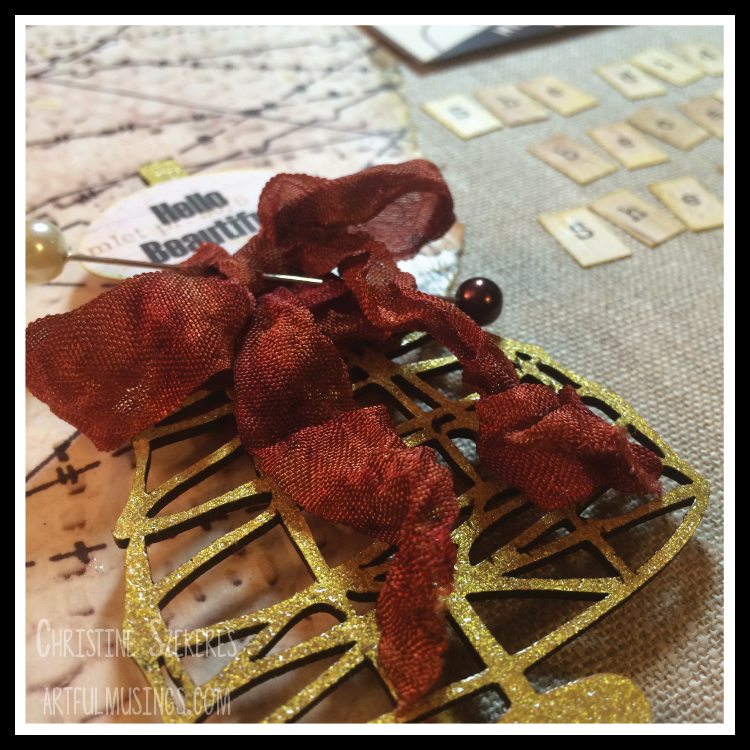
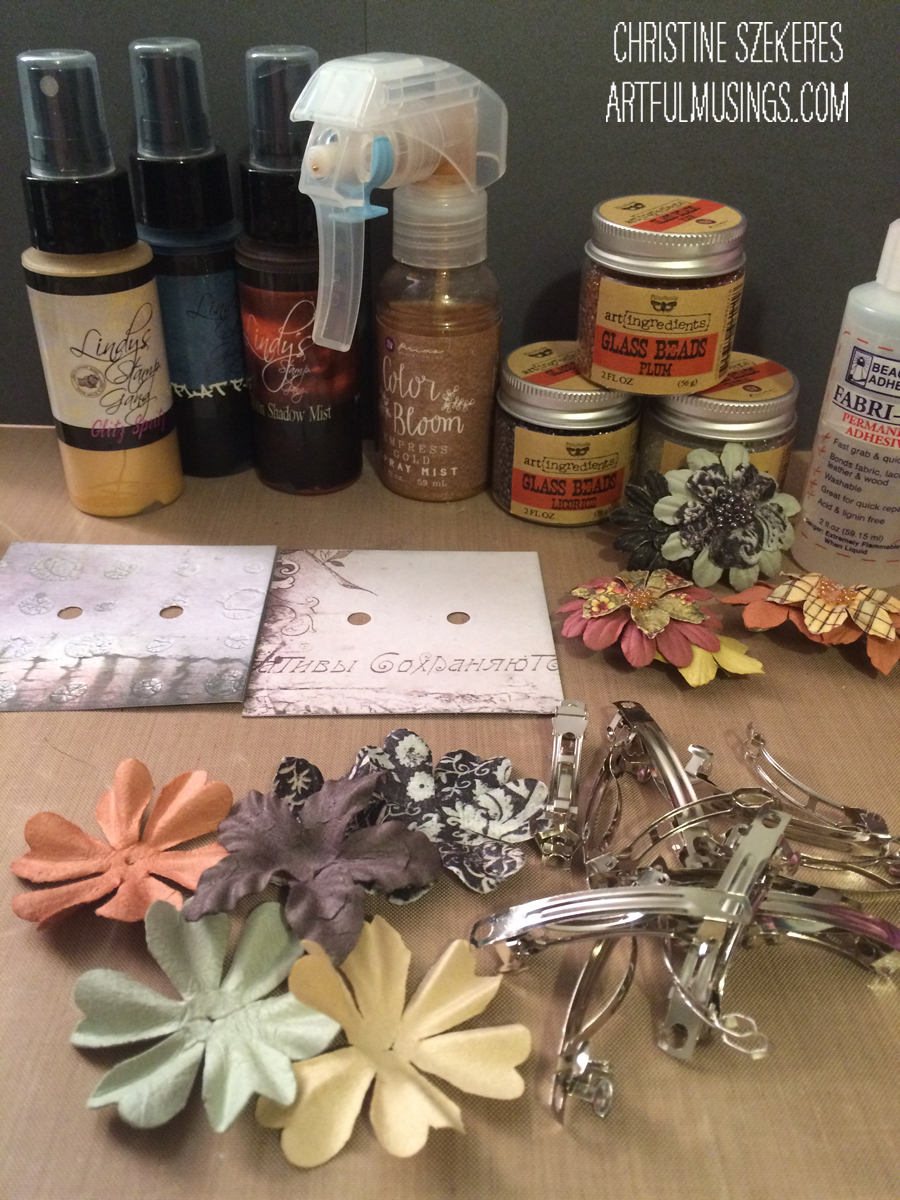
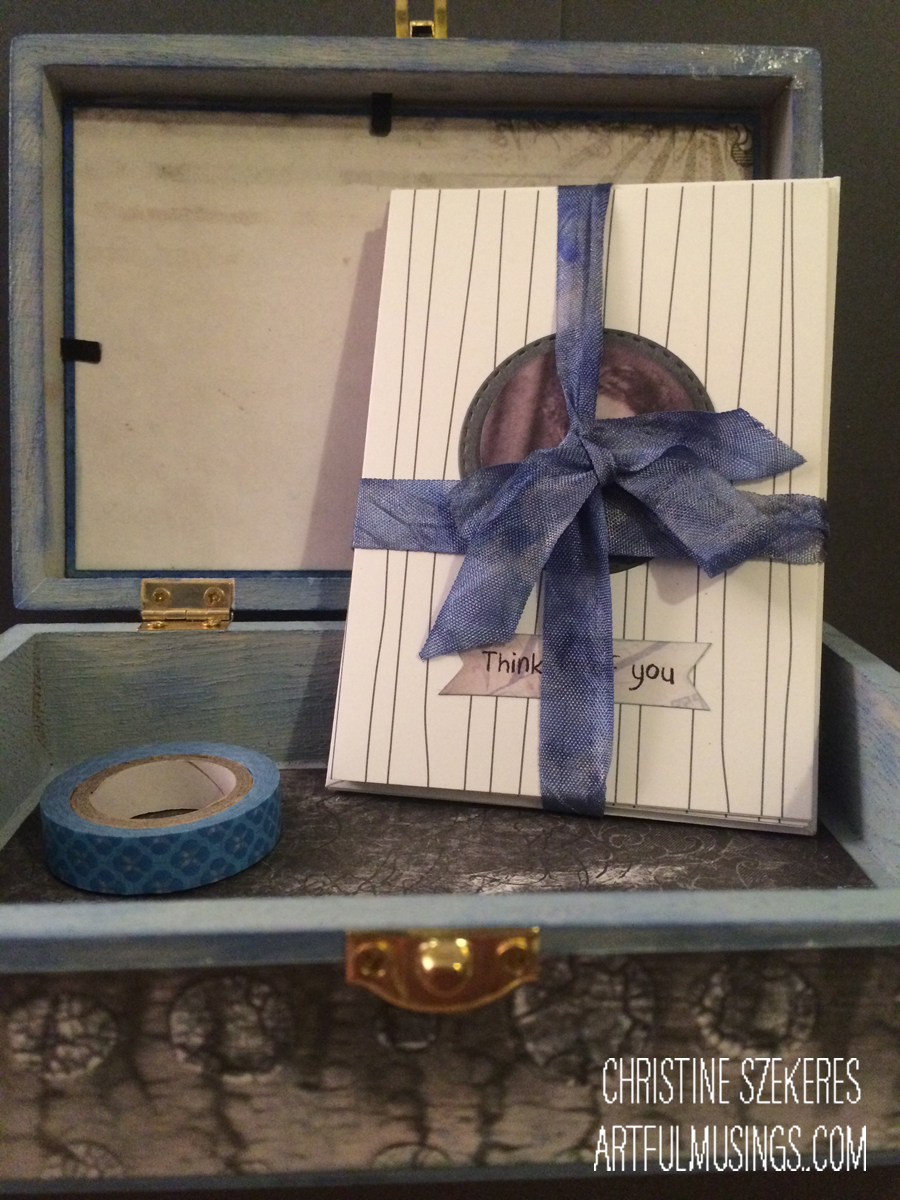
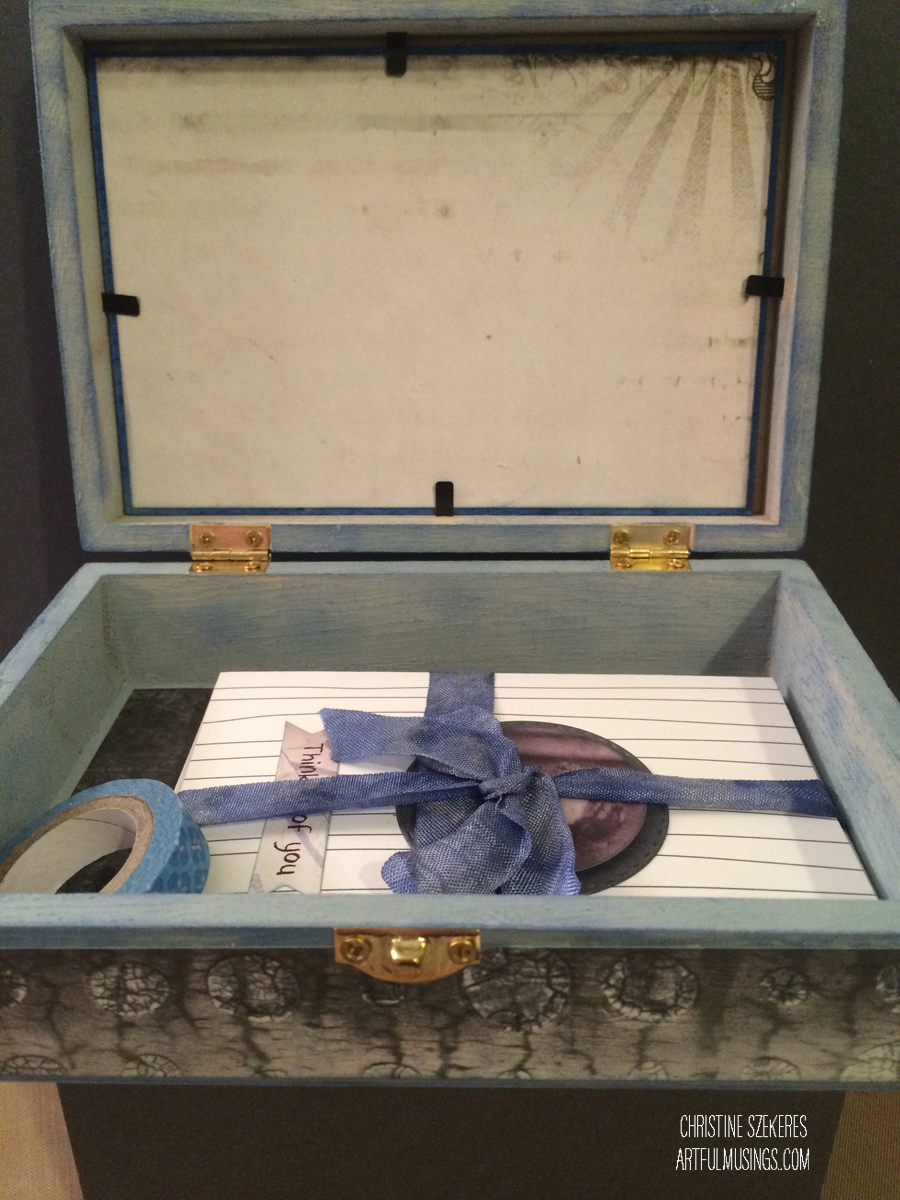
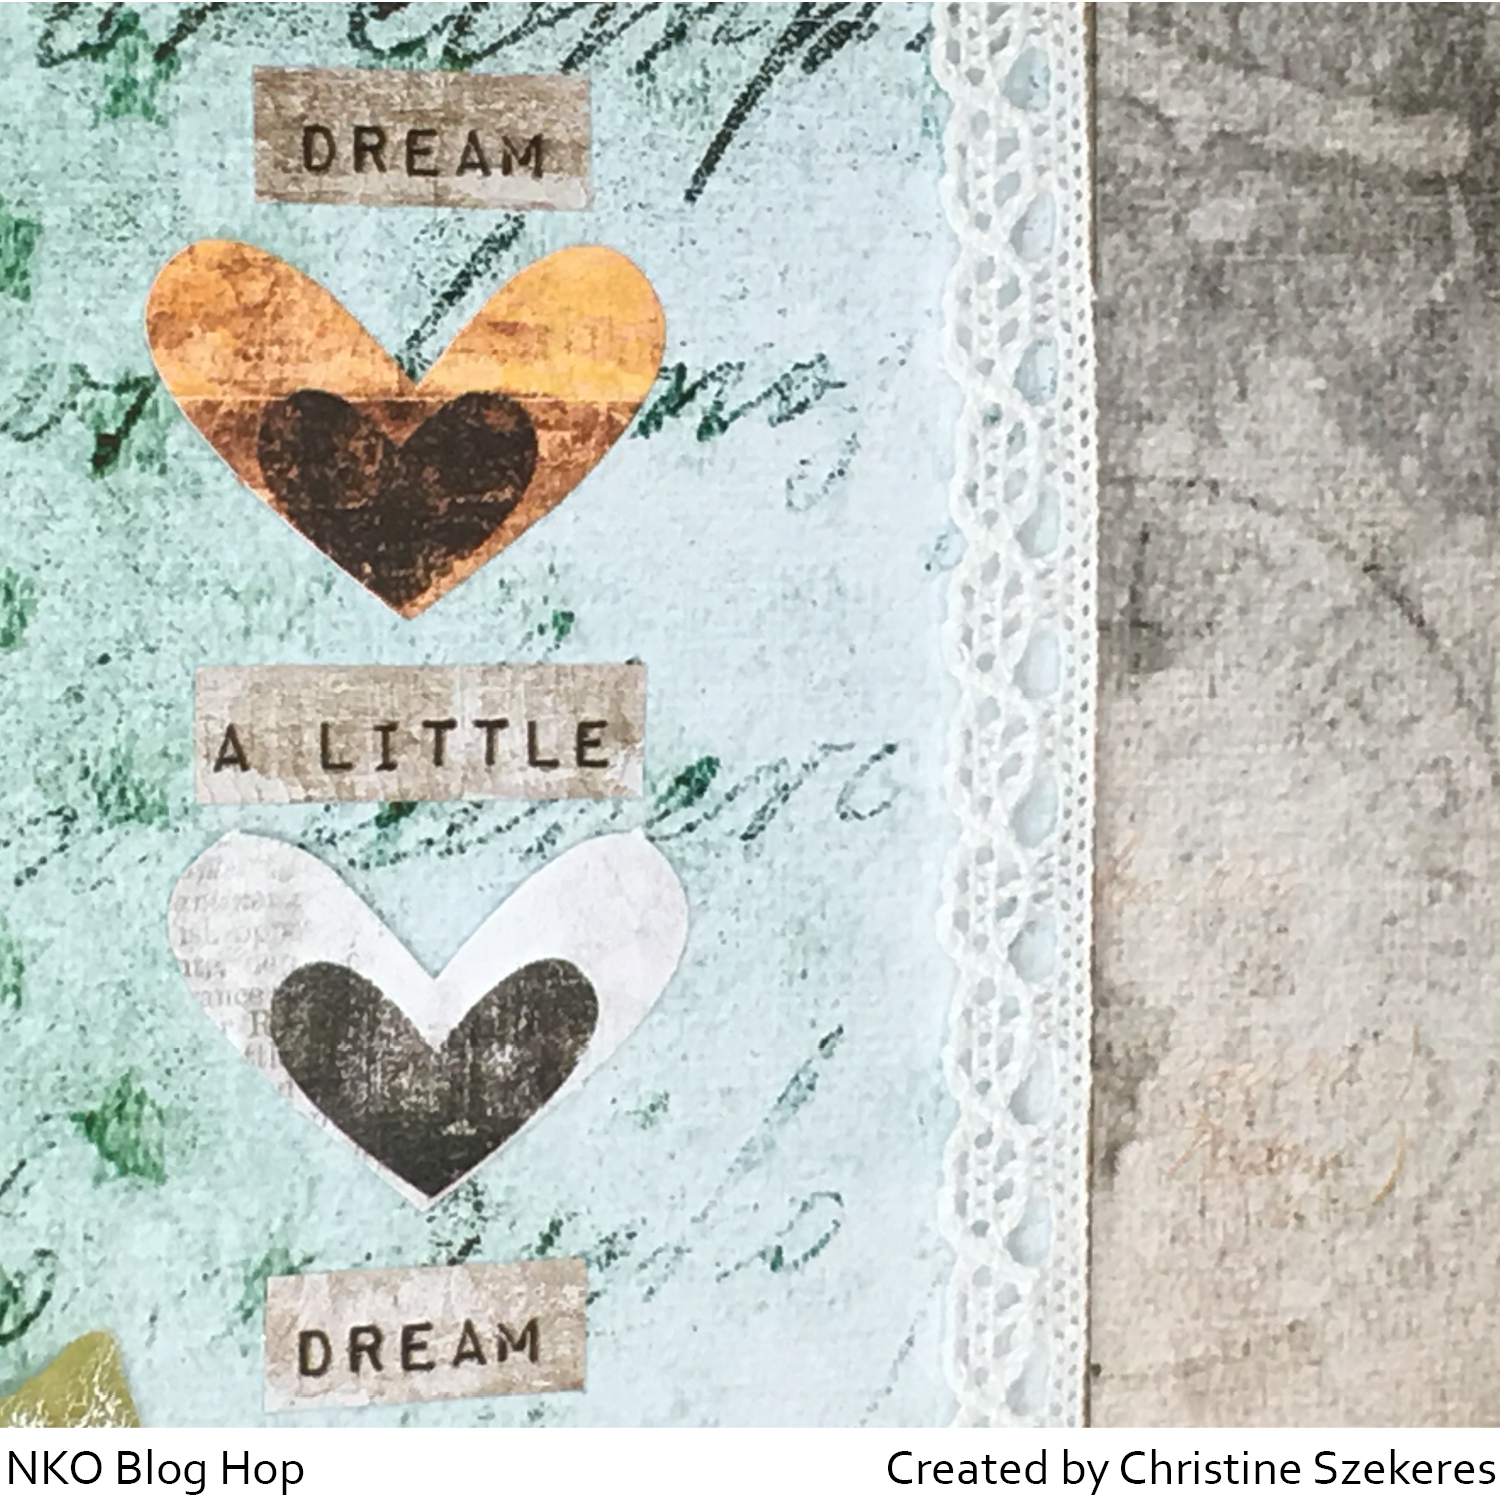
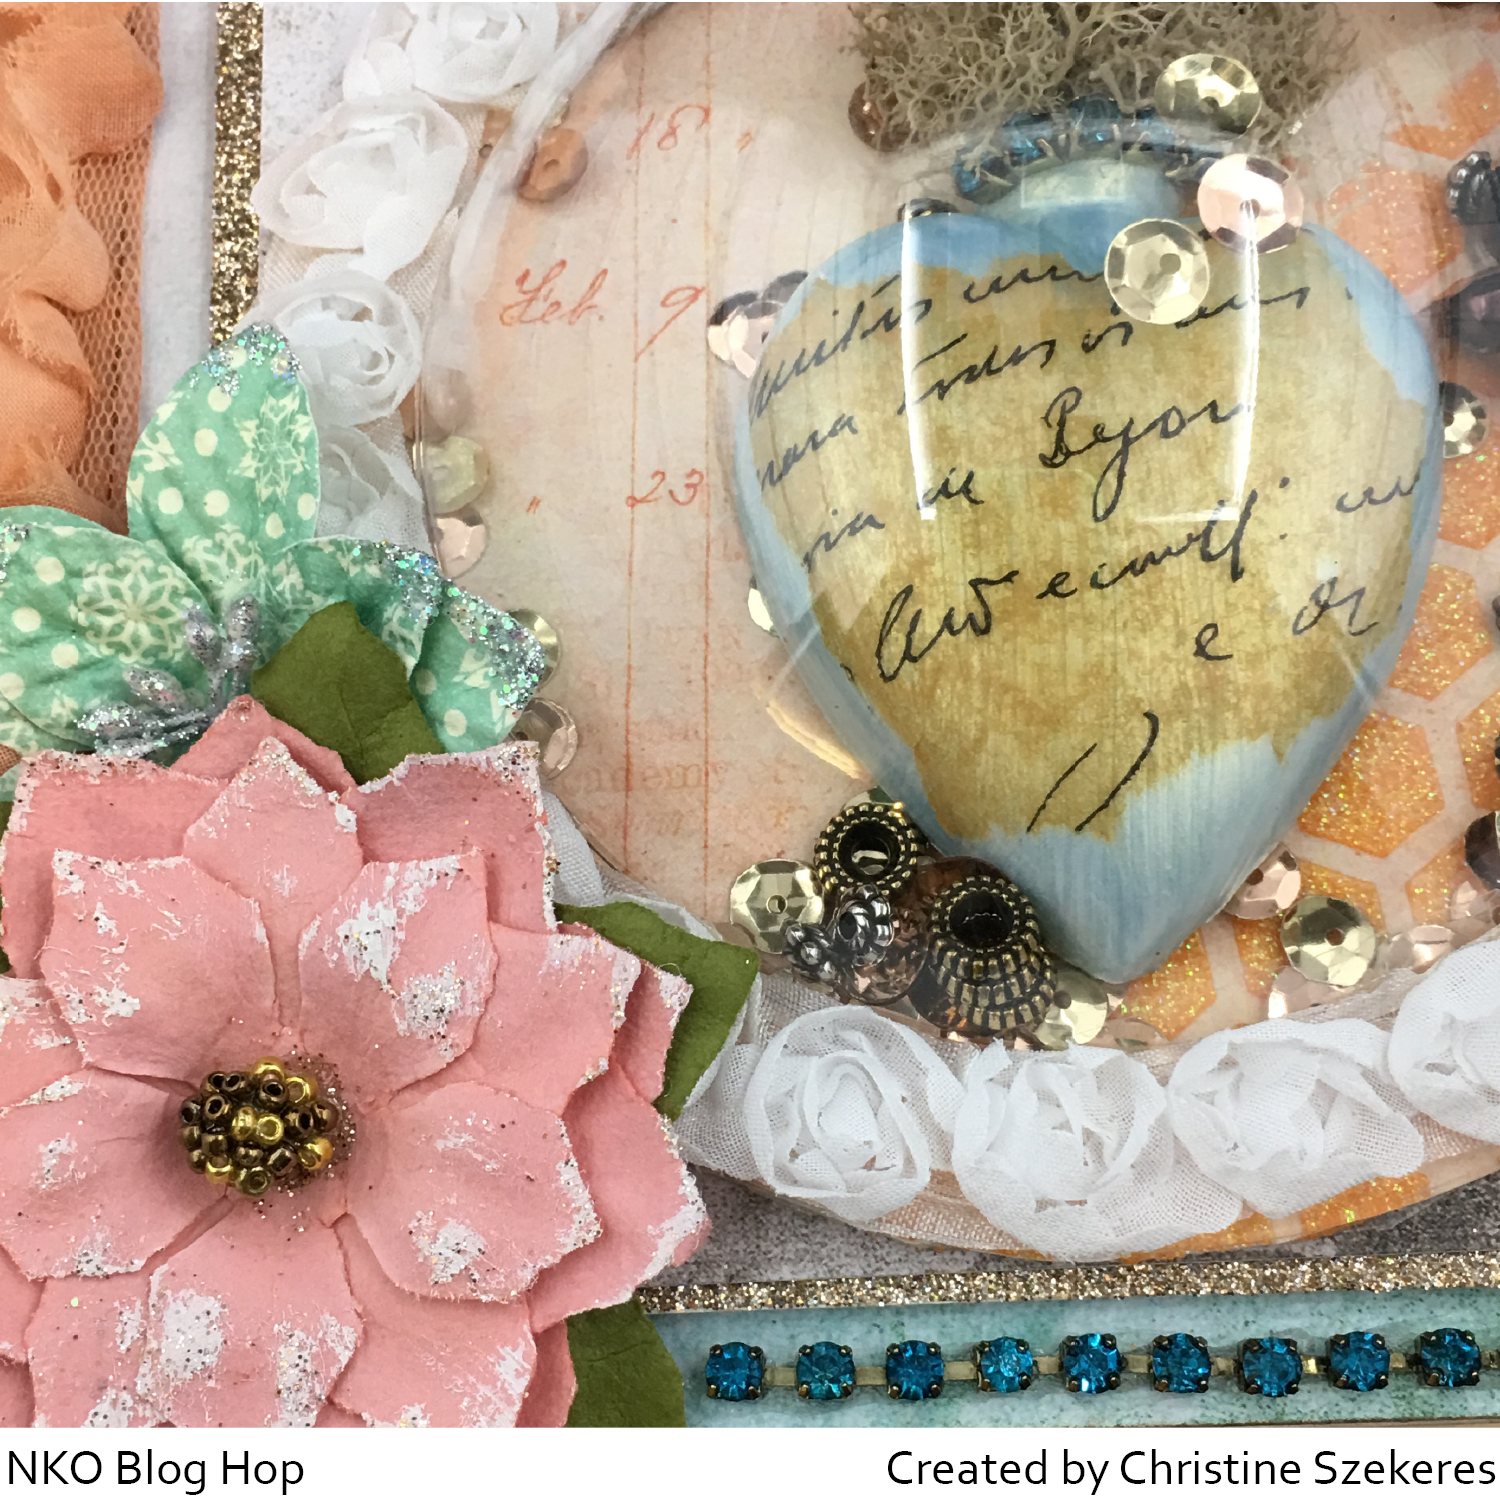
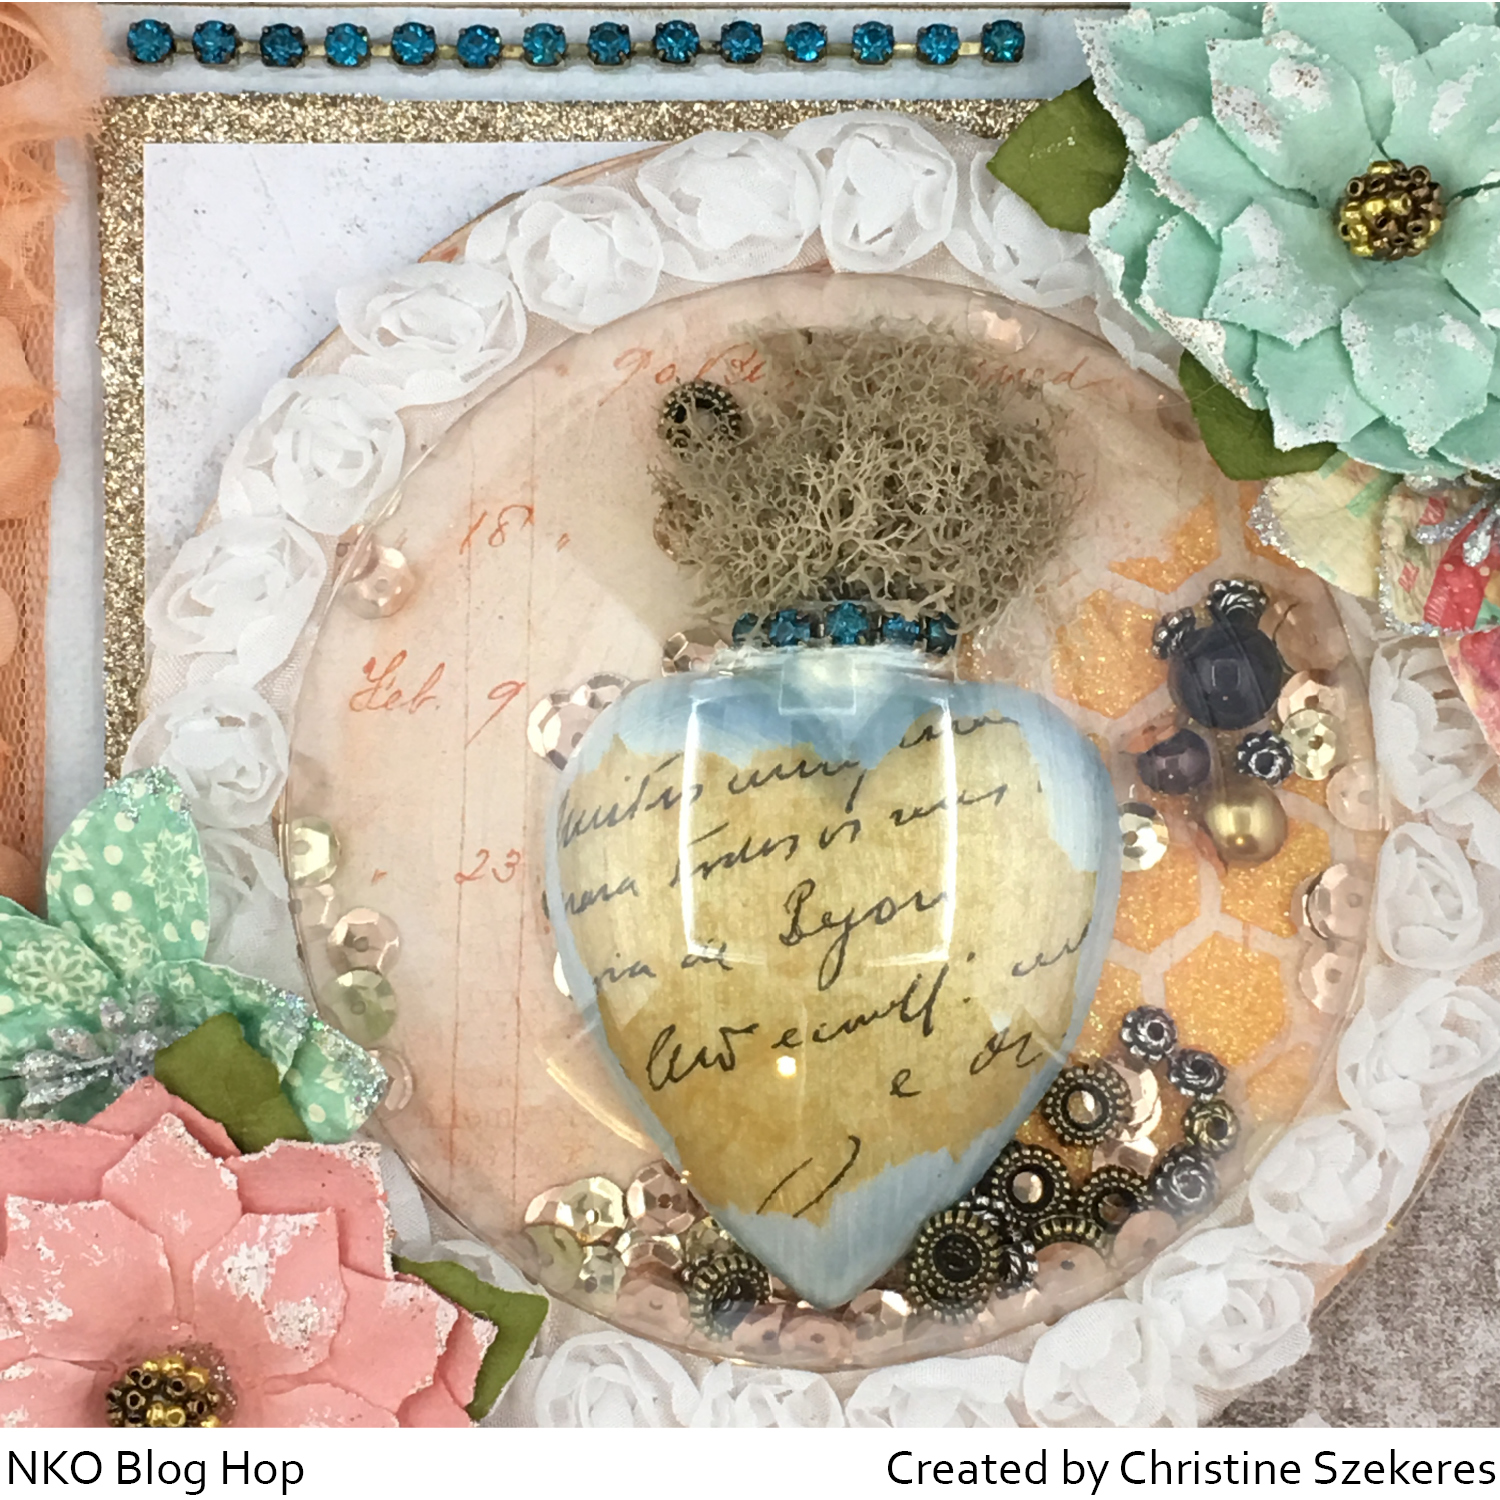
As I said, I was over the moon when I saw the Cotton Candy collection. It is dreamy and whimsical and includes teal and salmon a favorite color combination of mine. It’s like it was tailor made for me. I knew I wanted to combine the lush papers, stickers, chipboard, and other elements with products from Prima Marketing’s Memory Hardware collection. There are wonderful mixed media elements in this collection and you can really create something beautiful combining the lush papers and elements from 7DS with the great products from Prima. If you like the Memory Hardware line, I encourage you to let Jennifer know. She stocks some Prima products and is always listening to what her customers are excited about. I used the square album, flowers, rhinestone chain, resin heart, sequins, lace trim, and domes in this project.

butterflykisses10 butterflykisses11

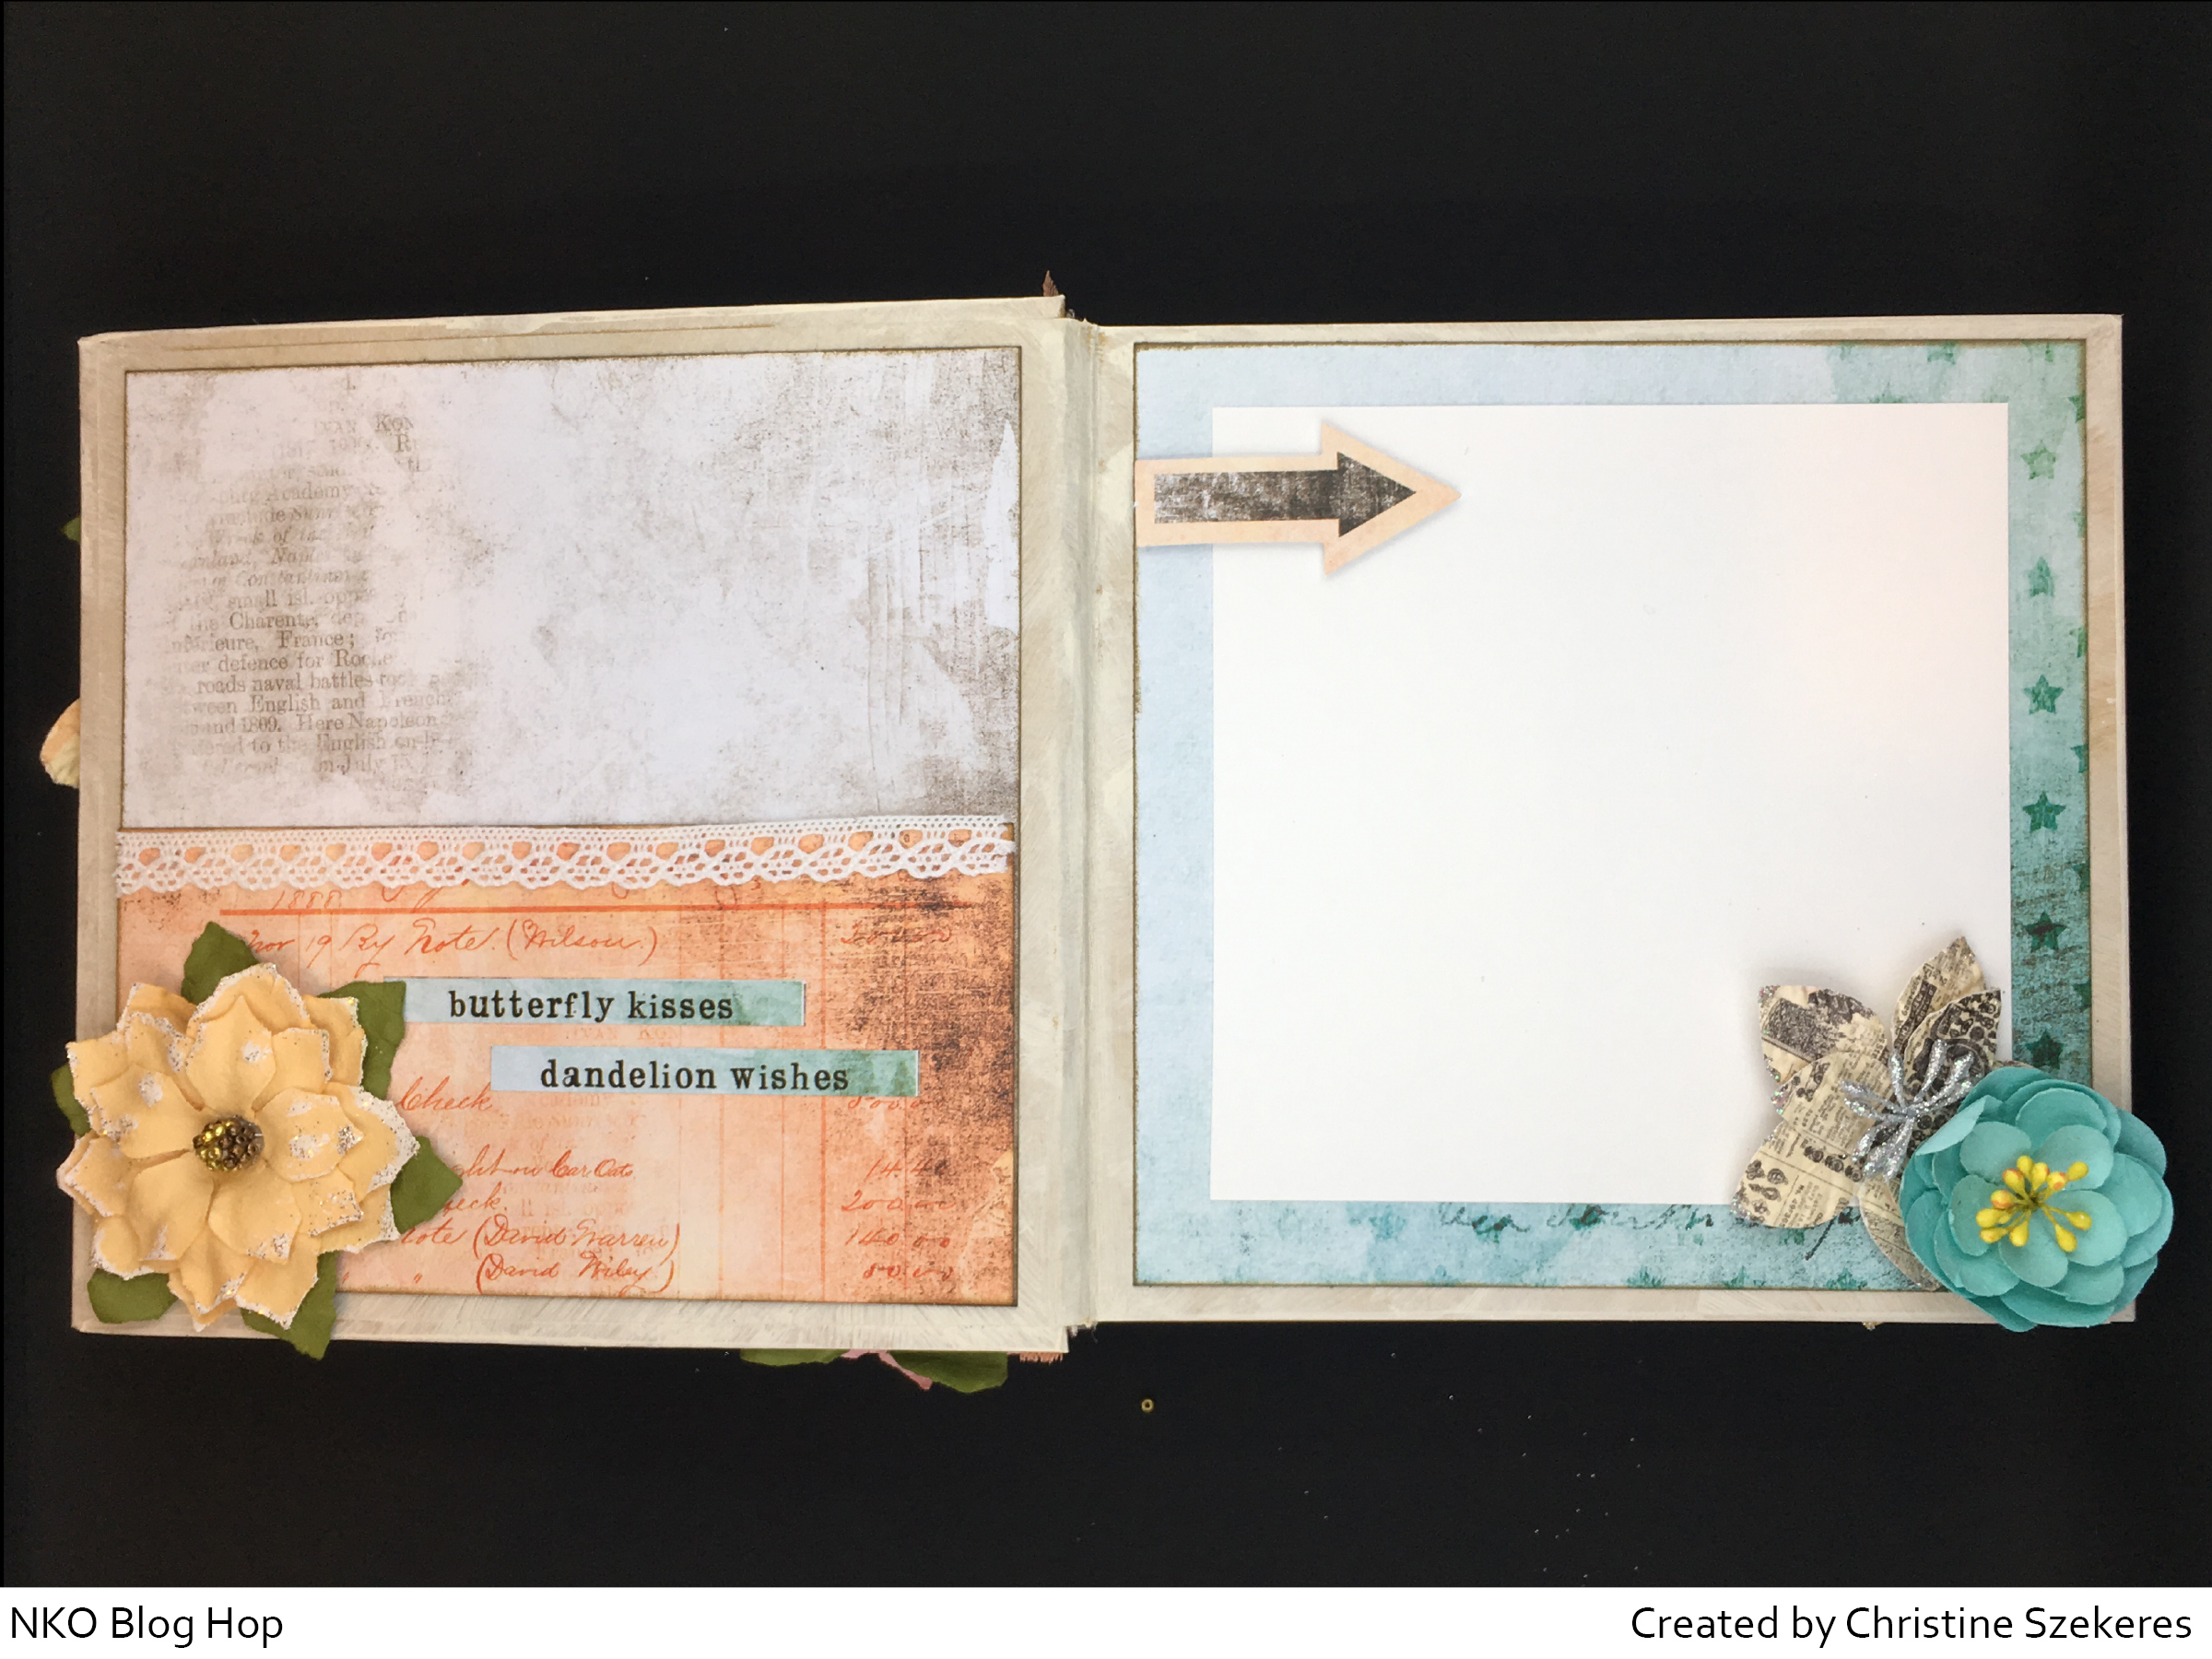
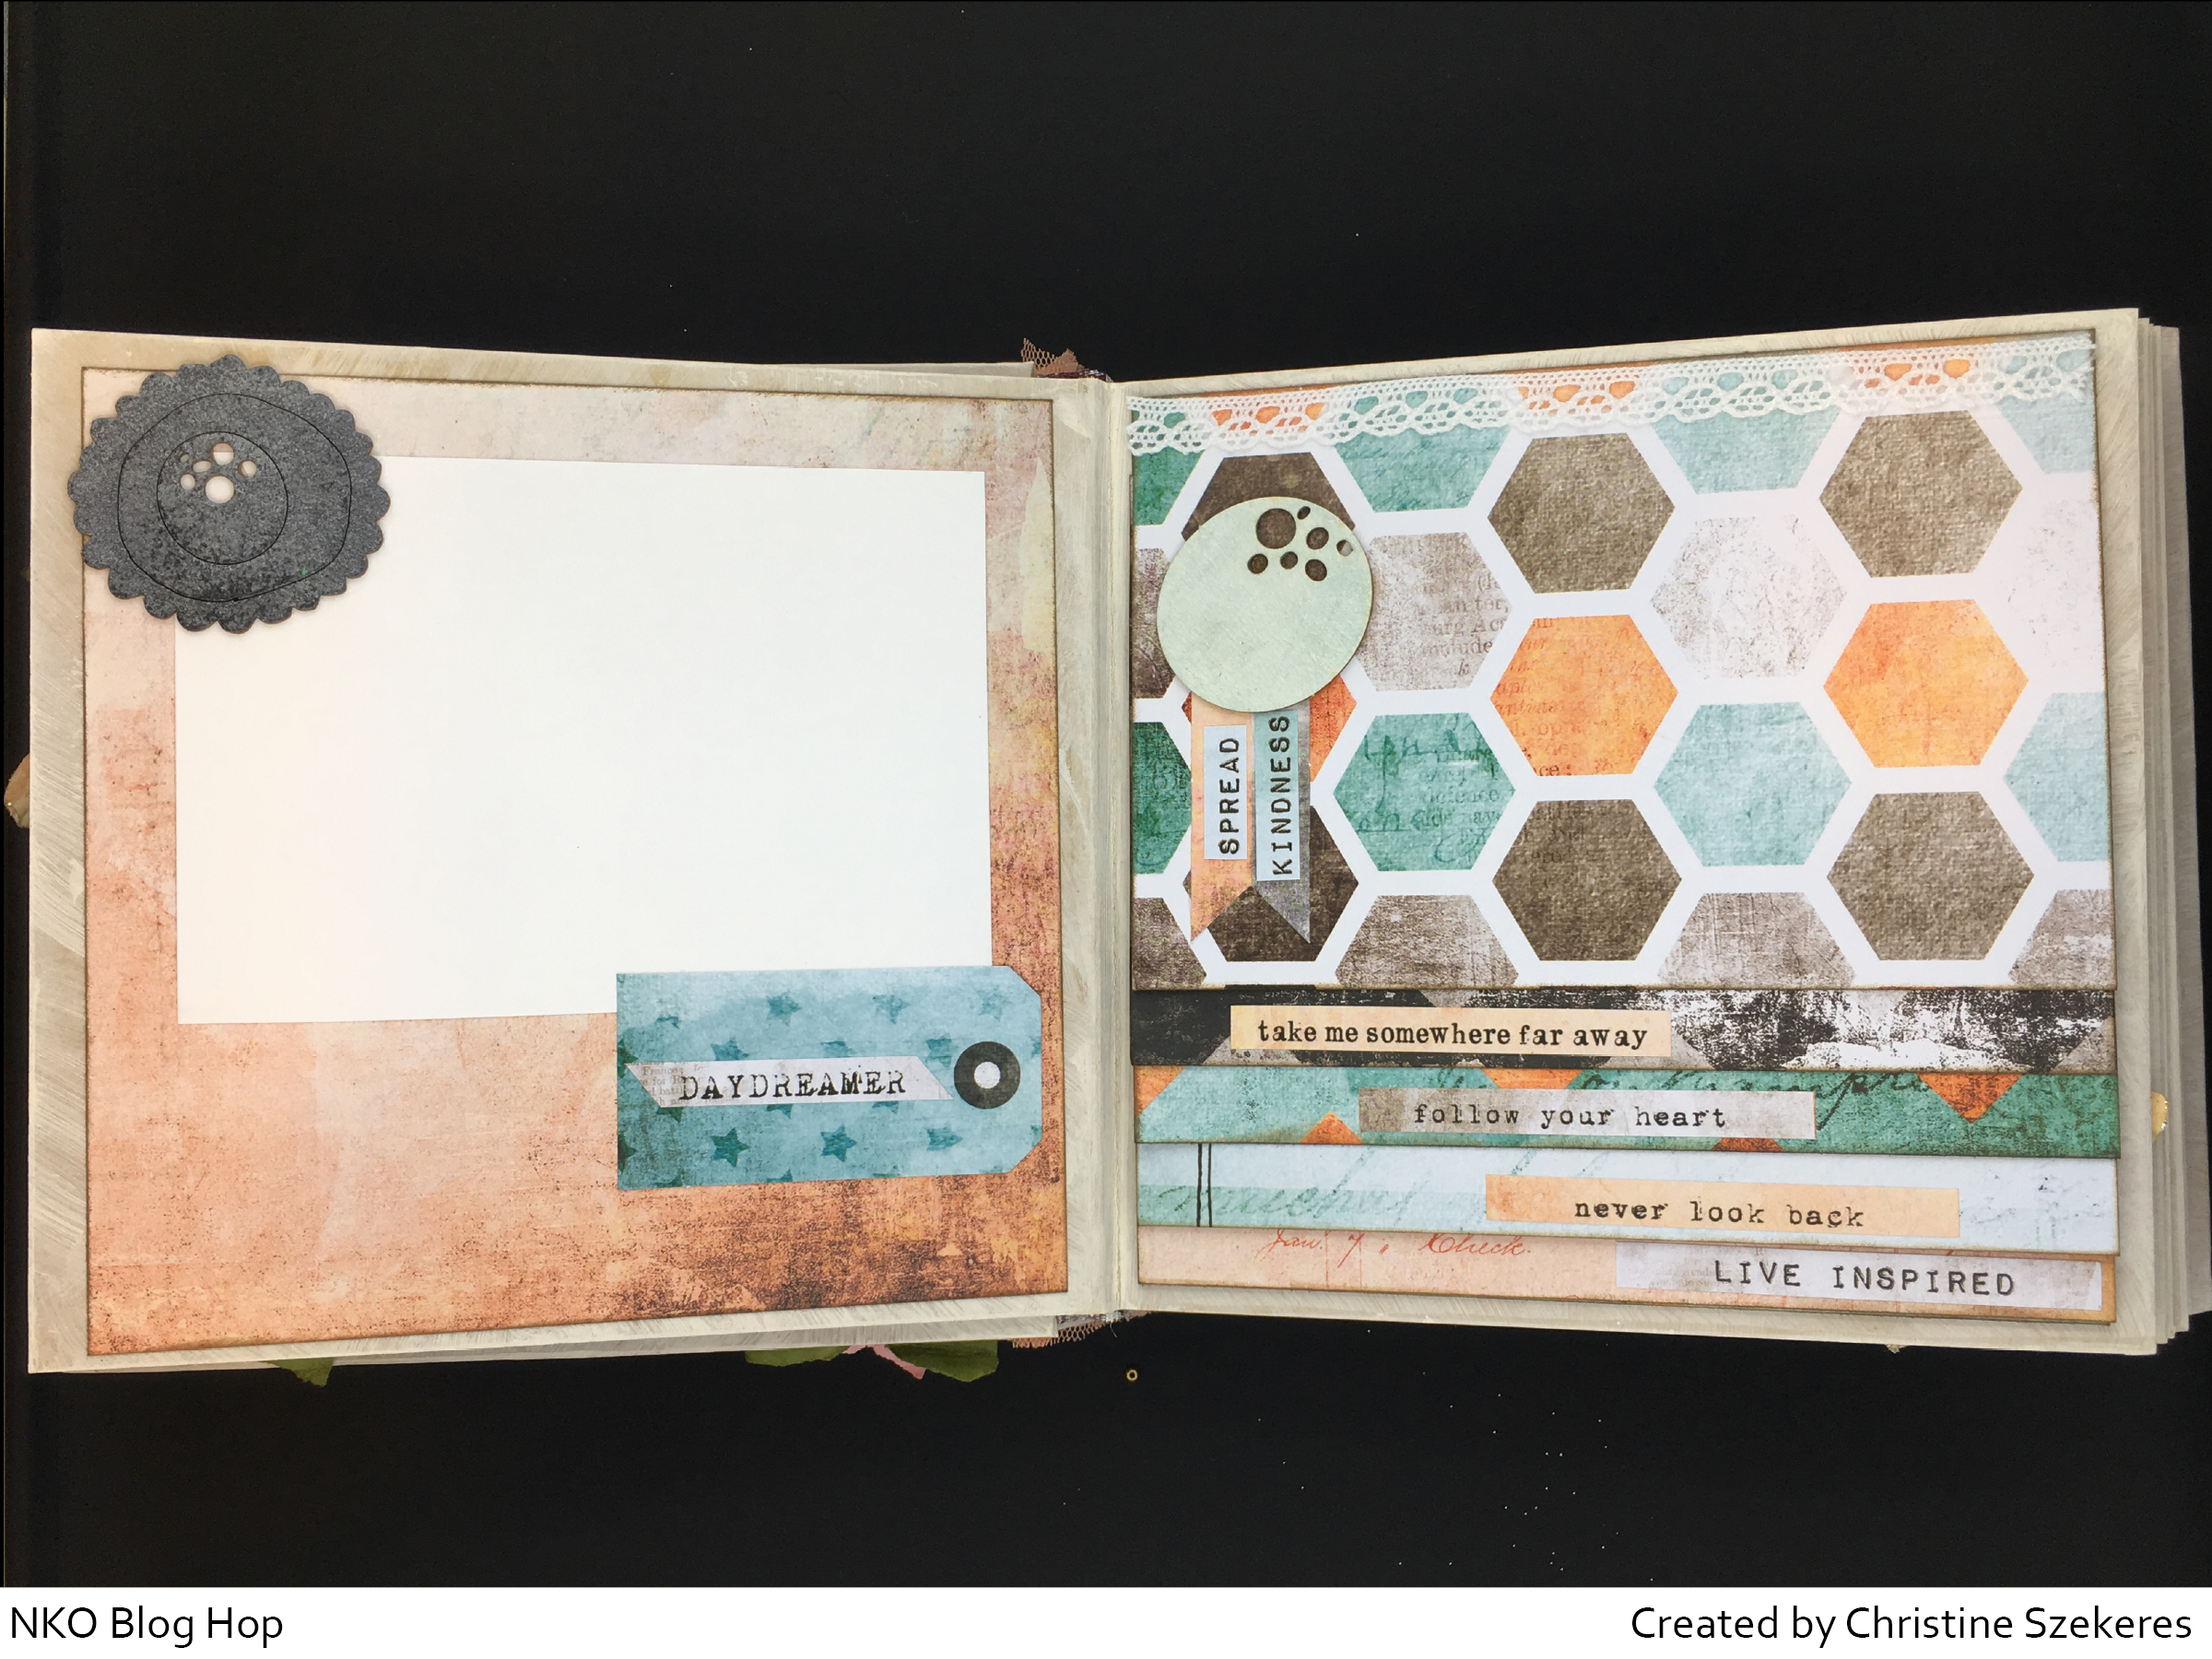
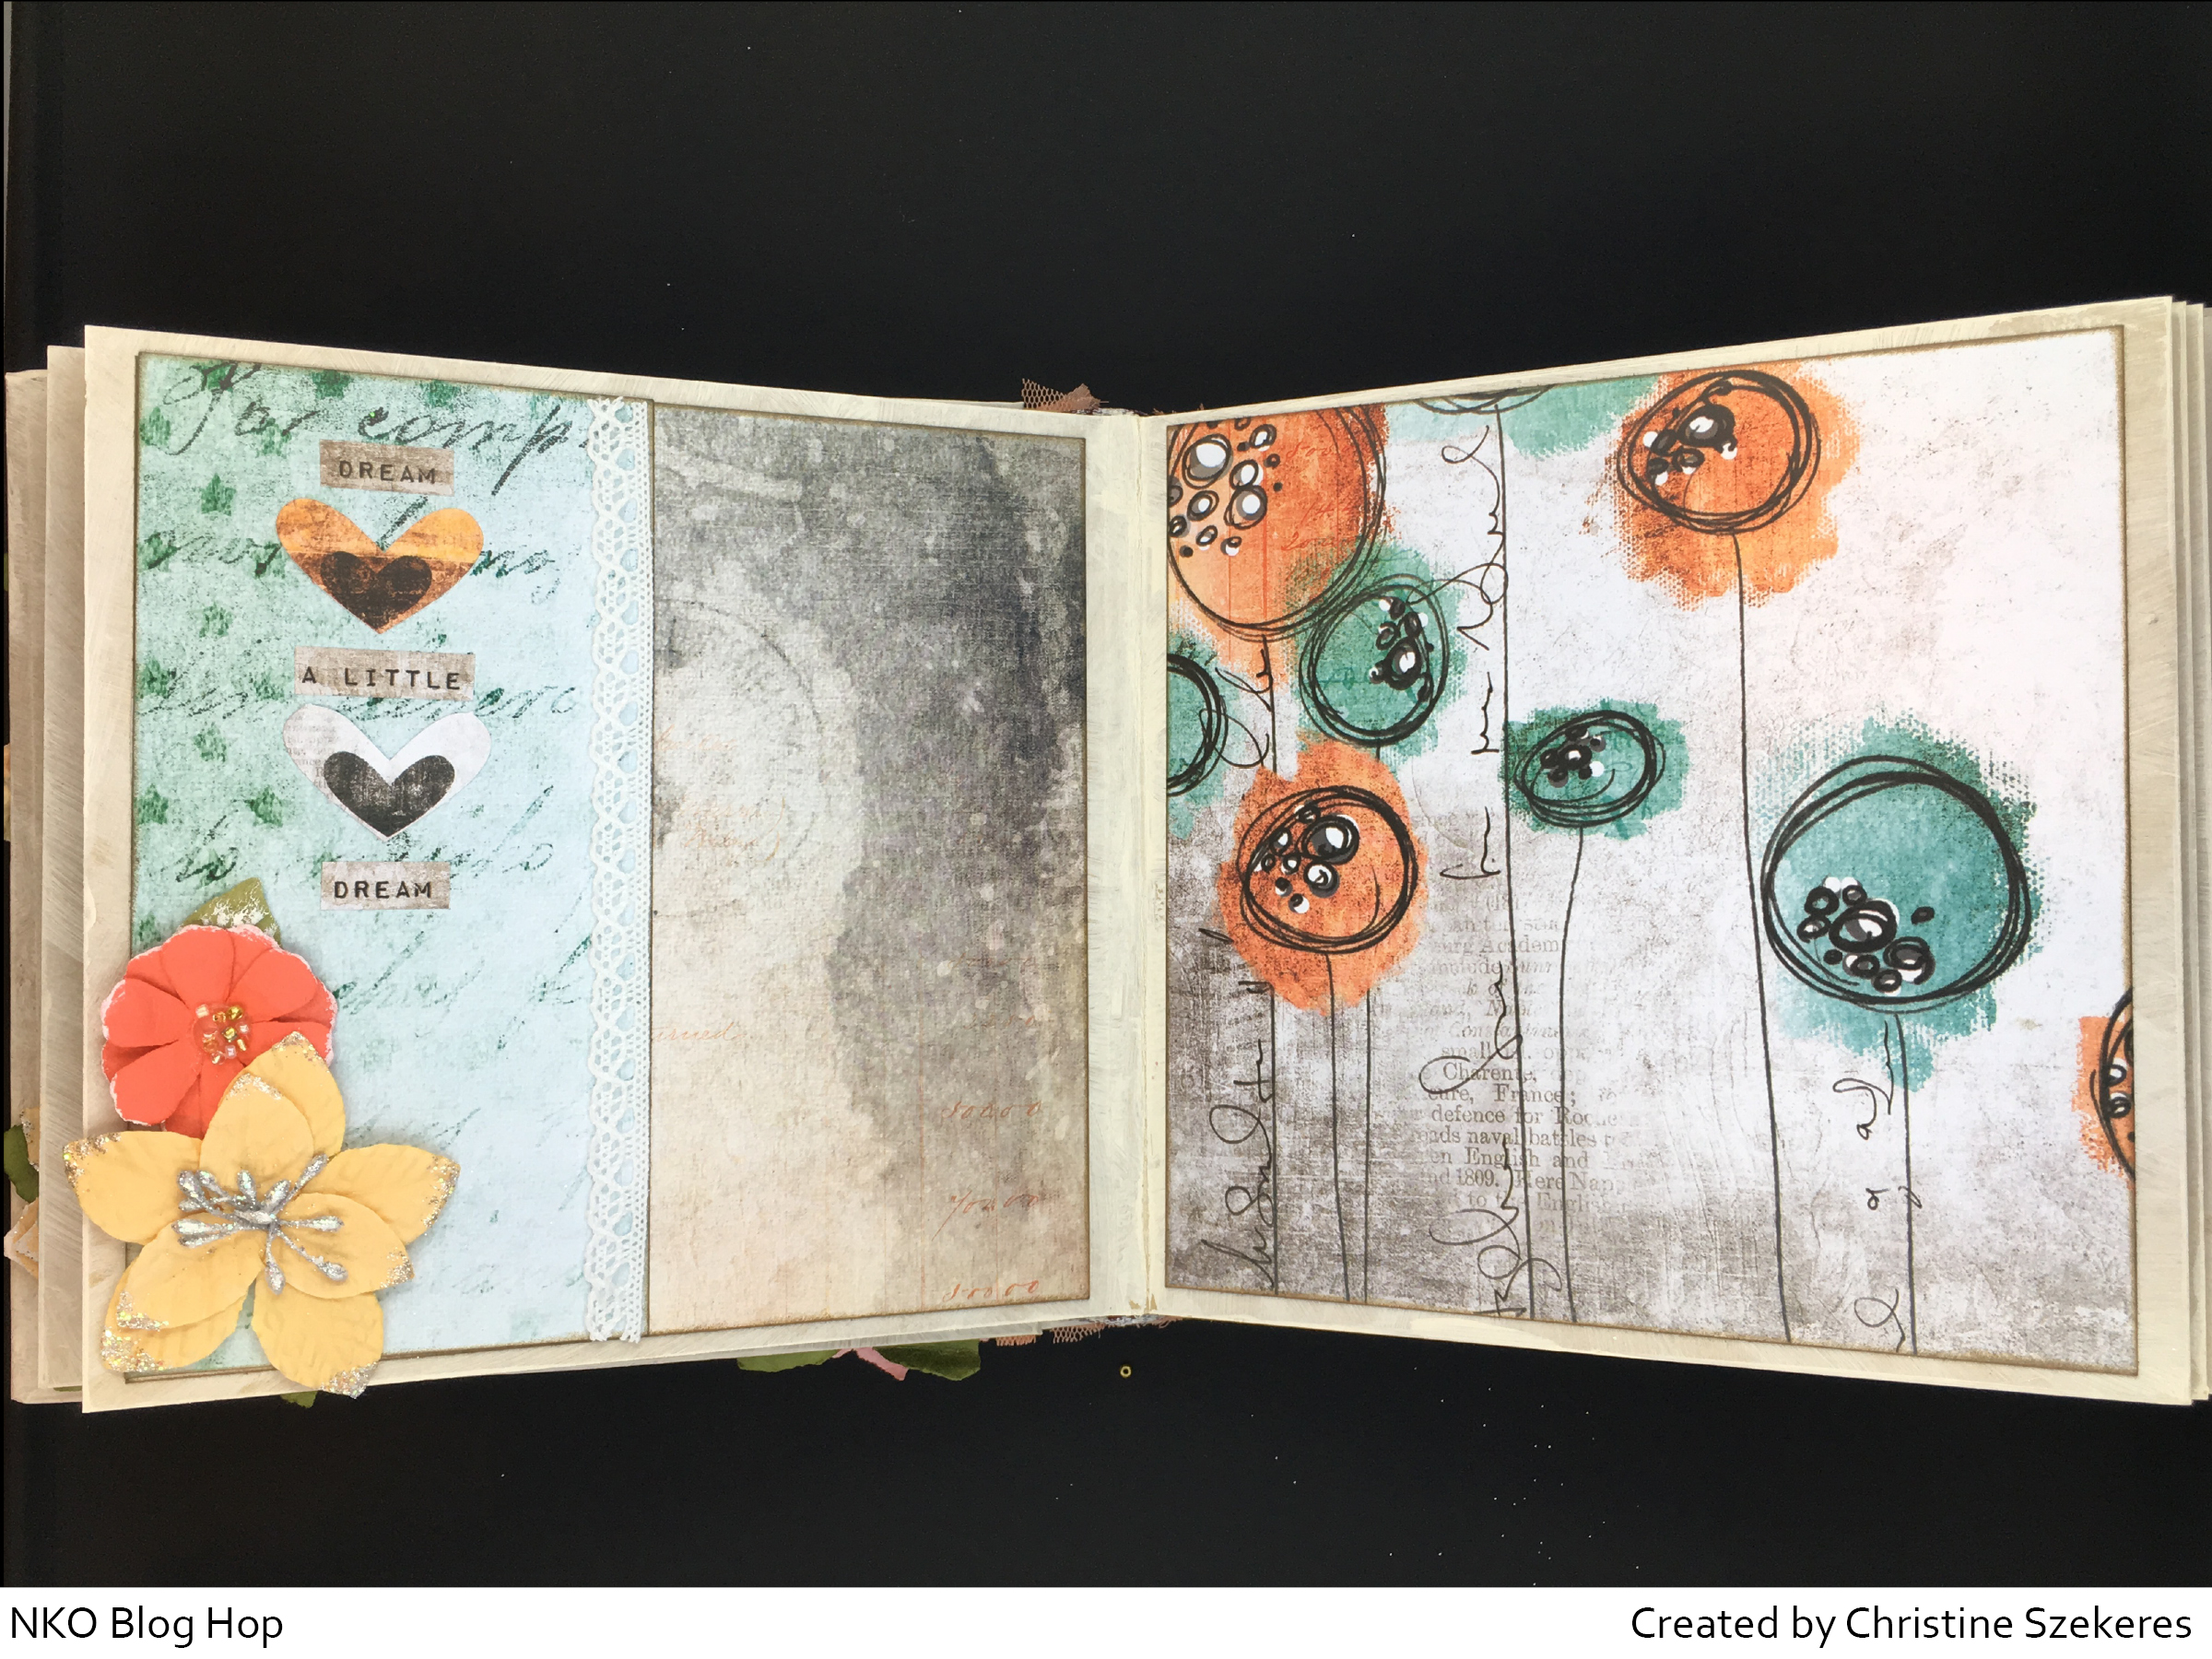
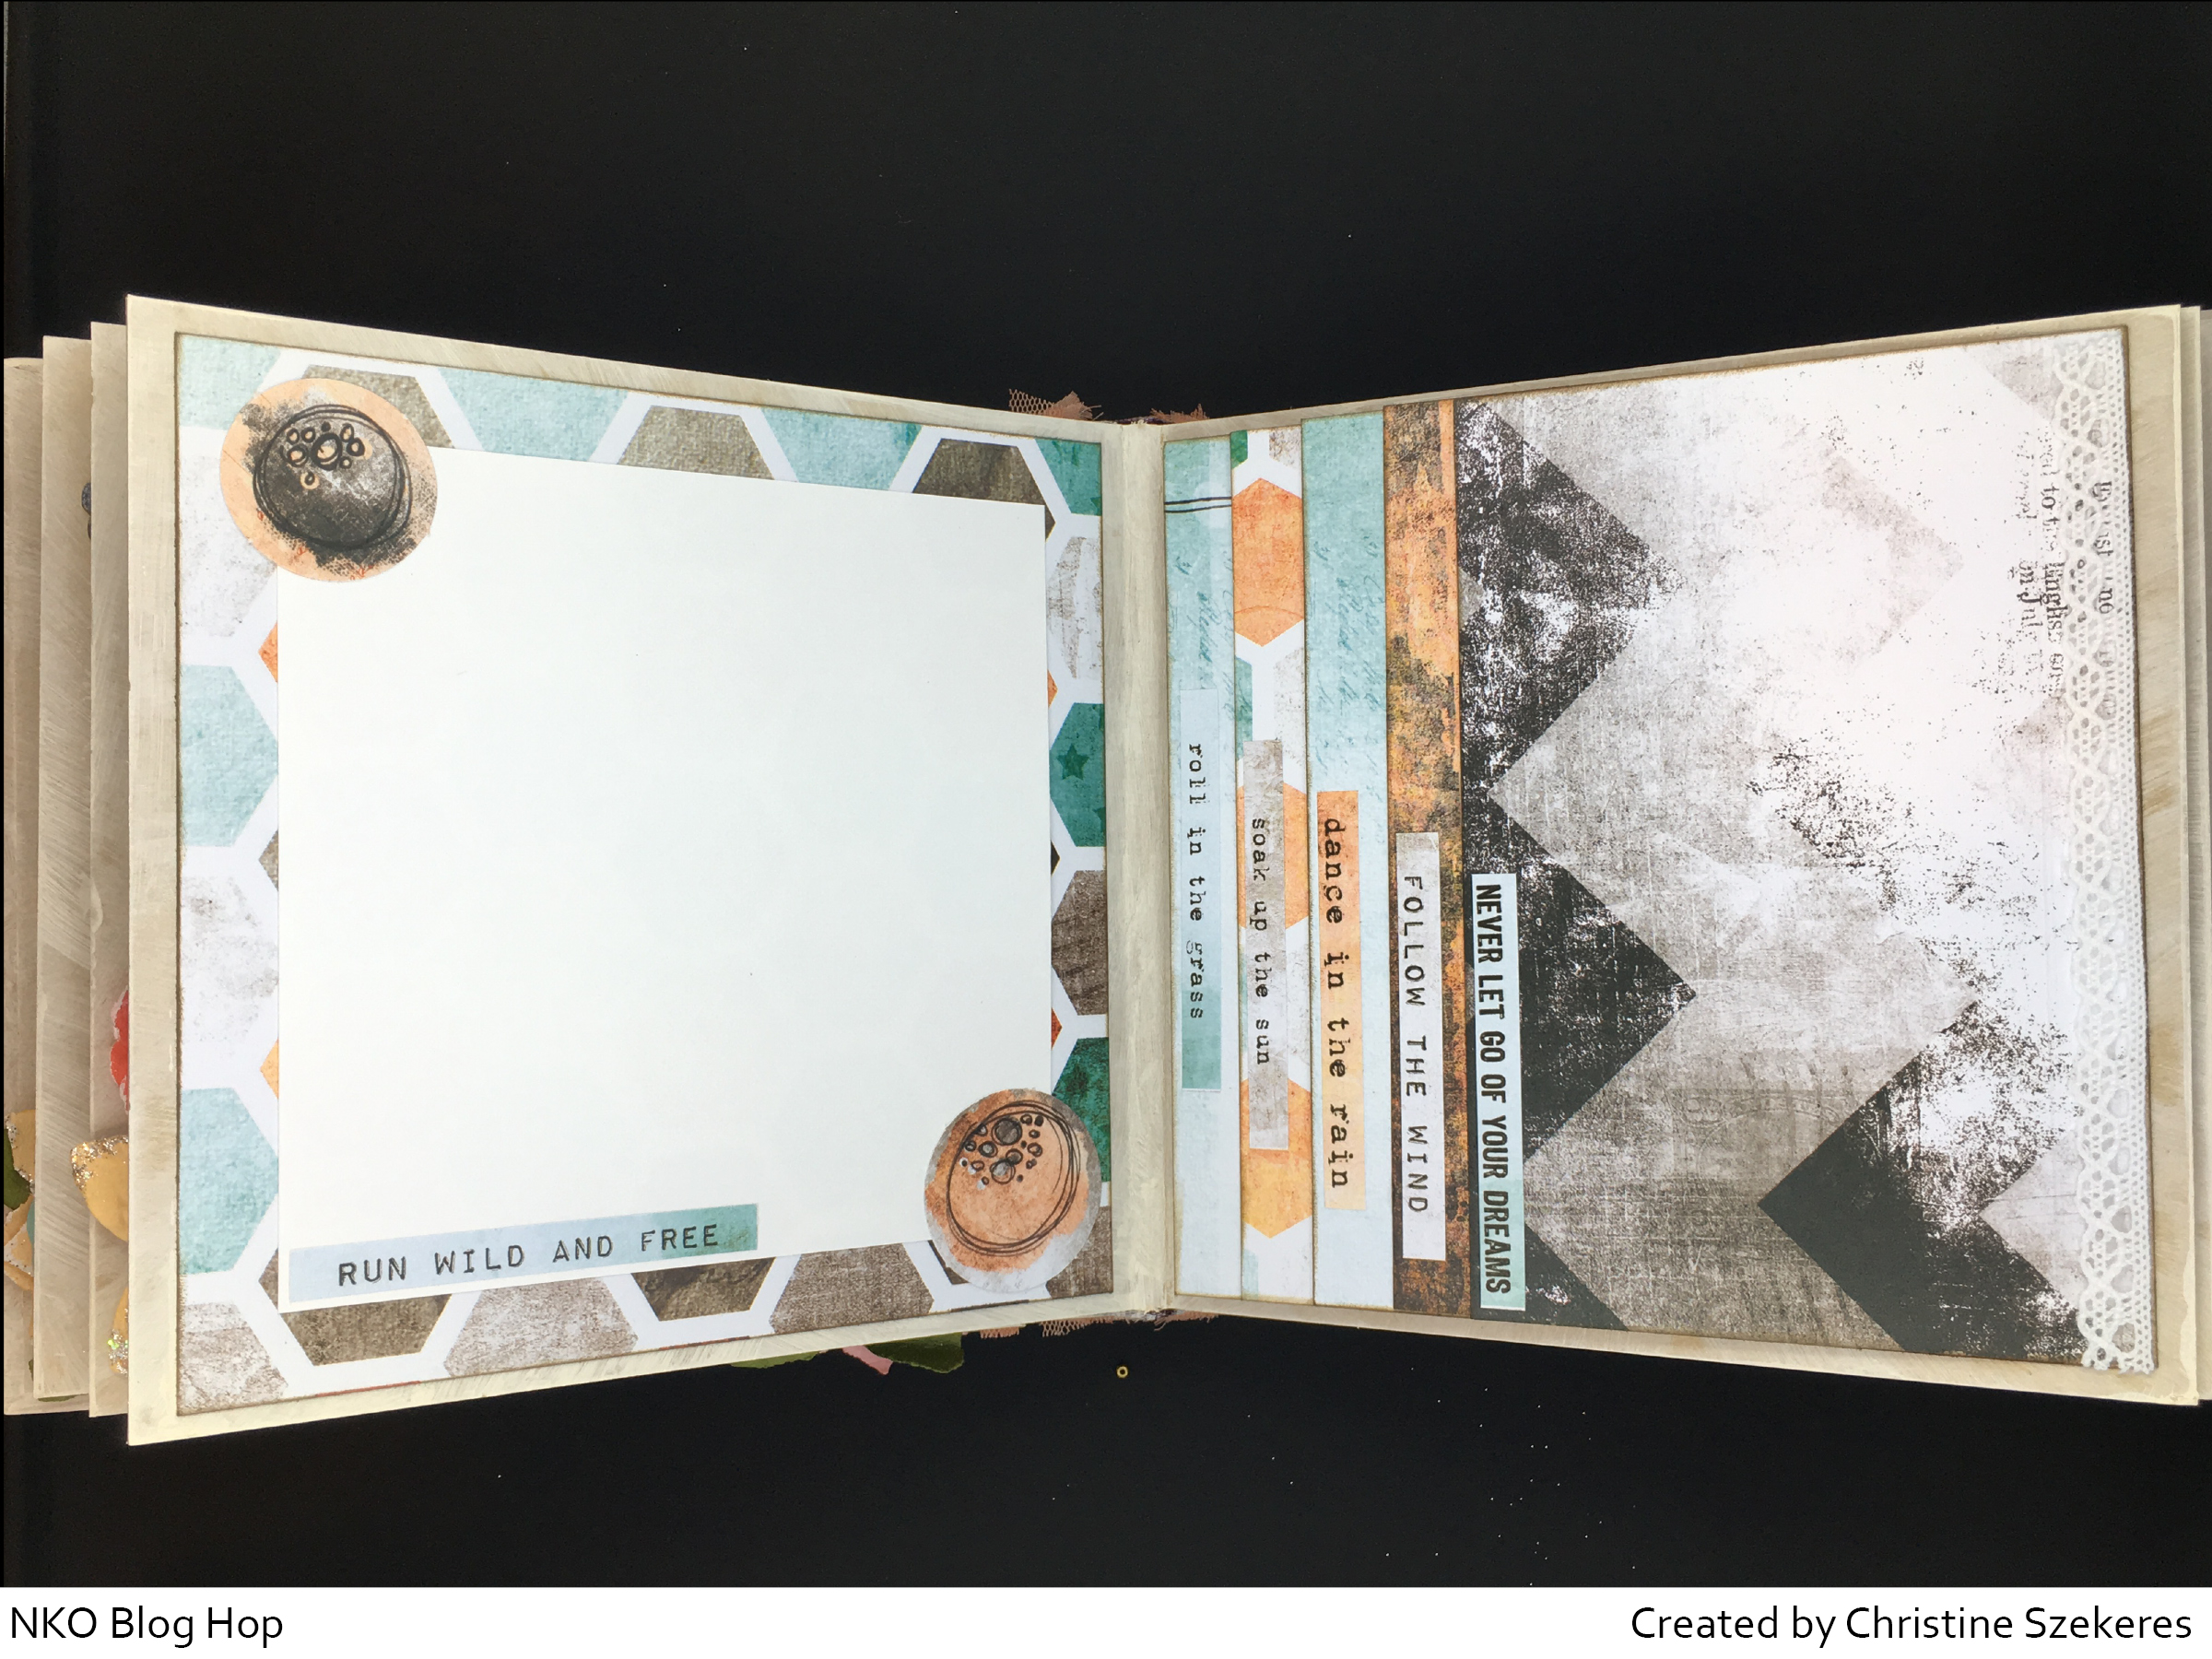
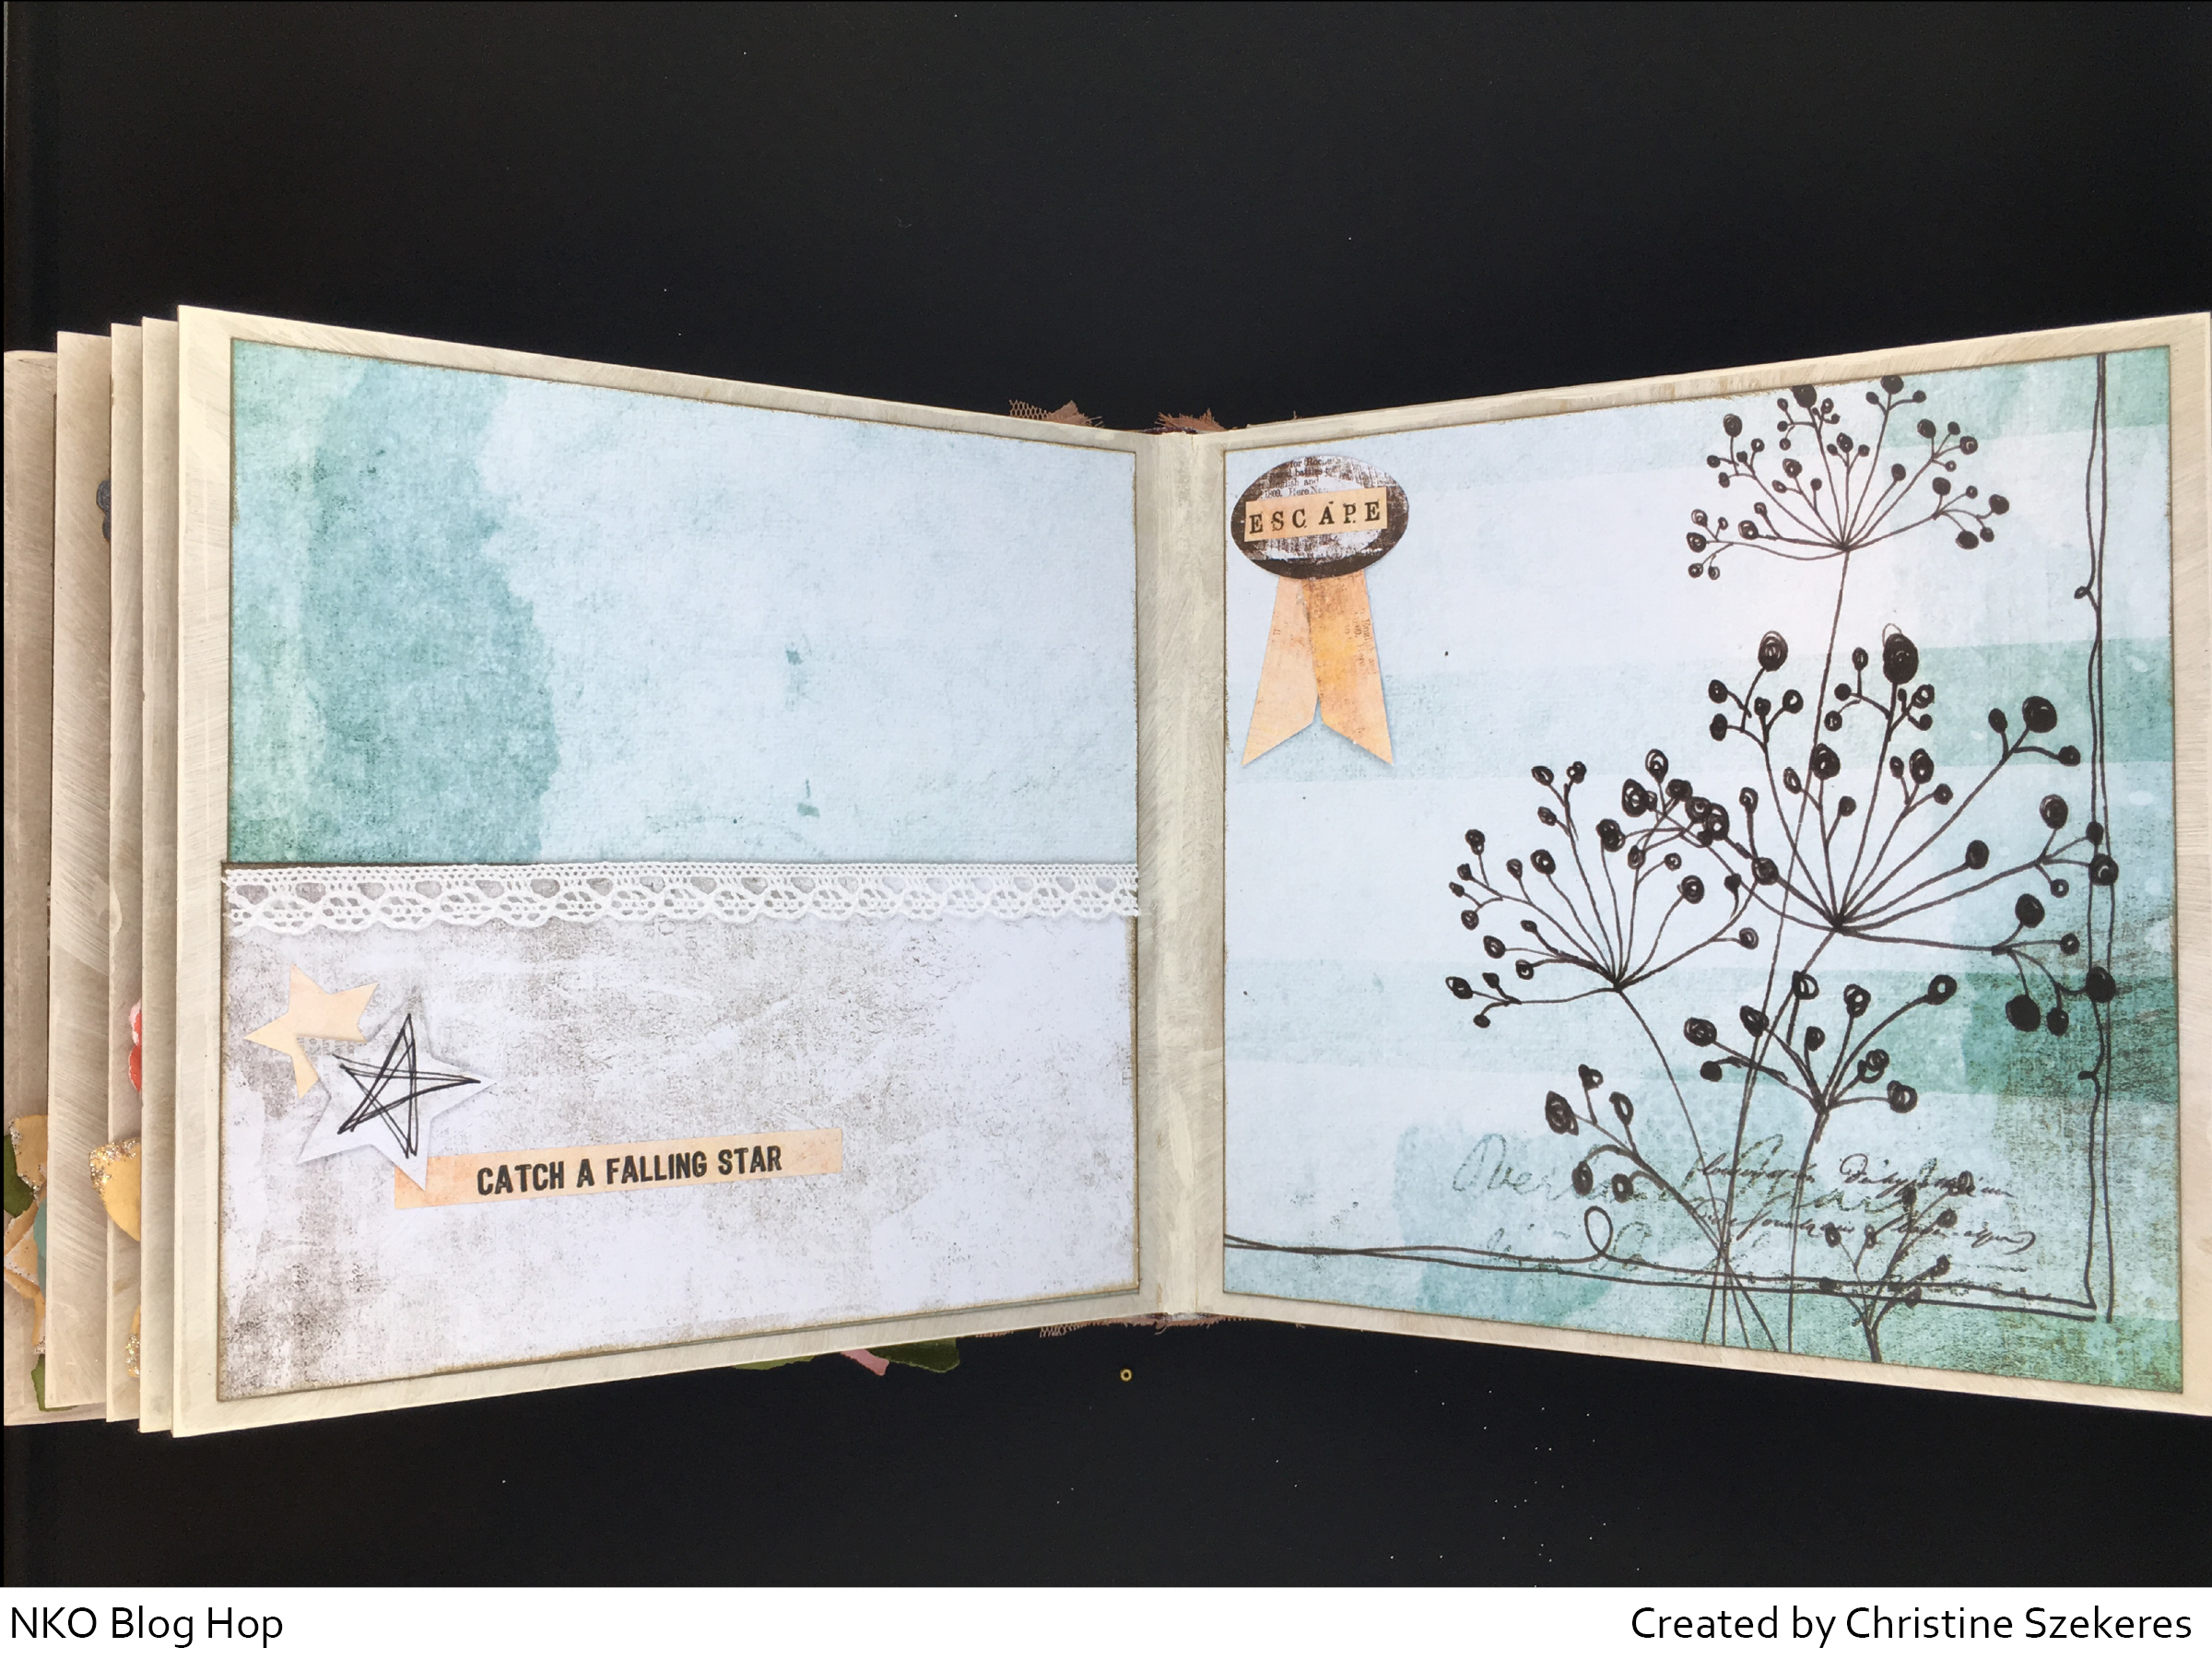
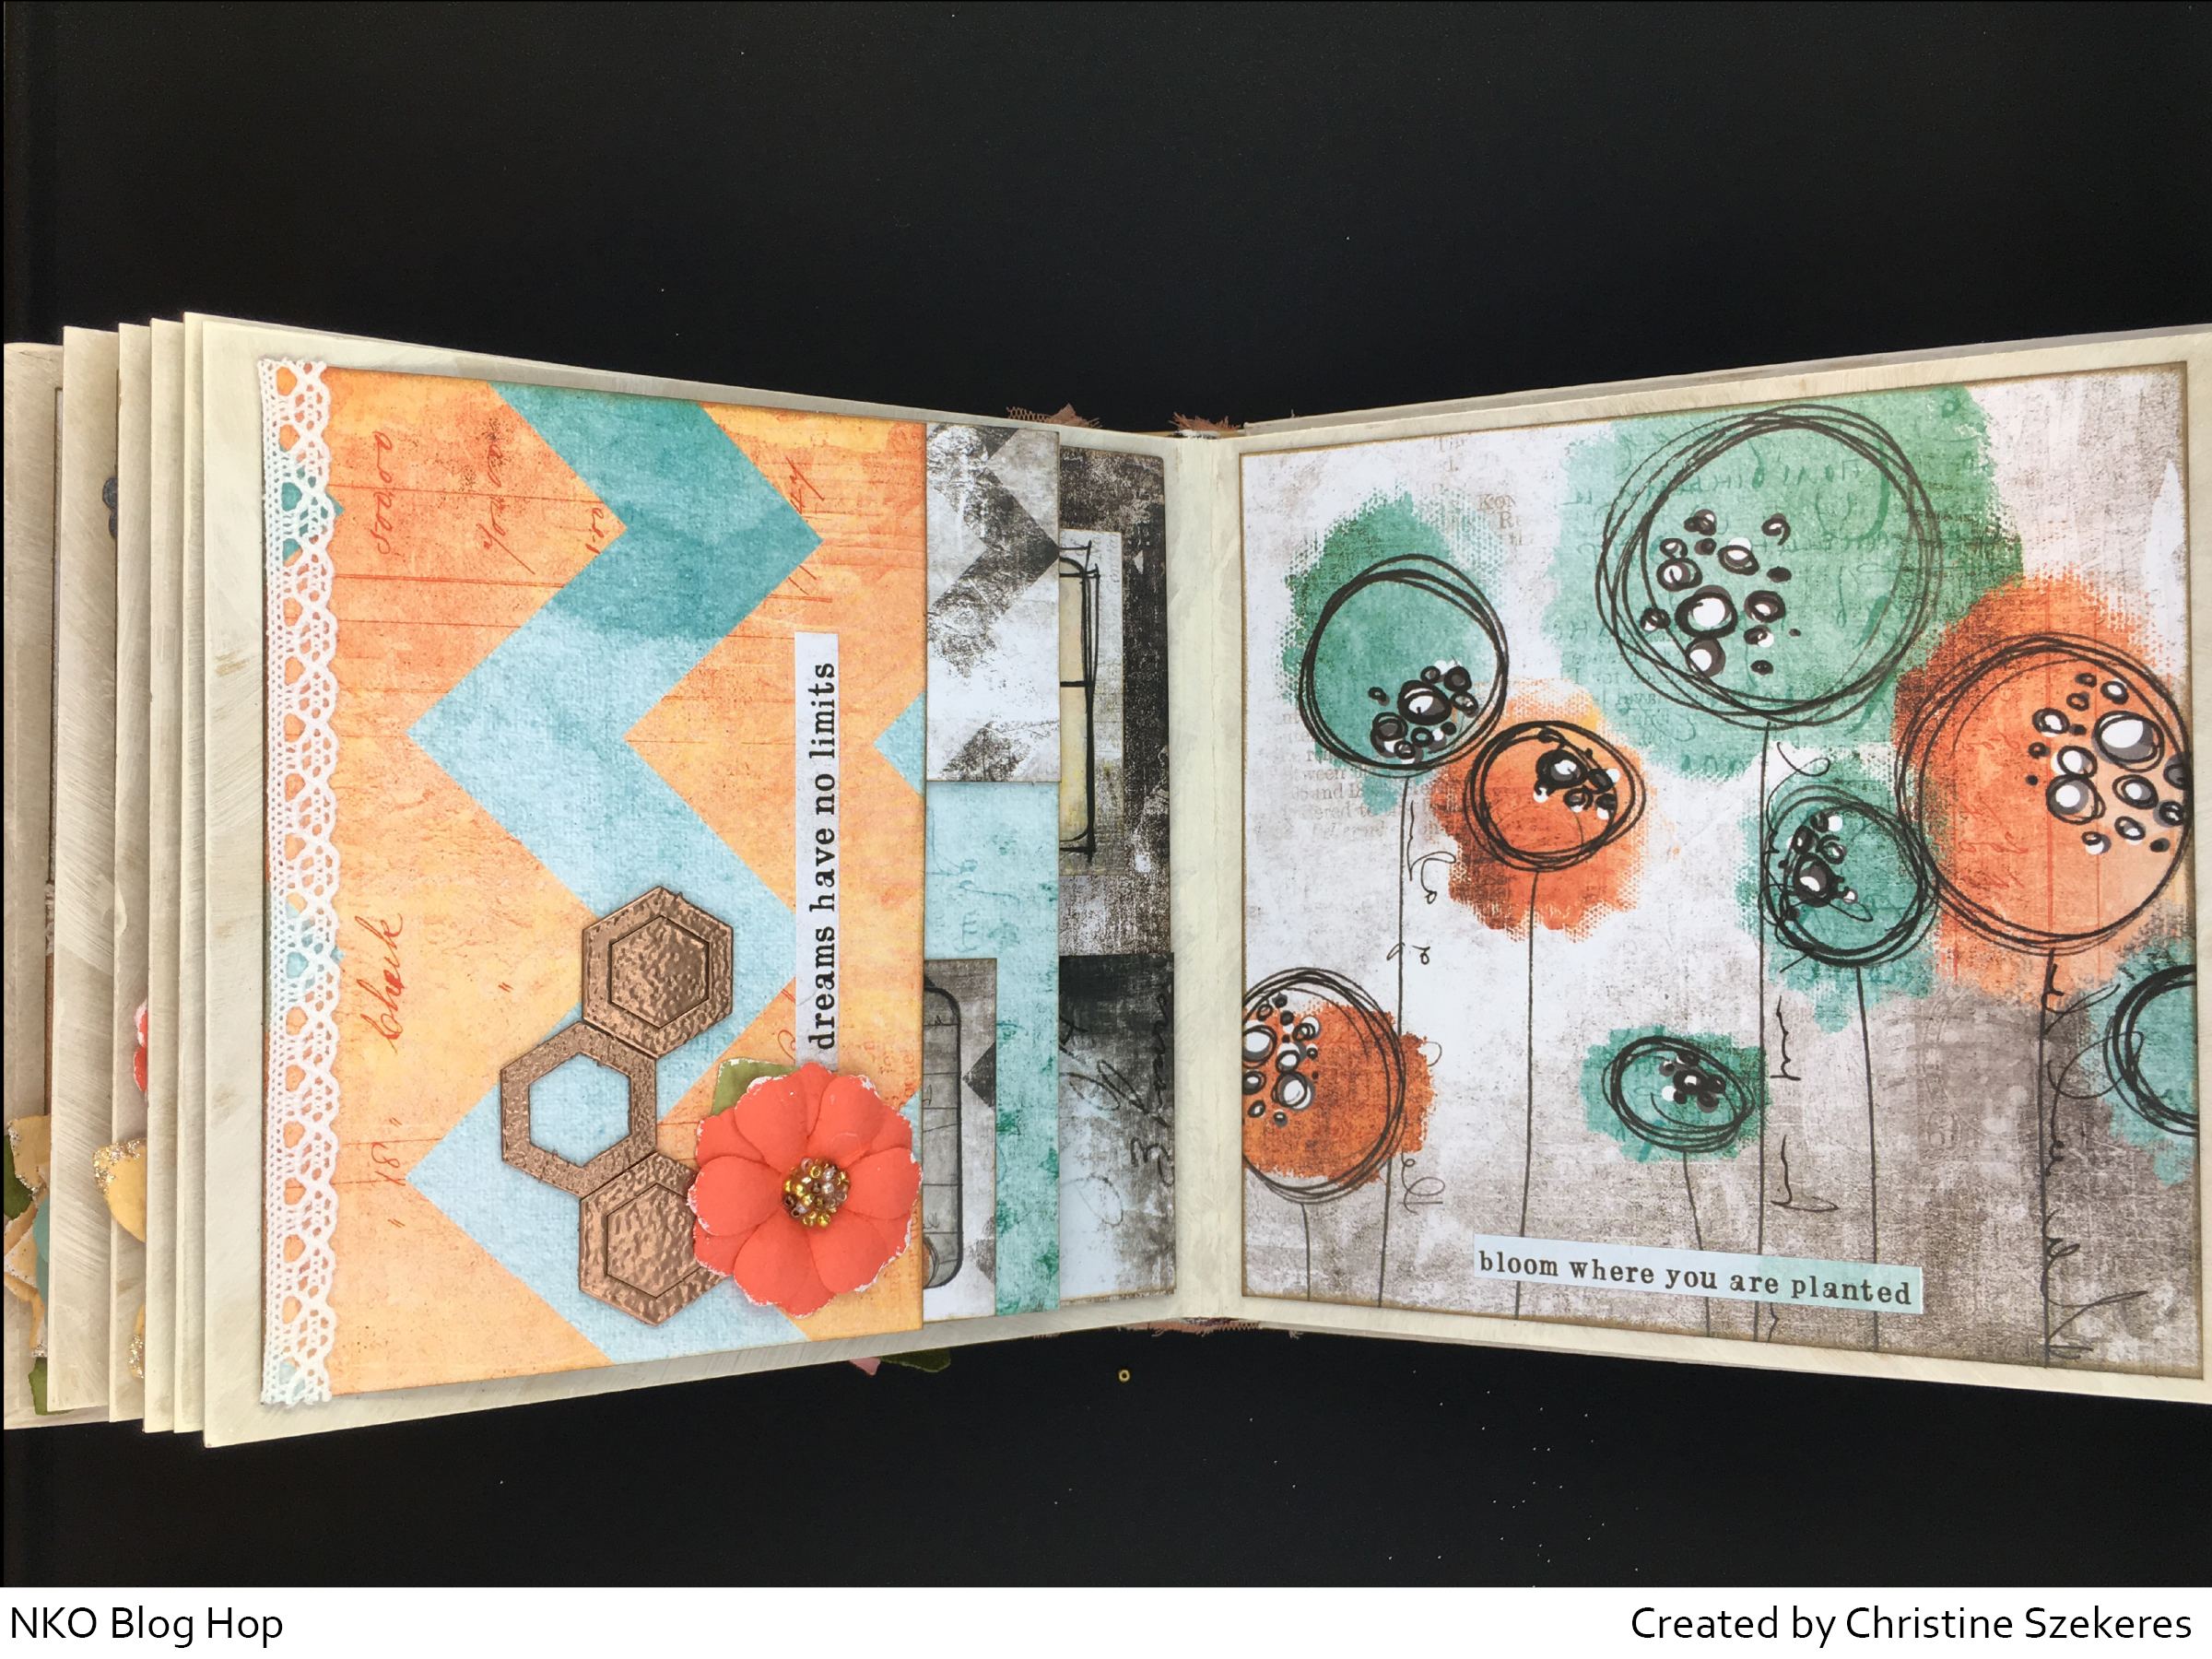
I began by “dry” painting the album using some Vintage White Folk Art paint. The advantage of dry painting is that it dries quickly since you are using so little paint. It also creates a “shabby chic” / distressed base for the album. HINT: You only need to paint the edges since paper will be covering most of each page. I also began sketching out what papers would go on each page. I do this by cutting up the 12×12 papers into 6″ squares and also cutting smaller pieces (4×6, 3×6, and 2.5×4). Next, using Walnut Stain Distress ink and a round blending tool I inked the edges of all the papers. I cannot stress enough how elegant this simple step is. Visually, it adds so much dimension to the papers and ties each page together. Once the pages are cut and inked, I begin laying them out, moving things around and finally “locking” in the design of each page and 2-page spread.

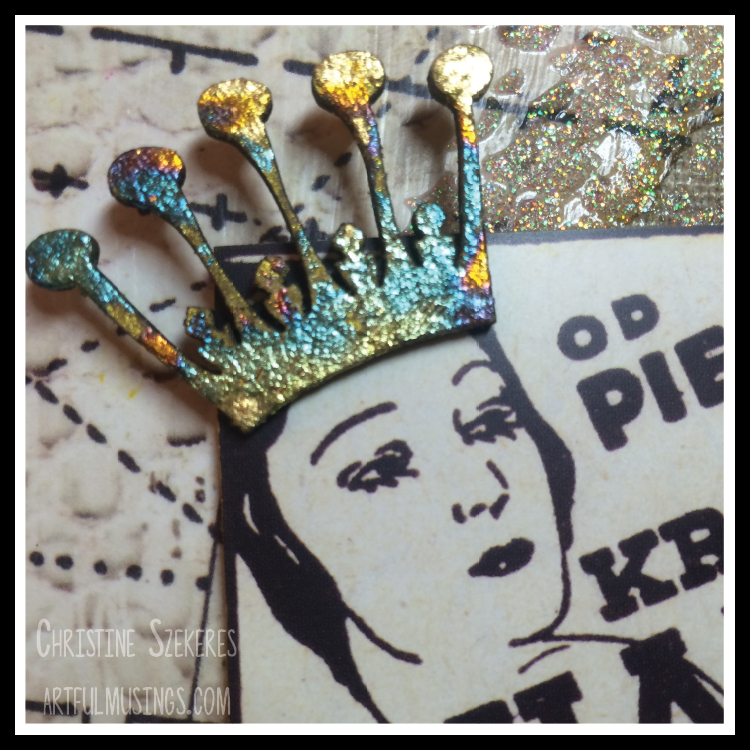
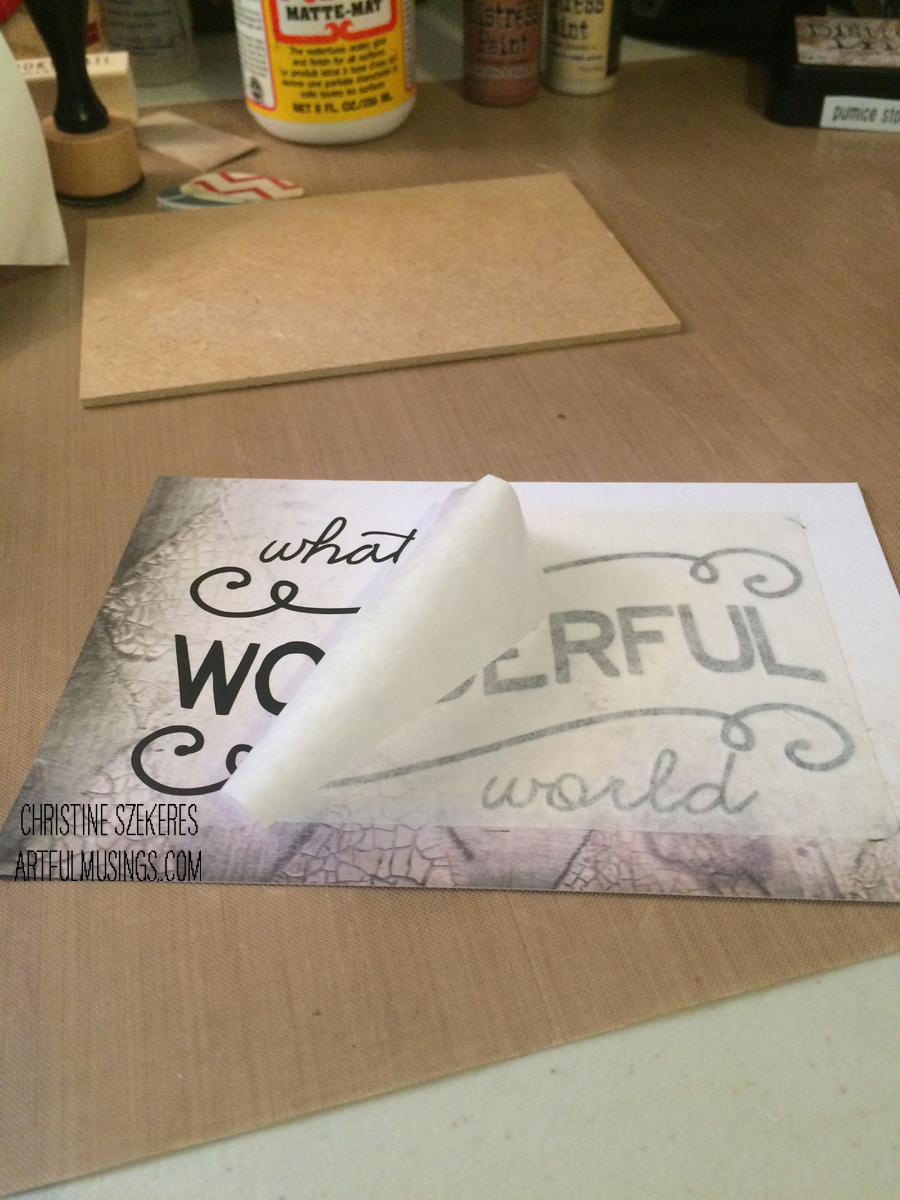
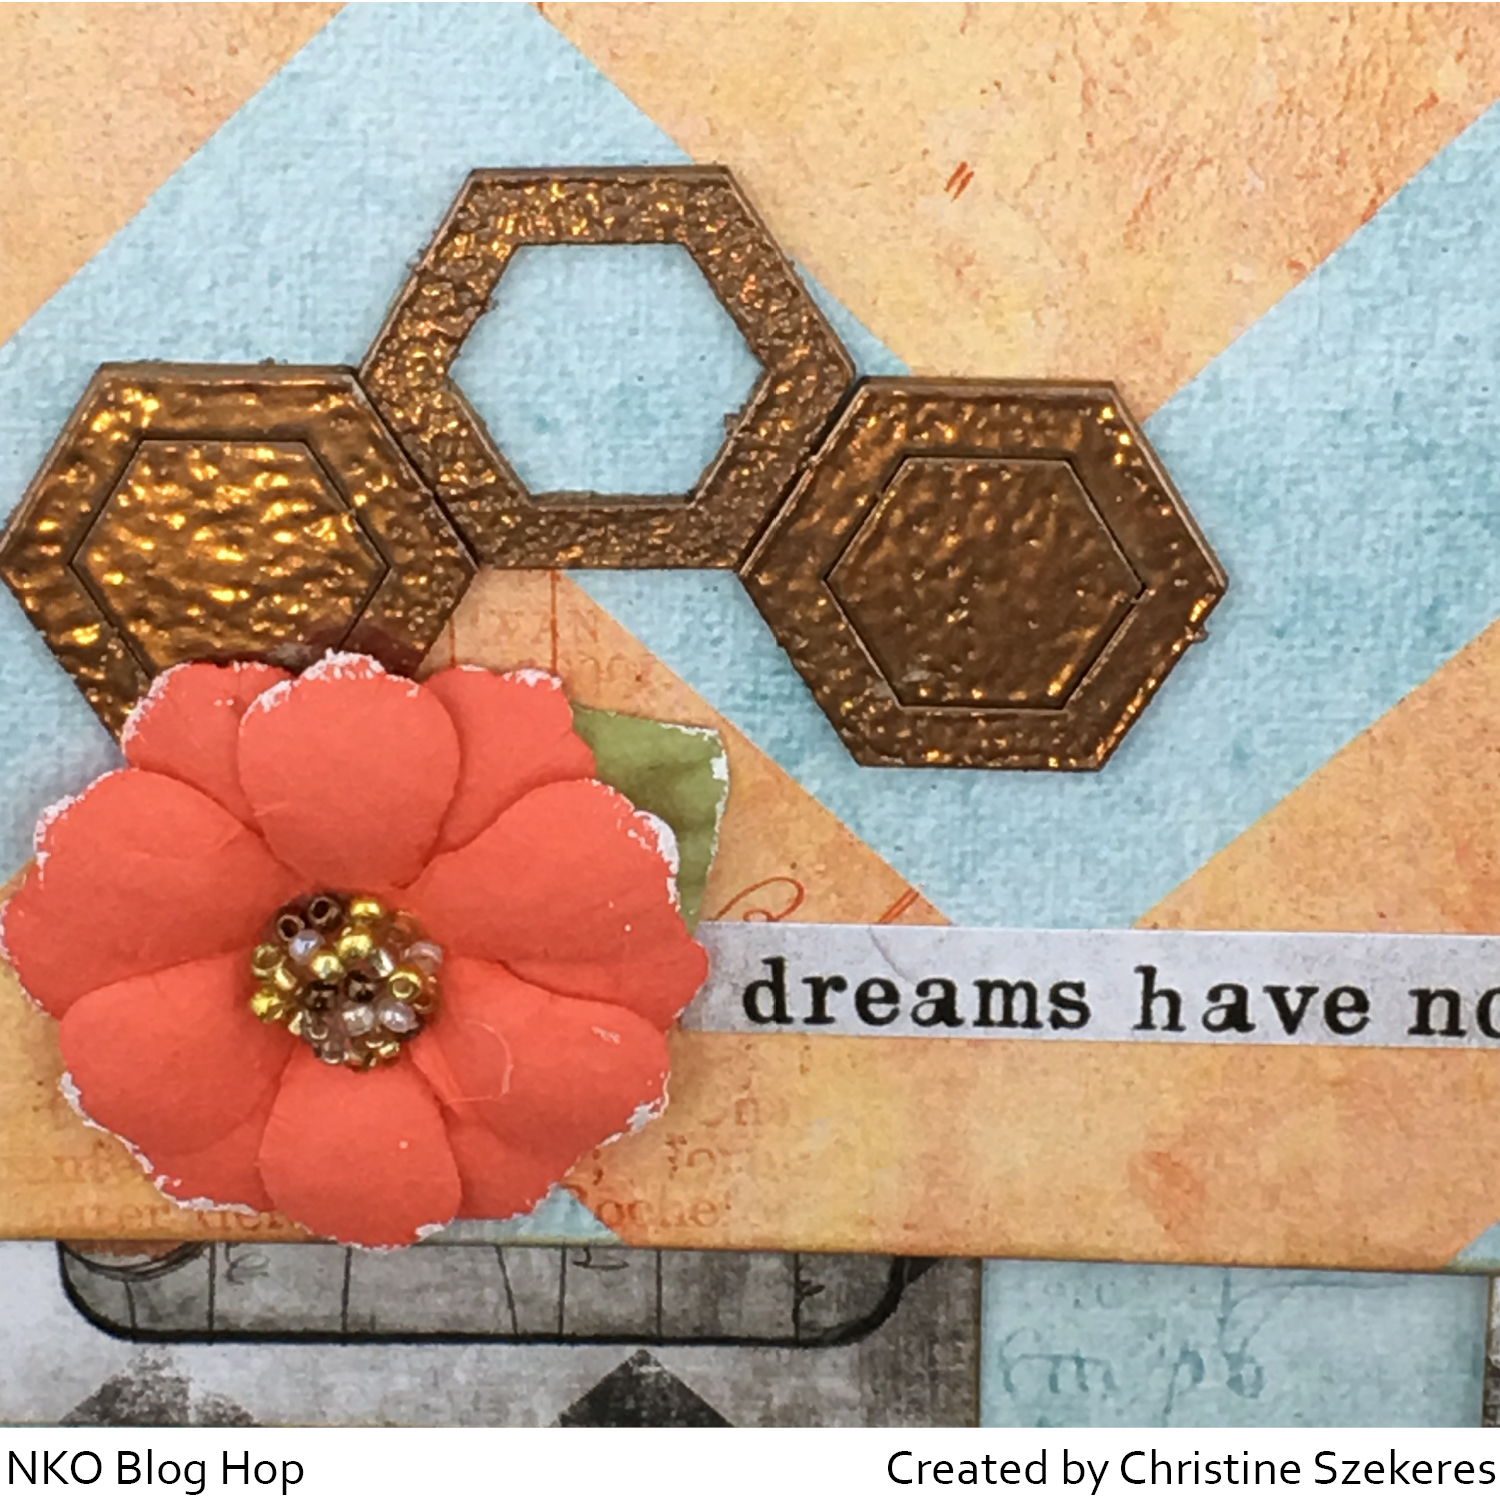
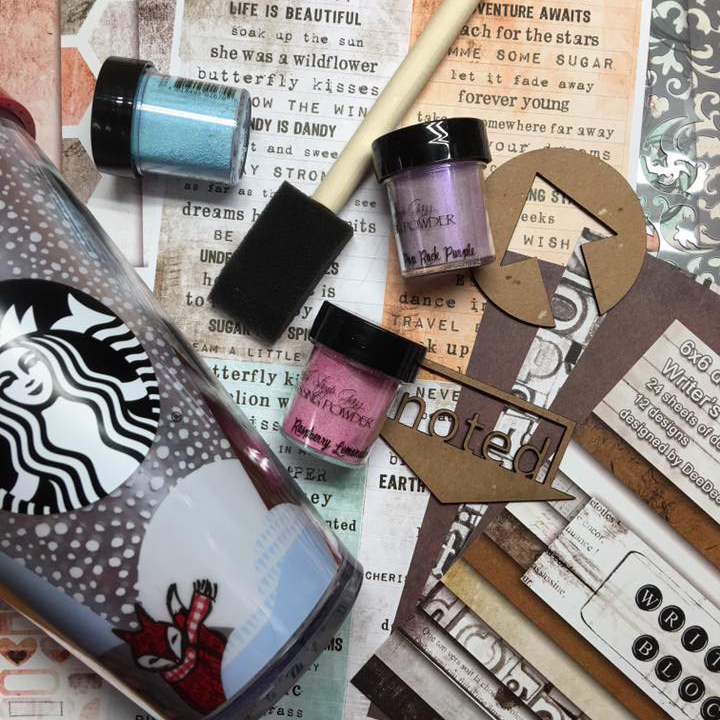
Next, it’s time to begin gluing things down. I like to use a really strong tape runner (like 3L Scrapbook Adhesives My Stik permanent adhesive) or Scor-Tape. For this album I created photo pages, waterfall pages, and pocket pages. After the pages were done, I began thinking about embellishments for each page. For the chipboard I used some clear and copper embossing powders. To get embossing powder to stick to the chipboard, simply use VersaMark or another ink (like Delicata Black Shimmer ink), apply the powder and heat set. The 7DS collection kit comes with two sticker sheets, words and icons, one cardstock elements sheet, and one die cut tags sheet. The waterfall pages consist of 5, 4×6 panels. To create the glue tab, score each panel at a quarter inch and crease using a bone folder. Apply tape runner to the “tab” and beginning at the top, adhere each panel, placing the next panel tab right next to the one above. For the pockets, apply adhesive to the bottom, left, and right sides, leaving the top open to create the pocket.

butterflykisses3 butterflykisses4

butterflykisses5 butterflykisses6

butterflykisses7 butterflykisses8

Once the inside of the book was complete, I began working on the cover. Using a new Memory Hardware acrylic dome, a resin heart, some moss, a few rhinestones, some sequins, and rosette trim I built the focal piece of the album. Anything heavy was glued down using hot glue to make sure it would remain in place once the dome was sealed. HINT: If you paint anything that is going inside the dome make sure to let it dry completely and also rub your anti-static powder tool over any painted surfaces. Also, seal the dome to the backing paper using clear or matte Glossy Accents in a very thin layer. Using too much medium will make it seep into the dome and your floating bits will get stuck to the medium that seeped inside.

butterflykisses13 butterflykisses2

Up next, Kathleen Bement White. Make sure to visit and comment on all the blogs for a chance to win the giveaway!

I had so much fun creating this album. I hope it inspires you in your creative pursuits. If you started here, please visit the other talented team members listed below and leave them some blog love! Until next time, remember, creativity and imperfection live together in all we do. “Grace is the face love wears when it meets imperfection.”

~xoxo
Beanie

  1. Thandar Aye Tabiando
  2. Lisa Collins
  3. Heather Thompson
  4. Christine Szekeres (you are here)
  5. Kathleen Bement White
  6. Jenn Mileli

———– THE GIVEAWAYS ———–

nko-giveaway2 To qualify for the giveaway, make sure to follow and comment on each of the blogs. You have until 12/01/2016 to comment. The winner will be announced on the Nani ke Ola blog on Monday, 12/05/16! Good luck everyone!
nko-giveaway For an additional giveaway, make sure to follow us (@nanik3ola, @beanie_me, @heifer21, and @lccrafts85) on Instagram and comment on the prize photo. You have until 12/01/16 to follow and comment. The winner will be announced on the @nanik3ola Instagram on 12/05/16! You can search Instagram using #NaniKeOlaBlogHop and when you receive your 7 Dots Studio goodies make sure to post pictures of your creations using this hashtag to join in the fun!


Supplies Used

Cotton Candy Collection Kit
Cotton Candy Chipboard
Cotton Candy Hex Stencil
Prima Marketing Memory Hardware Line

Domestic Goddess Mixed Media Canvas

Hello, friends! I hope 2016 is off to an amazing start full of creativity and adventure for each of you. For my first post of 2016 I would like to share an 8 x 10 mixed media canvas I created using the Domestic Goddess paper line from 7 Dots Studio. I really like all the lines from 7DS and this one is no exception. It is reminiscent of 40’s & 50’s domestic life and honestly cracks me up most of the time. I am not June Cleaver. Not even close. It’s a good thing the only other “person” I have to keep alive with regular food and water is my feline friend, Rainey.

Rainey

Growing up with a mom like June Cleaver, Donna Reed, or Marion Cunningham must have been amazing. I respect the women who run households. It’s a full time job and they do it well, but sometimes I wonder if Mom might have “other” dreams (in addition to taking care of her family). This is the inspiration for my project, “Domestic Goddess: She Did Because She Could”.

DomesticGoddess9

My base is an 8 x 10 canvas I picked up at Michaels back during the summer. It is from a “denim” canvas line and is a burlap brown with these amazing antique brass studs on the edges. You could also use a natural canvas (raw, without gesso). I began by choosing a paper for the background. I decided to use White Apron because I liked the imagery and the neutral palette. I cut a rectangular piece roughly 8 x 10 and ripped it diagonally. Once I was satisfied with the angle and edge I inked all the edges using Distress inks in Fossilized Amber and Hickory Smoke.

DomesticGoddess8

Next, I began gathering the elements I wanted include (ribbon, ephemera, stickers, chipboard, and flowers) and tried them out on the canvas. I almost always do this as I have no idea what configuration will look best when I start out. I also pull together way more items than end up on the final piece so I can try them all out. To me this is the fun part of creating a mixed media piece. Often I will create a mock up and walk away for a time, coming back to see how I like it, moving and swapping out different items until I’m satisfied. I take a picture so I don’t forget (mixed media for me often happens over a series of days) and it’s time to begin assembly.

A quick word about adhesives. I’m not a scrapbooker so I am not necessarily thinking about my work lasting (and being archival) for the next 100 years. Instead, I do my best to choose the best adhesive for the items I’m bonding together. One of my secret weapons is Beacon’s Fabri Tac, which is a liquid seam product used in sewing. It dries clear, bonds quickly, and works well for both porous and nonporous surfaces. The bond it creates is nothing short of miraculous.

For this canvas I used several things from the Stickers 12×12 sheet, a few things from the Collage Adverts sheet, and letters from the Alphas – Raspberry Muffin sheet. I also used two chipboard pieces, the wire cage dress form and a crown, both from UmWow Studios. Dimensional items included flowers, leaves, and some beads. I used several Prima flowers from my stash, however these flowers would work perfectly and these leaves are a staple of mine.

DomesticGoddess3 DomesticGoddess4

Using “sticky” embossing powder, I applied foil to the crown. I love sticky embossing powder (my favorite is manufactured by Ranger) and it does just what the name implies, makes the surface sticky when heated. Once you have this sticky surface you can apply foil, flocking, flower soft, or glitter to the surface and it stays put! Amazing, no? I also embossed the dress form using Delicata gold ink and clear embossing powder. I tinted the ribbon using Ken Oliver’s Color Burst in merlot, yellow ochre, and sepia. I also used Marion Smith’s Color Lab kit in merlot, 24k, and caramel on a different ribbon. I wanted to compare these two products. At the end of the day I love both. Ken’s product is more widely available, which makes it better for many of us, but Marion Smith’s has this great recipe card for mixing and getting amazing results. I also applied Bo Bunny Gold Glitter Paste through the Tim Holtz Burlap Stencil to add some dimension to the canvas. When the paste was dry I went over it gently with Fossilized Amber and Hickory Smoke inks using a round blending tool.

DomesticGoddess1 DomesticGoddess2 DomesticGoddess6 DomesticGoddess7

I used Mod Podge (matte), Aleene’s Quick Dry tacky glue, Fabri Tac, and black foam mounting tape. TIP: I prefer black foam tape (versus white) because it doesn’t show as easily when looking at the front and blends in perfectly when viewed from the side.

7DS is a Polish-based company so all the adverts are in Polish. On a whim I decided to translate the one I used: “Od piegow krem Hannol Niezawody Parf D’orient Warszawa”. Roughly translated it is an advertisement for “reliable freckle cream” imported to Warsaw from the Orient. Too funny. Finally, and because Mom has a rapier wit, I included the mysterious quote, “She did because she could.”

DomesticGoddess5

I hope this piece inspires you to “do because you can” and create something uniquely you! Until then, remember, creativity and imperfection live together in all we do. “Grace is the face love wears when it meets imperfection.”

~xoxo
Beanie

Supplies Used
Domestic Goddess paper line
UmWow Studio: wire cage dress form & crown
Prima flowers & leaves
Marion Smith’s Color Lab kit or Ken Oliver’s Color Burst
Snug Hug Seam Binding White
BoBunny Gold Glitter Paste & Tim Holtz Burlap Stencil
Distress ink Fossilized Amber & Hickory Smoke
Round Blending Tool
Delicata gold ink & Clear embossing powder
Ranger Sticky Embossing Powder
8×10 Canvas
Adhesive (Mod Podge, tacky, black foam tape)

Tag … You’re It!

Hello friends! I can hardly believe that we are T-minus seven days from Christmas Eve. 2015 has truly flown by at warp speed. As I prepare for Christmas: baking cookies, buying that perfect little something for a friend or coworker, I am always thinking of presentation as well. The wrapping of Christmas presents … or any present for that matter is almost as important as what is inside. The right packaging can pull a gift together and let the recipient know how much you care and really reflects the work put into handmade gifts in particular.

TagYouRIt1

What I especially like is the size of this project, I can pre-cut tags and other elements and then sit in front of the TV watching a Christmas movie (Scrooged, White Christmas, Holiday Inn, or Elf). They go together quickly and I make more than I need for those gifts that seem to pop up at the last minute.

With this in mind, I decided to pull out my Christmas papers, Yuletide by 7 Dots Studio and Vintage Christmas by Blue Fern Studios and make some gift tags for the handmade goodies I’m giving friends this year. Any die set will work to make your tags, you can even purchase pre-formed tags in white, kraft, black, and other colors. For these tags I used the Holiday Tags Stamps & Die Set from My Creative Time it is my favorite at the moment. I think they are so festive. I also added sequins, pearls, trees and holly cut from glitter paper, and a bit of festive washi tape. Here are a few pictures to get your creative ideas flowing.

TagYouRIt2  TagYouRIt4  TagYouRIt6  TagYouRIt5

I hope this has inspired you to take a look at your gift wrapping and make some festive gift tags. Until then, remember, creativity and imperfection live together in all we do. “Grace is the face love wears when it meets imperfection.”

~xoxo
Beanie

Supplies Used
YuletideVintage Christmas
Holiday Tags Stamps & Die Set
Pretty Pink Posh sequins
Red Pearls
Heidi Swapp Glitter Paper
Fresh Ink: Currant & Mojito
Christmas Cross Stitch Washi
Christmas Tree Winter Washi

Twenty-Fifth Treasure Chest

Hello and welcome to another day of Christmas inspiration. Today’s project is a simple balsa wood box, perfect for holding onto those little Christmas treasures. I created an accordion booklet but this box could easily hold gift tags or any other Christmas treasures you might have.

December25Box0

First, I removed all the hardware, painted, and set the box aside to dry. I knew I wanted to use the Yuletide collection from Seven Dots Studio, which focuses on rich gold/yellows, reds, and grays so I chose a complimentary paint. This collection is so versatile and I’ve gotten so much use out of the items in the collection kit – truly a little goes a long way.

December25Box1

I began by cutting the paper pieces for the lid, outsides, and inner lid out of Gingerbread. I also chose some flowers and leaves. Using LSG Industrial Chic: Golden Doubloons, I sprayed all the flowers and leaves. I glued the Gingerbread pieces to the lid and all four sides of the box. Using my piercing tool, I punched holes in the center of the lid and attached the porcelain “25” to the lid using brads. I stuck various stickers from the word stickers sheet to the red piece and then glued the piece inside the lid.

December25Box3

For the “Dear Santa” accordion booklet I cut two pieces of Figgy Pudding (the gray side) 4″ x 12″. I scored the first piece into three 4″ panels. The second piece I scored at 1/2″ and then created two additional 4″ panels, finally trimming off the excess 3.5″. This resulted in five, 4″ panels. Using tape runner I attached the two pieces together using the 1/2″ tab. Next, using element stickers and element cutouts from the Yuletide collection, I filled in the panels of my “Dear Santa” booklet.

December25Box5December25Box6December25Box7December25Box9

Finally, I replaced the hardware, added some Merry Christmas washi tape to the sides of the box, and attached the flowers and leaves to the lid. As the final touch, I drew a white dot border using my favorite white pen from Signo. TIP: White pen can be used to create all sorts of borders or accents.

I hope you enjoyed this little sojourn and that it helped boost your Christmas spirits!

Until then, remember, creativity and imperfection live together in all we do. “Grace is the face love wears when it meets imperfection.”

~xoxo
Beanie

Supplies Used
Yuletide collection
LSG: Golden Doubloons
Merry Christmas washi tape
Savvy Cityscape Die
Signo White Pen
Distress Paint: Fossilized Amber

Yuletide Greetings

Happy Monday before Thanksgiving friends! If you find yourself here, welcome! Grab a cup of tea (or coffee) and enjoy a few minutes with me while you take a break from your Thanksgiving preparations.

Today I have a group of Christmas cards made using the Yuletide collection from 7 Dots Studio. I love these papers and have enjoyed playing with all the bits that came in the collection. In addition to the 12 x 12 papers there are tags, word stickers, element stickers, and a second sheet of element goodies. More than enough to spark your creativity!

YuletideGreetings5

For the first card, “Holly Jolly Christmas” I used one of the large tags, a word sticker, a chili pepper card base, and a wooden tree from UmWow Studio. First, I ran the front of my card through the Big Shot inside a texture plate (knit sweater) and I rubbed metallic gold ink over the texture to give it definition. Next, I die cut the Seattle skyline out of the Gingerbread card stock. I adhered the tag to a piece of Warm Cider card stock (the snowflake side) and trimmed it close. I popped up the skyline using black foam dots and added the Holly Jolly Christmas word sticker to the tag. I painted the tree using a dark green glitter pen and glued a silver star sequin to the top. Once it was dry, I glued it to the skyline. A red enamel disc and bit of creme an gold ribbon and this card is complete.

YuletideGreetings3

The next card, “Noel”, uses one of my favorite dies, the word noel with reindeer antlers, which I cut out of a piece of Sugarplum card stock. I mounted on another of the large tags and tied some red and green twine through the hole in the tag. I also cut a 5.5″ x 1″ strip of Gingerbread card stock and mounted it to the vanilla bean card base. Next I popped up the tag using black foam dots. To finish off this card I glued down a few snowflake sequins and added Rudolph’s red nose.

YuletideGreetings4

The “Joy” card is mounted on a juniper card base I ran through the Big Shot with a texture plate (numbers). As before, I rubbed gold metallic ink over the face of the card to highlight the texture. I die cut the bough out of vanilla bean card stock and used some Queen & Company red pearls for the holly berries. The focal piece, the joy chipboard ornament, was painted with red paint and then clear glitter pen was added over the top to give it a bit of sparkle.

YuletideGreetings2

The final card, “Presents Squared”, uses a crimson card base run through the Big Shot with a texture plate (brick wall) and highlighted using gold metallic ink. I cut a strip of Sugarplum card stock 5.5″ x 2.25″ and mounted it to the front of the card. I chose another large tag and a few square sticker elements that I applied to the tag. Another UmWow Studio chipboard (a present) was colored using a gold orange glitter pen and adhered to the tag. A green enamel disc adds a pop of color to this card.

YuletideGreetings1

I hope you have a blessed and joyful Thanksgiving. We will be back with another Christmas preview week beginning Sunday, December 6th! Until then, remember, creativity and imperfection live together in all we do. “Grace is the face love wears when it meets imperfection.”

~xoxo
Beanie

Supplies Used
Yuletide collection
UmWow Studio
Queen & Co Red Pearls
Joy Chipboard Ornament
Big Shot & Dies, Adhesive, & Gold Metallic Ink

Giving the Gift of Fashion: Custom Barrettes

Hello, friends! Beanie here again sharing another gift idea for all the ladies in your life: hair barrettes. Sounds simple, right? Well, it truly is but it makes a wonderful gift. Customizable for any style, color, or occasion, these fashion accessories make wonderful gifts.

Requiring minimal supplies, these barrettes come together so quickly and easily you will be astounded at how many you can create in an evening.

Fashionable1

For the ones shown here, I used Lindy’s Stamp Gang Autumn Leaves Sidekick and Prima’s Pearl White Color Bloom sprays to give a shimmer to the flowers. TIP: Did you know that you can refill Color Bloom sprays with filtered or bottled water two times? That’s right, when the bottle is nearly empty, simply refill it with filtered or bottled water, shake it up, and you’re ready to go again. The Color Blooms may seem expensive, but when you factor in three bottles out of one, they are actually one of the more inexpensive sprays on the market.

I made card backs (a piece of 3″ x 3″ cardstock) to hold the finished barrettes using 7 Dots Studio’s Cold Country paper line (choose paper that compliments the barrettes). You can find your barrette base online at Amazon (I used the 2″ type for these), at your local beauty supply, or Target. I used many different types of flowers and centers (micro beads and other self-adhesive gems). Fabri-Tac is my favorite adhesive for this sort of creation because it sets up so quickly.

Attach the base flowers to the barrette using Fabri-Tac (it dries quickly so you won’t have to wait long to move forward). Before attaching your focal flower, add anything to the center (beads, sequins, gems, etc) using Fabri-Tac or other dries clear adhesive and let that set up. Once it’s set, you can attach it to the barrette using Fabri-Tac.

Fashionable2 Fashionable4

The most difficult part of this project: choosing flowers. There are literally thousands of combinations and the sky is the limit for customization including beads, self-adhesive gems, sequins, sprays, die cuts, mini bells, and on and on! Be sure to stop by the store for all of your paper crafting needs. Some wonderful new goodies are being added for the holidays!

I hope this idea inspires you to step outside the box in terms of gift-giving. Remember, creativity and imperfection live together in all we do. “Grace is the face love wears when it meets imperfection.”

~xoxo
Beanie

Supplies Used
7 Dots Studio Cold Country
LSG: Autumn Leaves Sidekick
Prima Pearl White Color Bloom
Flowers & Barrettes
Self-Adhesive Gems, Buttons, & Brads

What a Wonderful World: Altered Box

Last time I shared my struggles with (and a new commitment to) creating handmade gifts that were simple, yet elegant. I’m happy to say I’ve been doing pretty good creating handmade gifts for friends this Christmas and today I would like to show you my latest, the “What a Wonderful World Gift Box”. Let’s get started!
Wonderful1

On a recent foraging excursion to my local craft store, I picked up a small balsa wood box. It has a window insert in the lid that intrigued me. I knew there was the perfect vinyl sentiment just waiting to be part of this box. Enter the “what a WONDERFUL world” sentiment and 7 Dots Studio’s Cold Country paper and embellishments line. I really like the 7 Dots Studio papers. They are rich and luscious and have some interesting visuals, very different than what you see from US companies.

This little trinket box currently holds a set of handmade cards and matching washi tape (a stationery kit of sorts) but it could easily hold other small gifts: tea for two (tea bags and honey straws) or a gift tag kit (tags, washi tape, to/from stamps, and ink pad). The options are truly infinite and can easily be tailored to your intended recipient. That is what I love about this project.

I started by taking the box apart so the lid and base were separate. This allowed me to protect the metal findings (hinges and clasp) and paint quickly. Once apart, I lightly sanded the box, particularly any rough spots and wiped it off with a damp cloth. I also measured the surfaces that I planned to cover with paper (interior lid and base, and all four outer sides. Looking over the Cold Country papers, I chose two paint colors, (a light and a dark) that complimented the line. To get the shade I wanted I mixed the colors together using a 4 to 1 ratio, 4 parts Weathered Wood (light) to 1 part Blueprint Sketch (dark).
Wonderful3 Wonderful2
While I waited for that to dry I cut my papers and inked their edges using Weathered Wood ink. TIP: I always ink the edges of any items (paper, stickers, embellishments) that have white edges; doing so gives your project a finished look. Once painted and dry I went back over the box with Weathered Wood and Blueprint Sketch inks using the round blending tool. I heat set the ink and applied the papers to the various surfaces on the outside and inside of the box using matte Mod Podge. I sealed the entire box using Mod Podge..
Wonderful-CloseUp Wonderful-Ribbon
Next, I created 4 cards using some grey and white mini cards that fit inside the box and the embellishments from the Cold Country kit. I also custom dyed ribbon to bind the cards together using white seam binding and Distress stains and sprays in Brushed Pewter, Blueprint Sketch, Hickory Smoke & Tumbled Glass.
Wonderful-Card1 Wonderful-Interior
For the insert in the lid I chose a piece of cardstock from the Cold Country papers and applied the “what a wonderful world” vinyl sentiment to the cardstock. TIP: To ensure that your sentiment is centered in the window, insert the paper in place and lightly trace the edge of the insert. Once you’re done you can easily erase the guide. Vinyl is very easy to adhere to porous surfaces, a good burnishing before you start and a slow peeling of the backing at a sharp angle are my secrets to success. I also glued the cardstock to the wooden insert and cut a piece of acetate to go on top. For the inside of the insert (the lid) I glued another piece of paper that is the perfect place to write a note to the recipient.
Wonderful-Insert Wonderful-Interior2
Cold Country is a lovely collection of vintage images and sentiments focused on family and love designed by Anna Dąbrowska aka Finnabair. It is based on a cool palette and goes well with other cool colors (blues, greens, and grays).

I hope you enjoyed this tutorial and that it inspires you to make and give handmade gifts. Remember, creativity and imperfection live together in all we do. “Grace is the face love wears when it meets imperfection.”

~xoxo
Beanie

Supplies Used:
7 Dots Studio Collection Kit
Distress Inks (Weathered Wood, Blueprint Sketch, & Hickory Smoke)
Distress Paints (Weathered Wood & Blueprint Sketch)
Distress Stains (Brushed Pewter, Blueprint Sketch, Hickory Smoke & Tumbled Glass)
Mod Podge, Hug Snug Binding (winter white), ruler, paper trimmer, sanding block, round distress tool