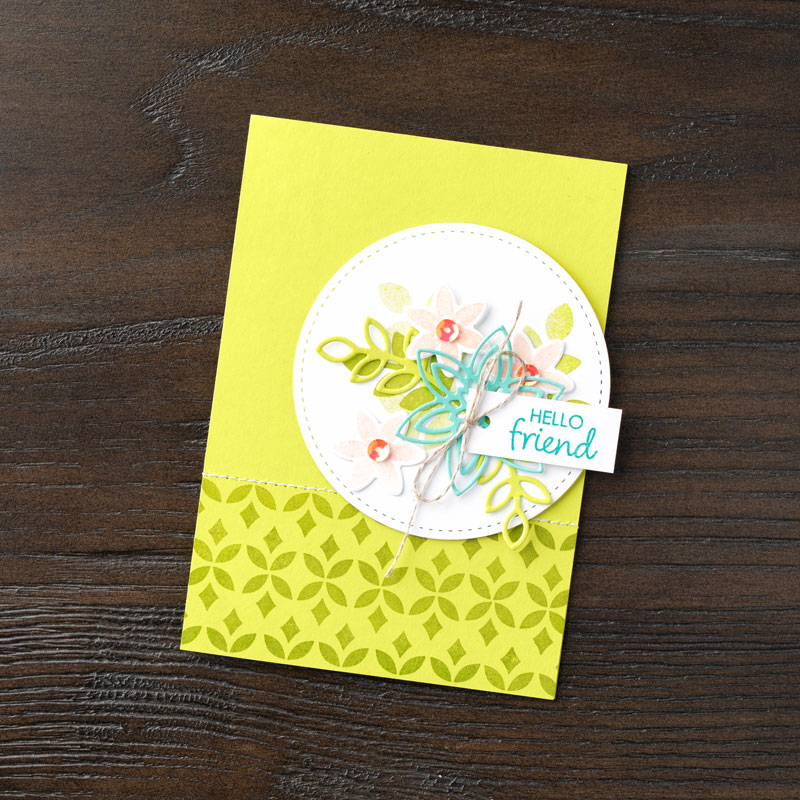
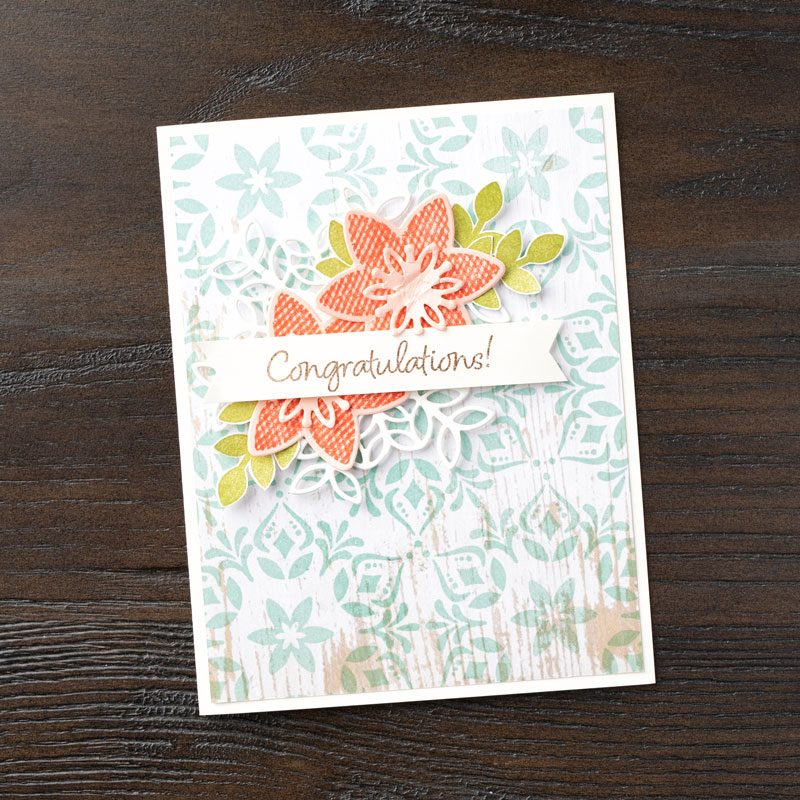
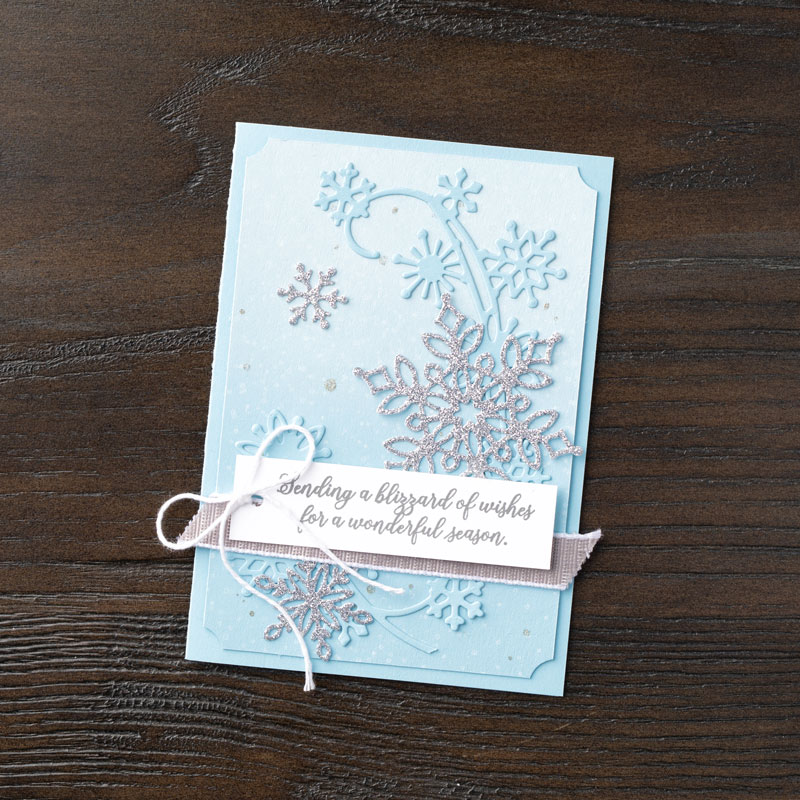
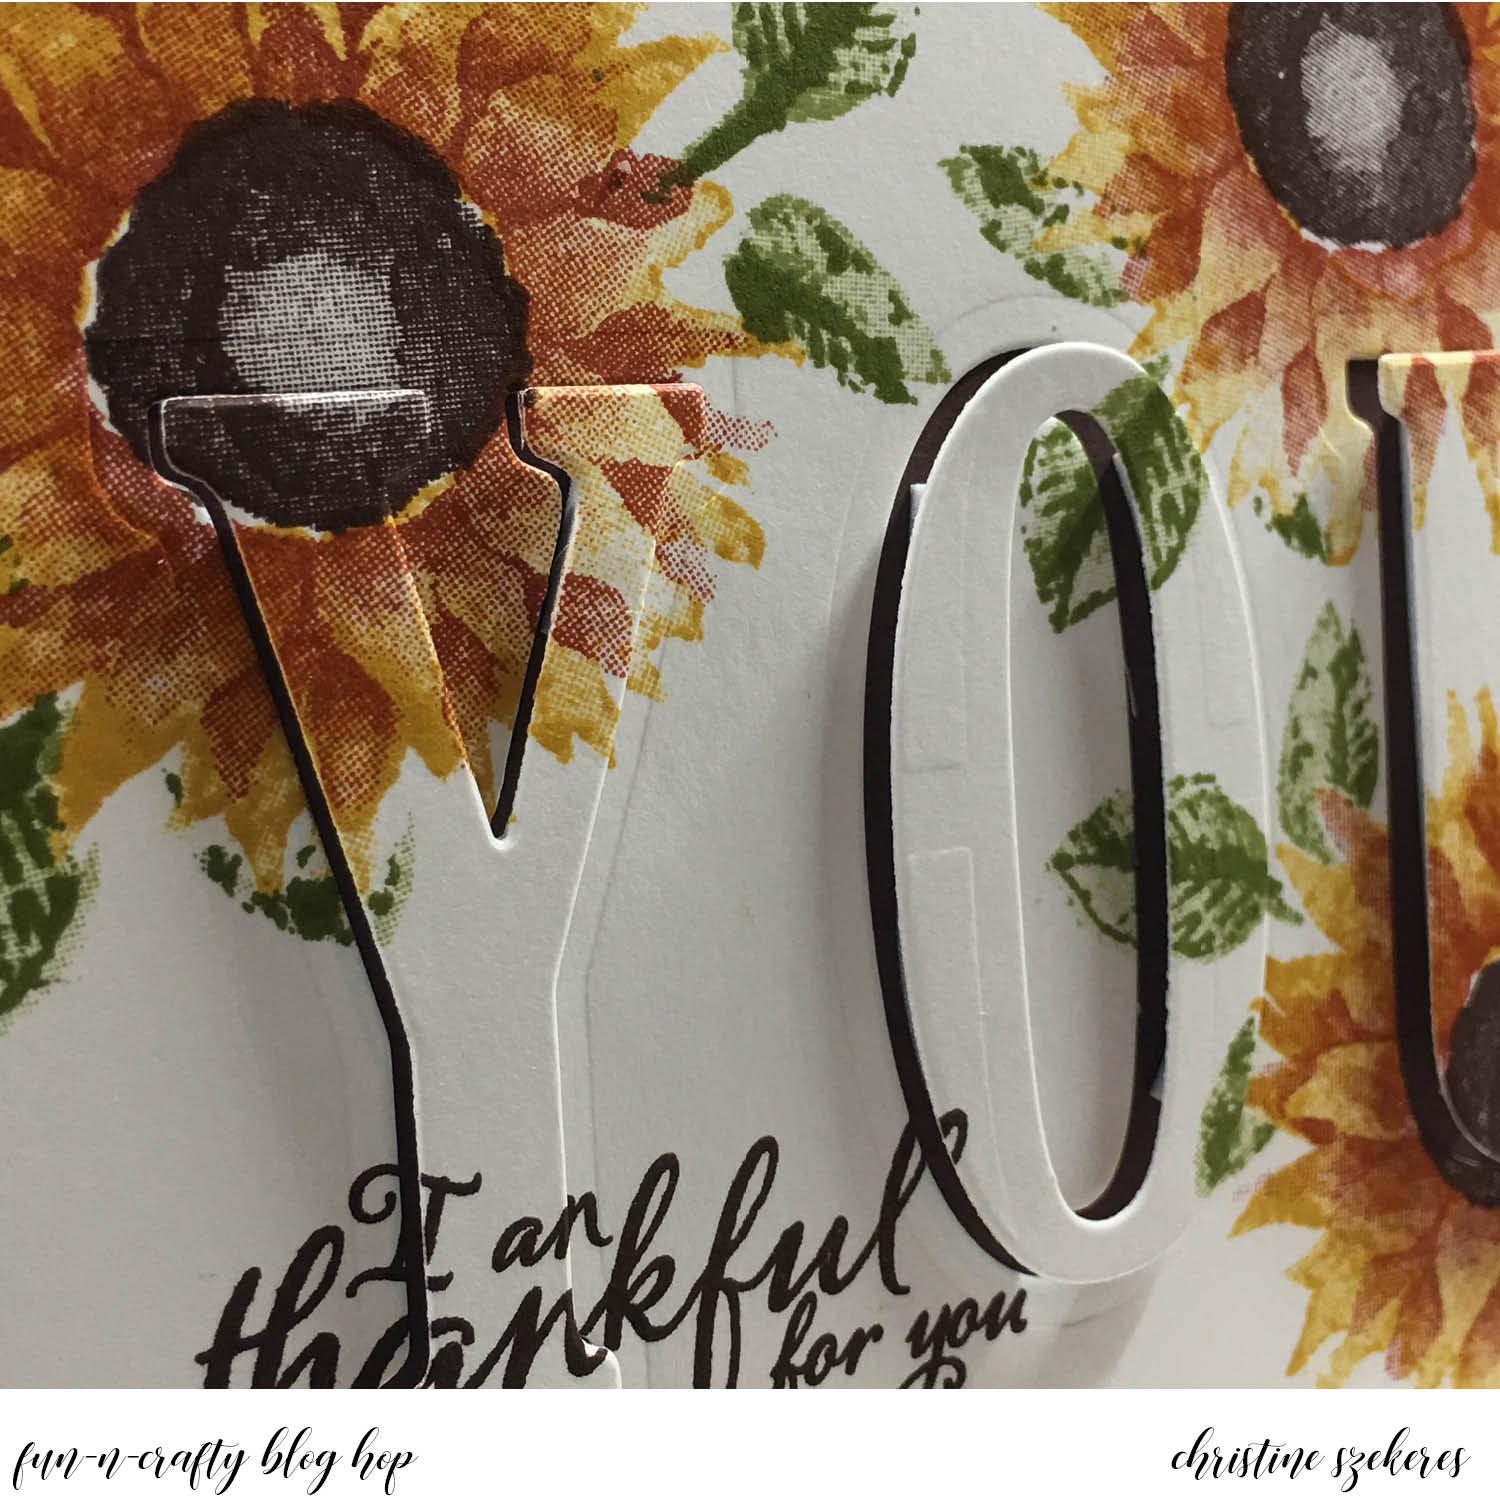
Hello my crafty peeps and welcome to another Innovation Station post, a monthly feature focusing innovative tips and tricks. Each month I share an innovation that I find myself going to again and again.

This month’s innovation focuses on watercolor background techniques. There are so many wonderful ways to incorporate watercolor into your cardmaking beyond the traditional watercolor paints. You can use ink pads, watercolor pencils, markers, and, of course the traditional watercolor paints to achieve beautiful watercolor looks for your projects. This month I’ll be focusing on two of my favorites: Ziploc bag “smooshing” with markers and acrylic block and ink pad backgrounds.
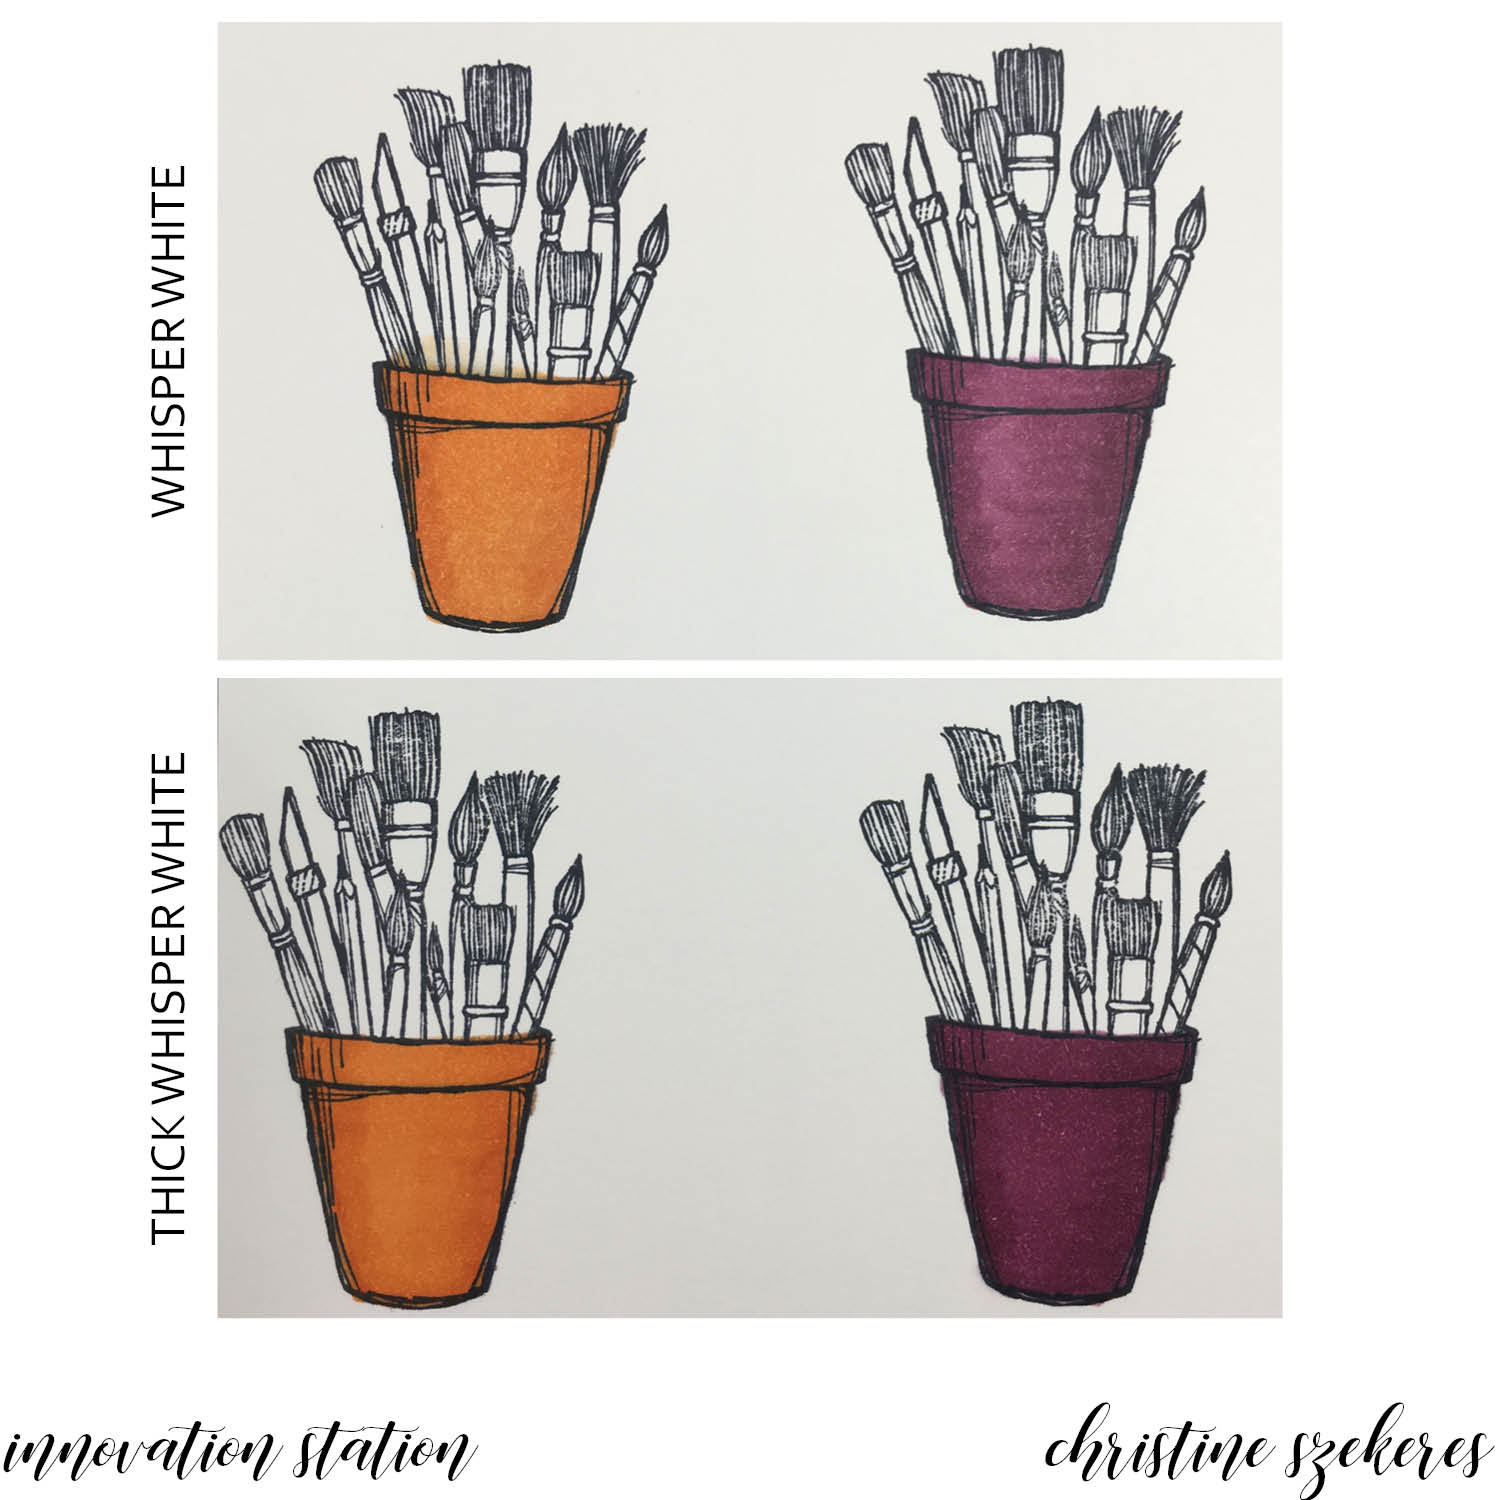
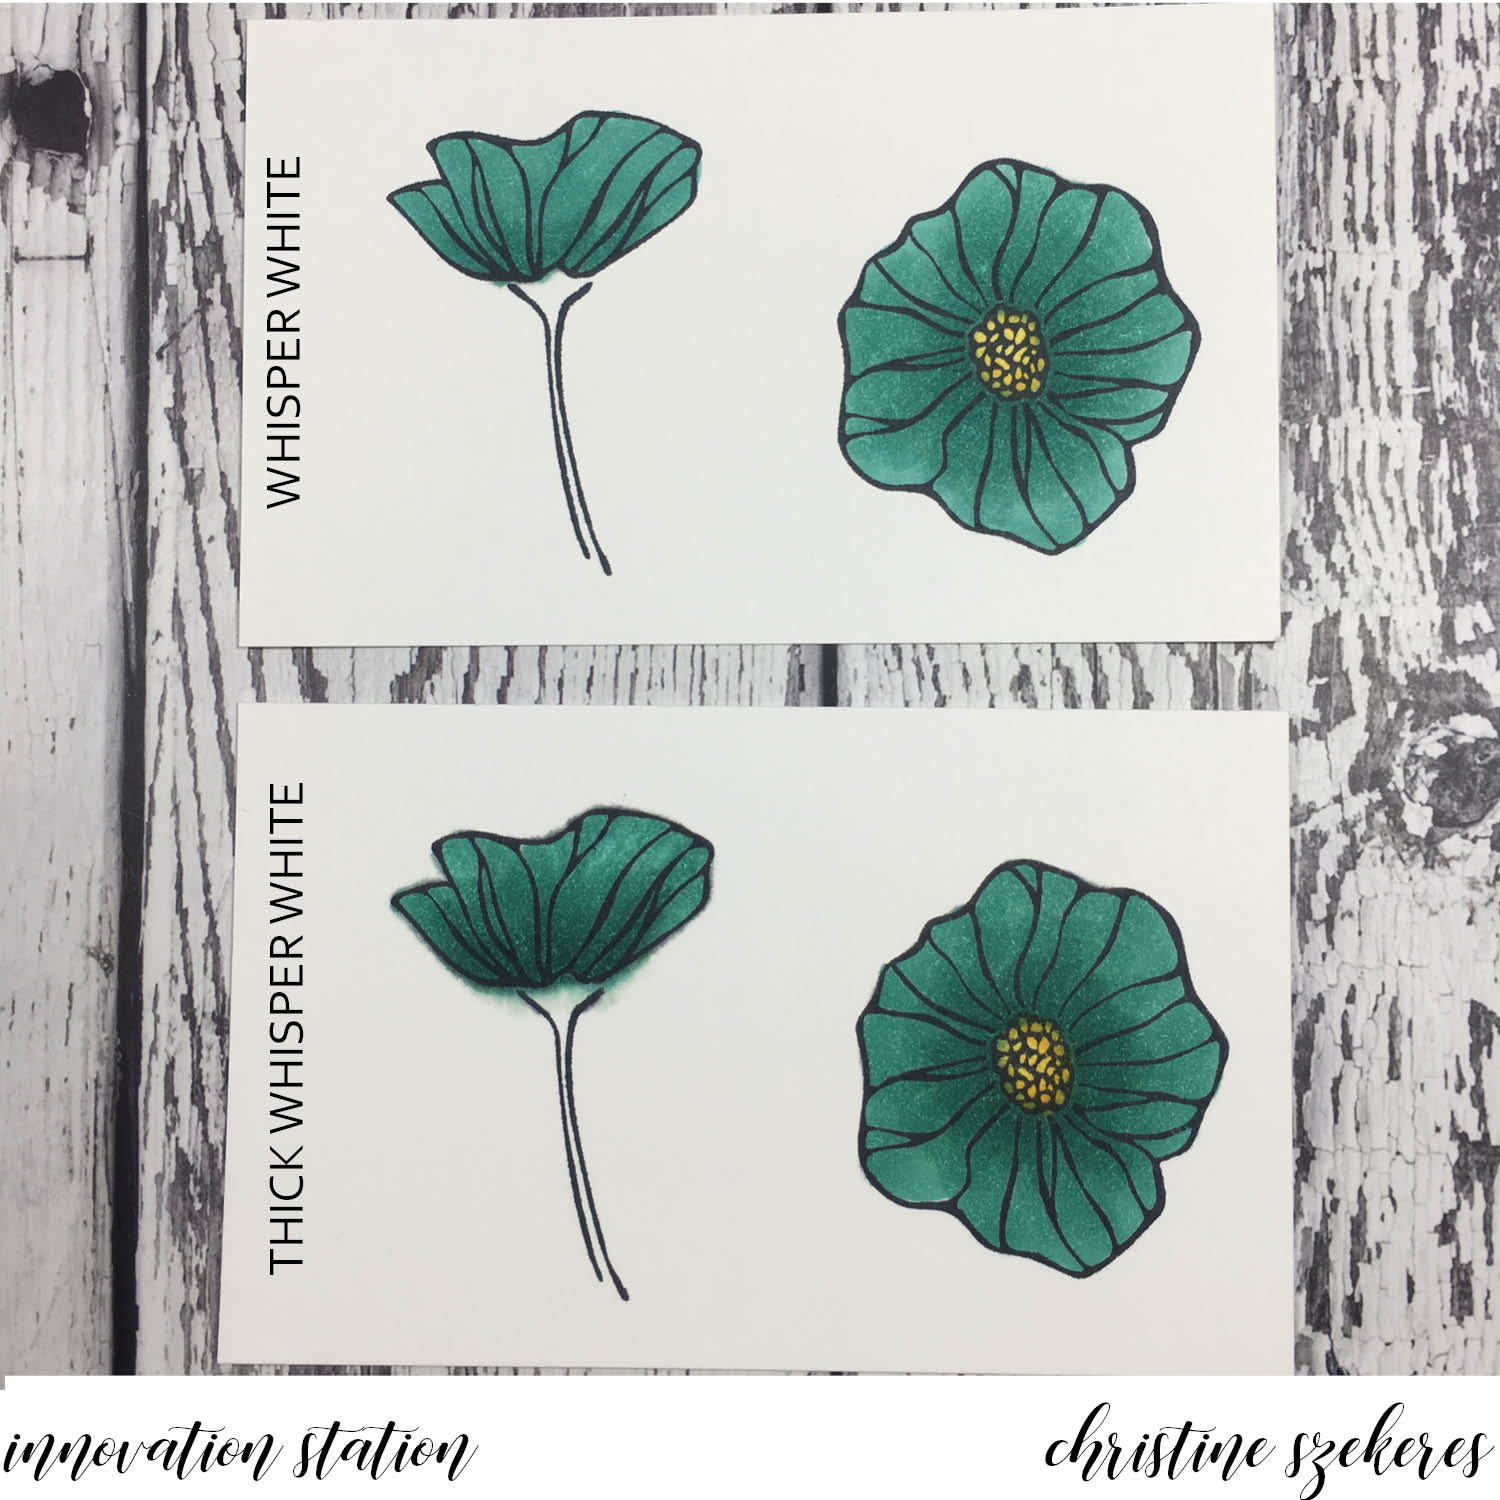
A note about supplies… Since most background watercolor techniques involve a fair amount of water the paper you choose and your work surface are important. I like to use watercolor paper or shimmery white card stock from Stampin’ Up!, but I also like to use Tim Holtz watercolor card stock. These papers are designed to take water well without pilling or tearing. Shimmery white card stock will warp under all the water, but you can flatten it under something heavy once it’s 98% dry. I always work on my craft mat or other non-porous surface to make clean up a snap. I also keep paper towels, a heat tool, a spritz bottle, an aqua painter, and some baby wipes handy.
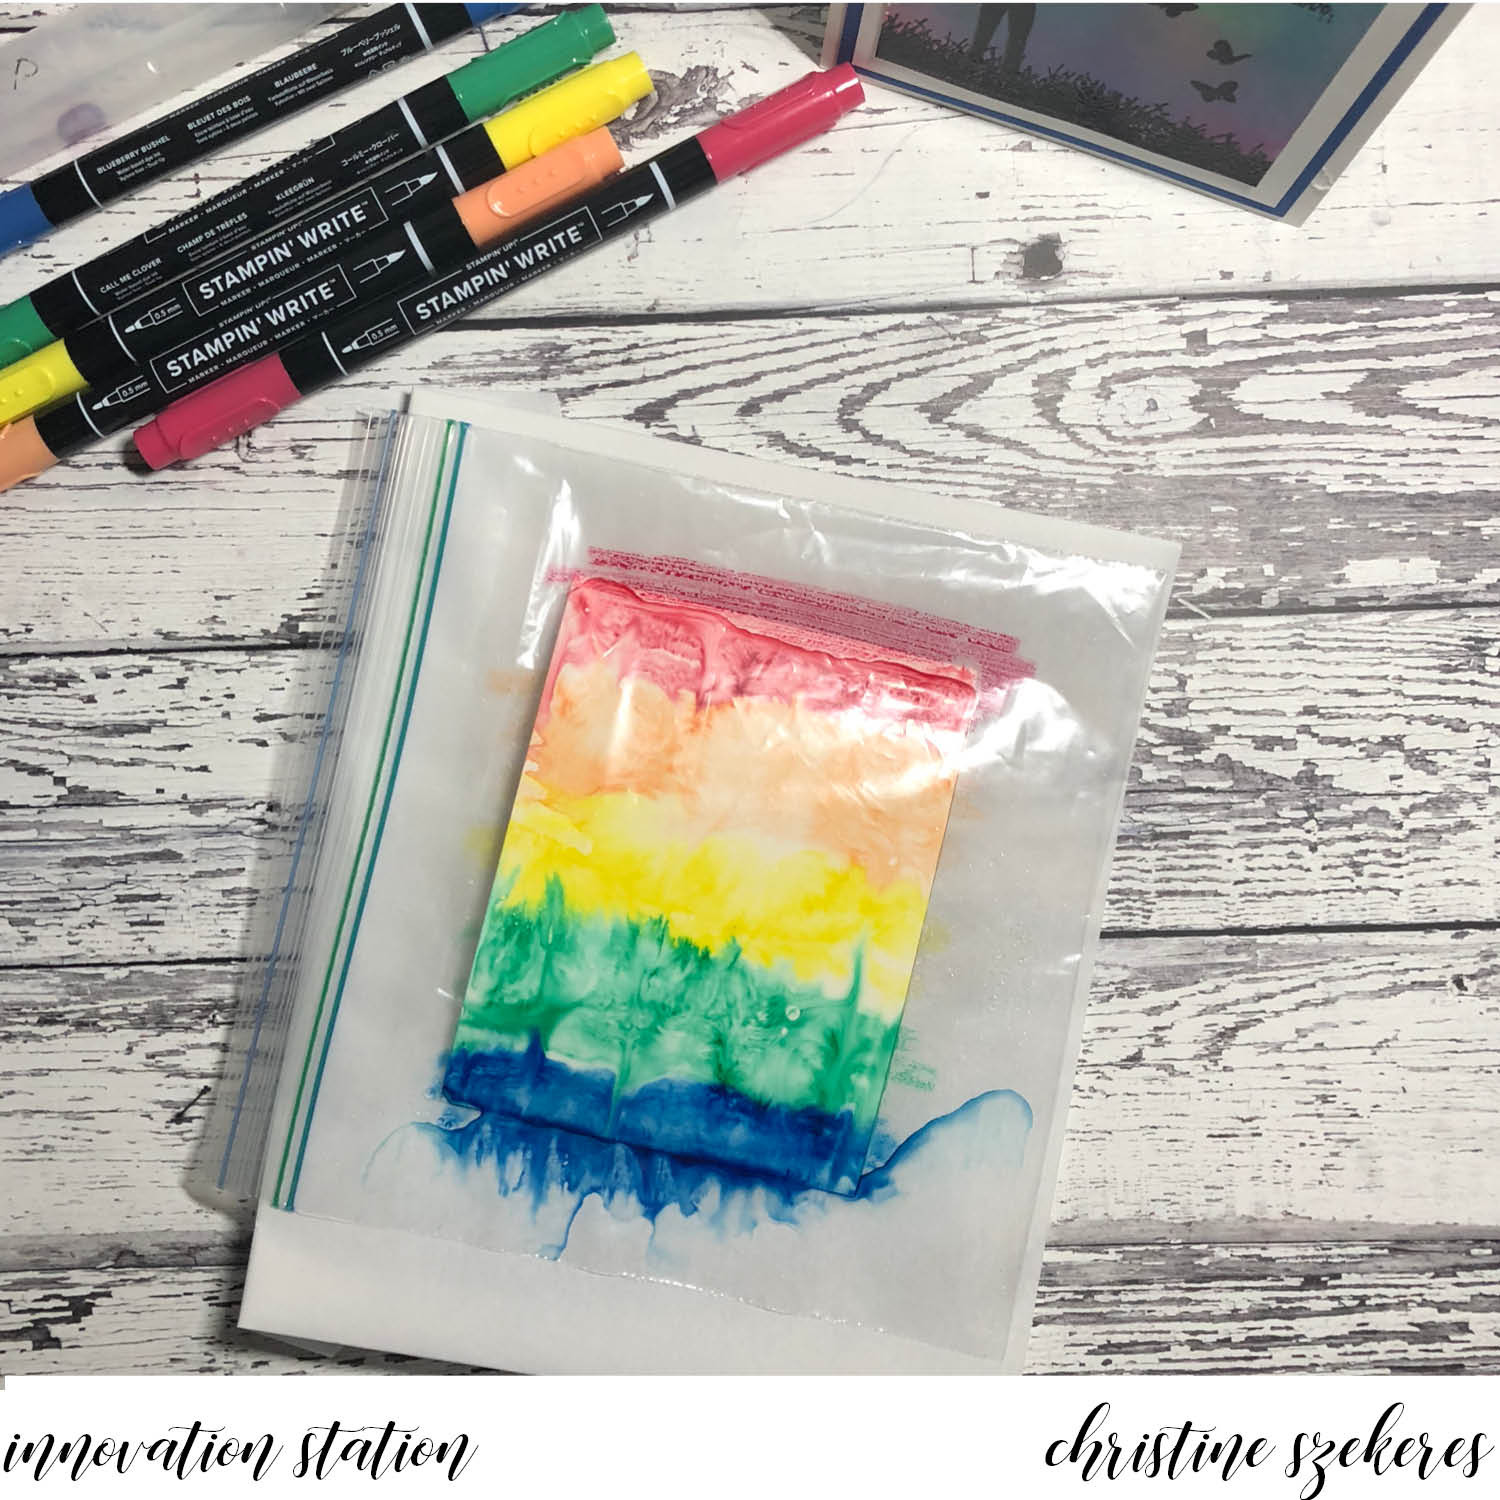
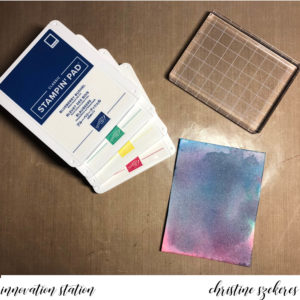
Technique 1: Ziploc Bag Smooshing
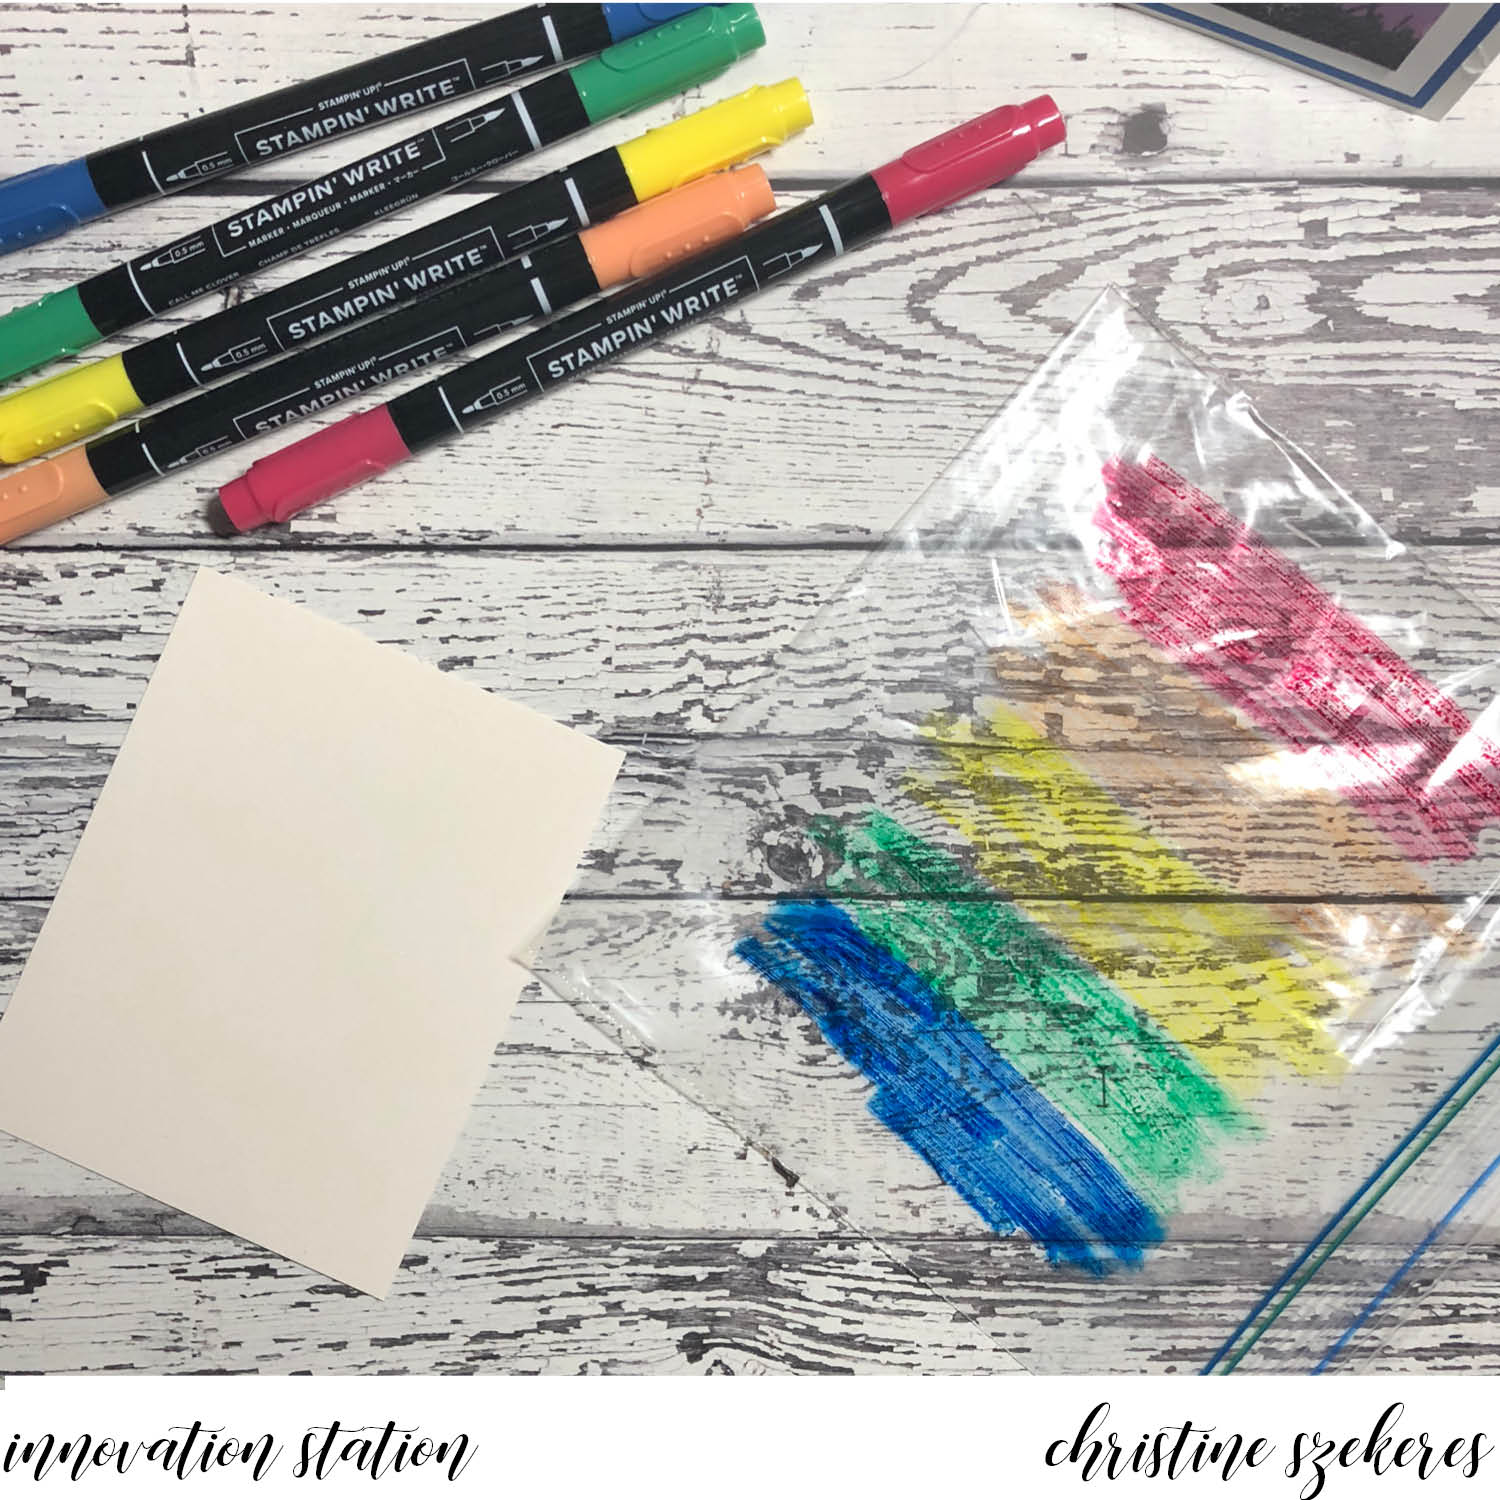
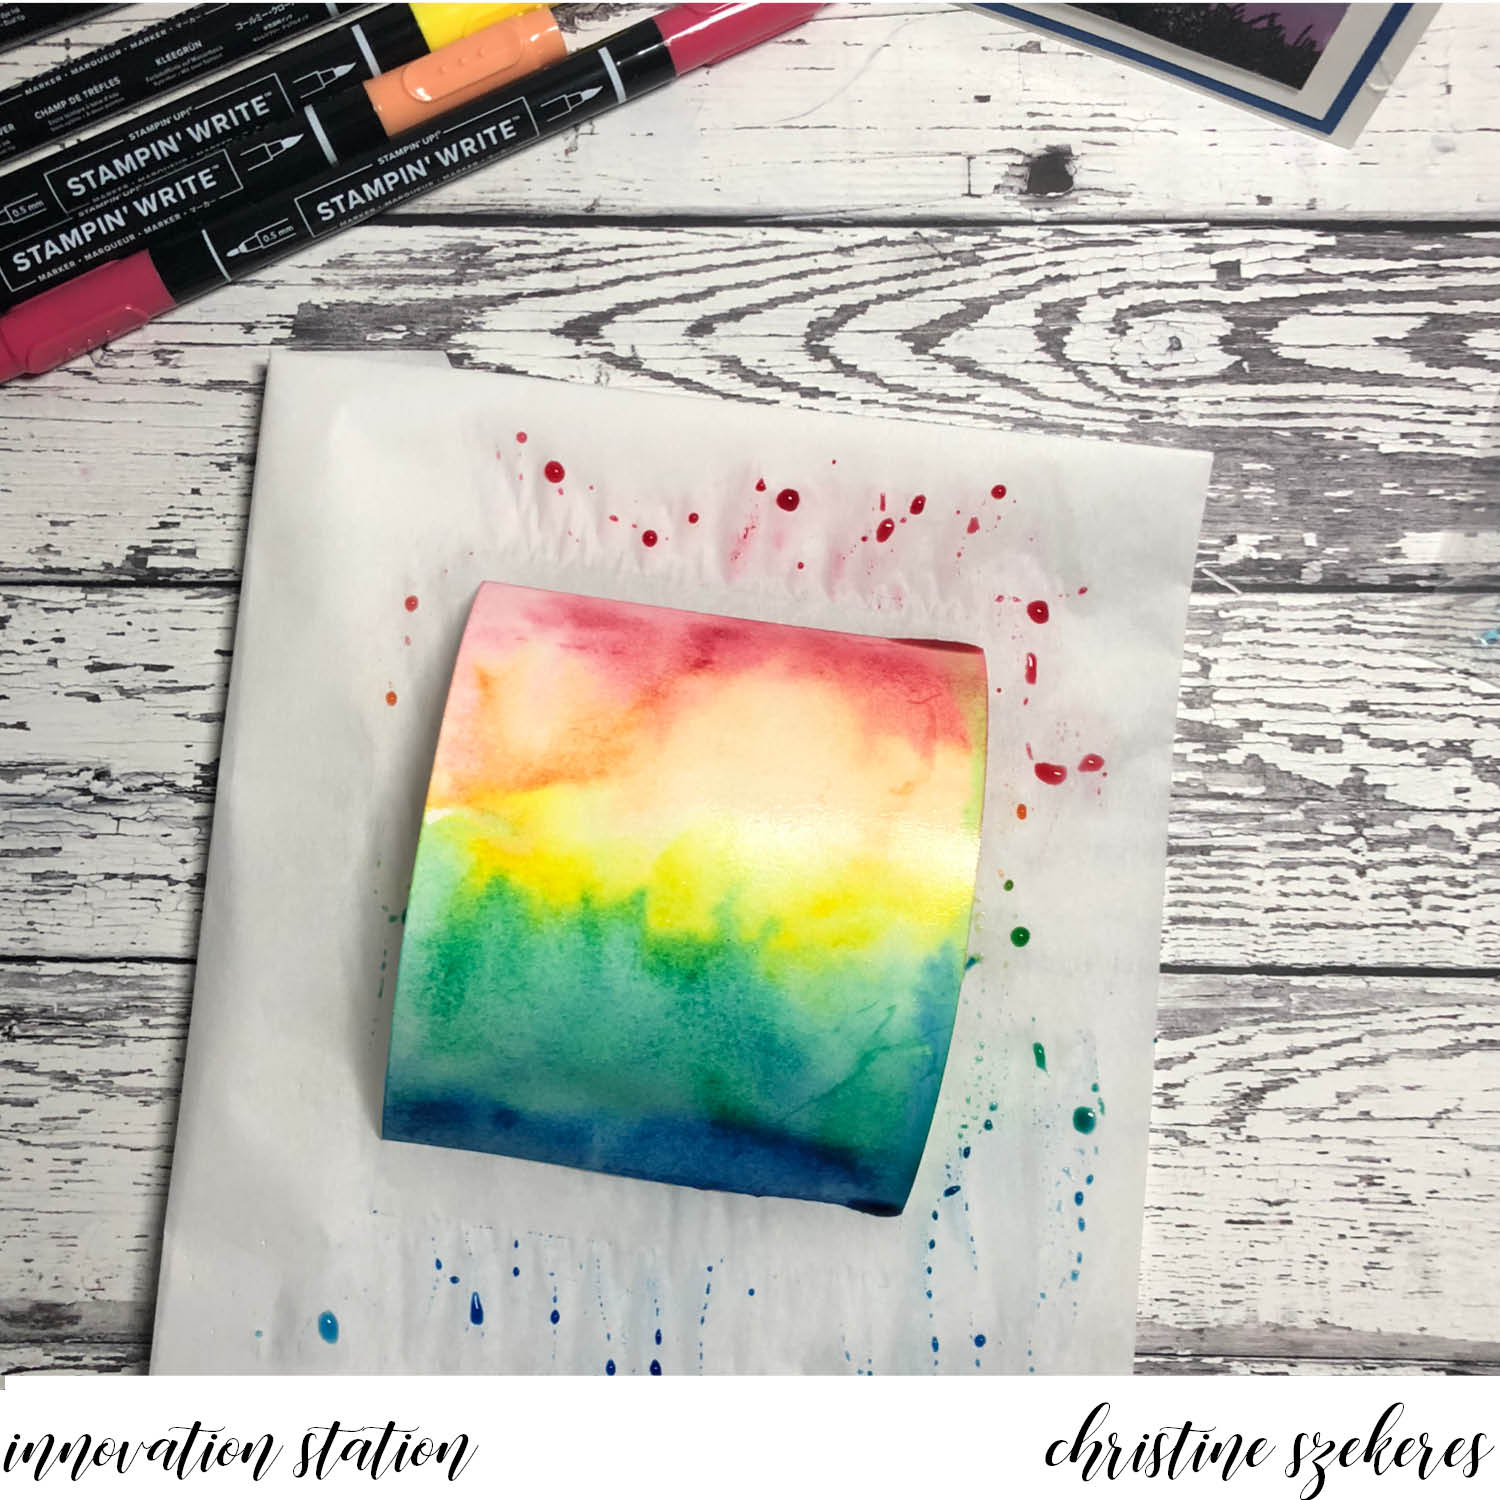
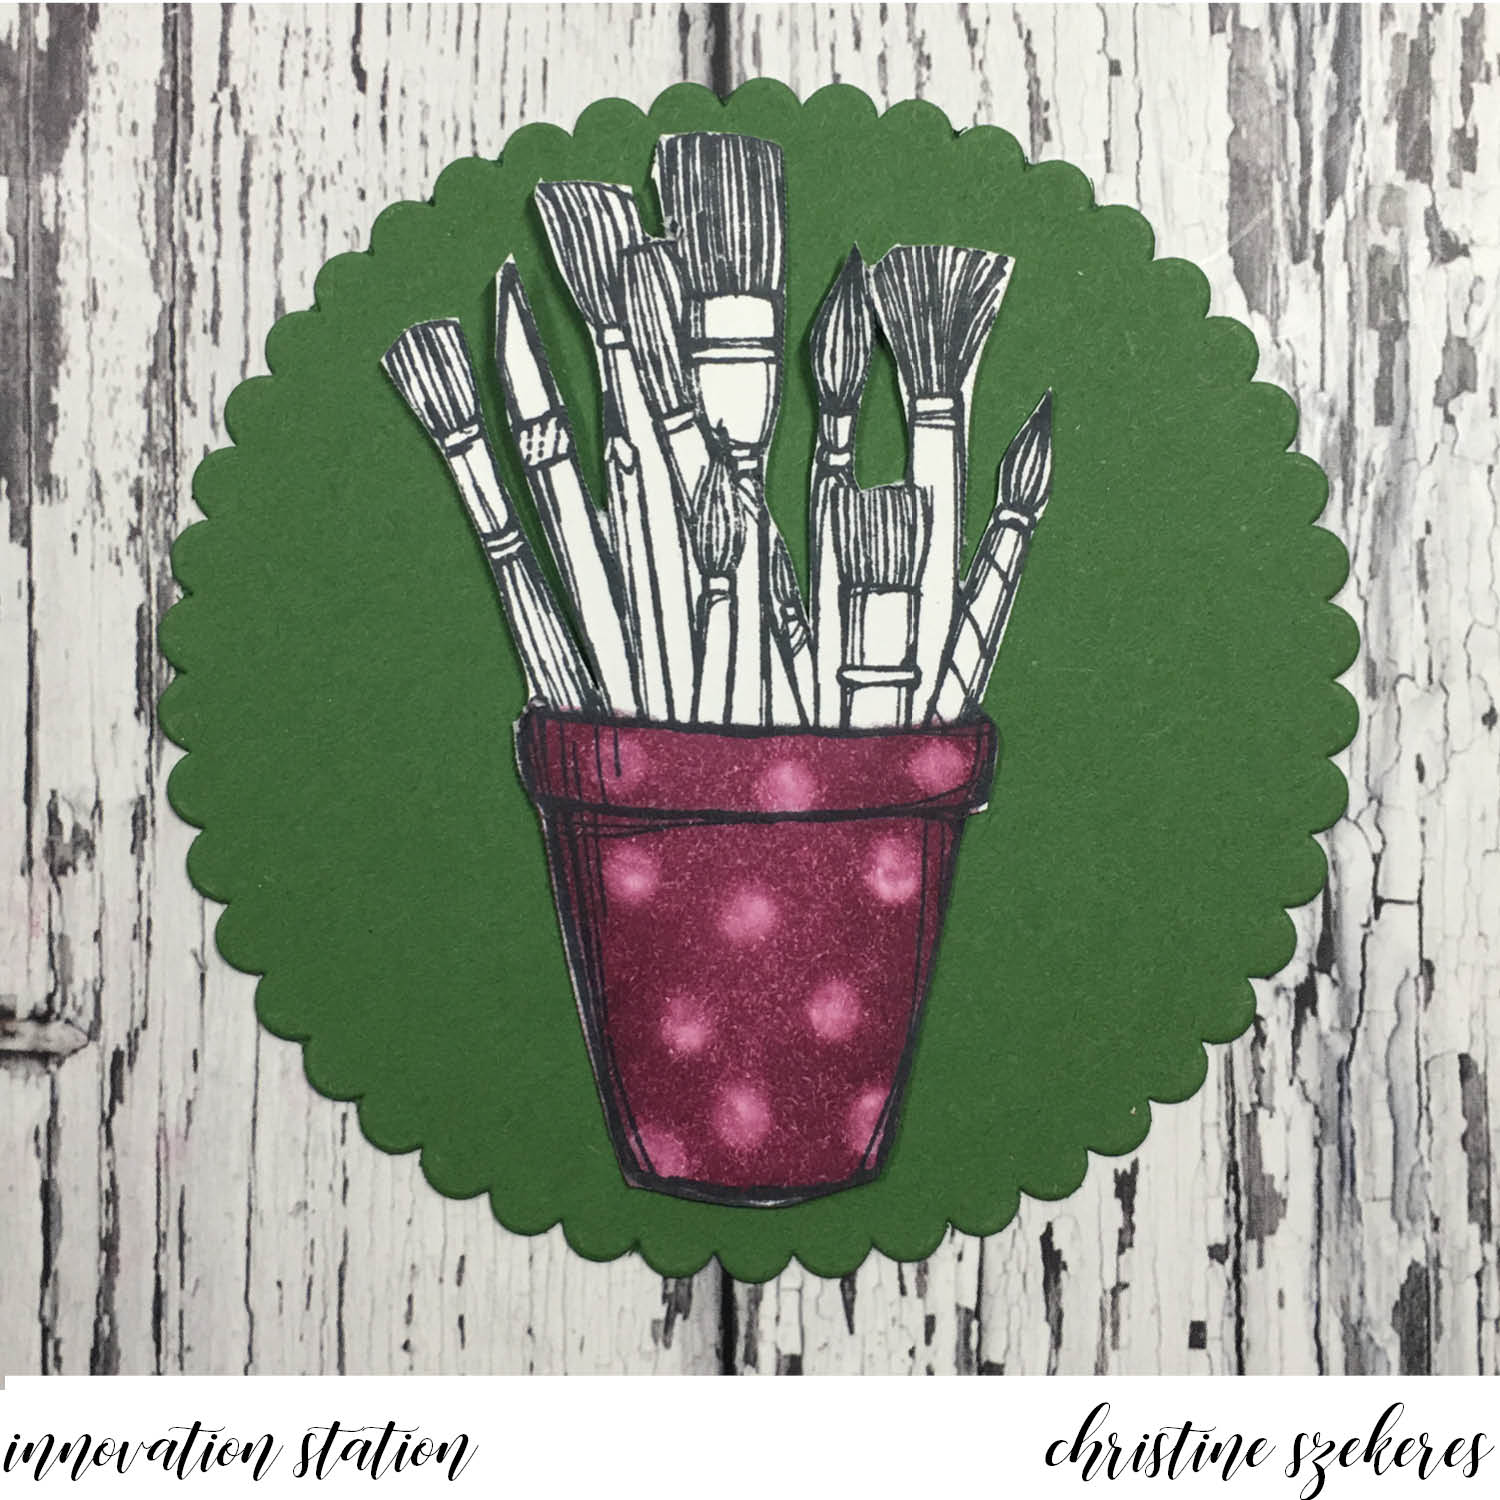
This technique works best with markers. In my examples I am using the new Stampin’ Write 2018 — 19 In Color markers. First, in rainbow order (ROY G BIV) scribble down some of each color onto the Ziploc bag. Set the bag aside. Take your panel and spritz generously all over with water. Don’t drown it, but make sure the entire surface is wet. If you’re worried about control, you can begin using your aqua painter squeezing out a bit of water and spreading it around the panel. It will begin to curl, but don’t worry. Gently lay the Ziploc bag, colored side down over the wet panel and begin massaging the ink around, pushing it all the way to the edge, making sure as much of the panel as you want is covered. Remove the Ziploc bag and set aside.

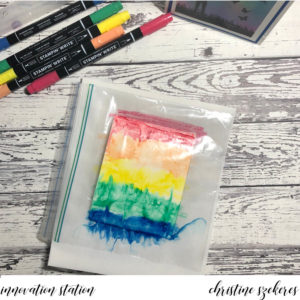

You can also lift and tilt to move the water and ink around the panel. If you find there are uncovered spots you can drag the panel through the ink/water on your mat, just make sure to keep like colors with like colors so you don’t get mud. If you would like you can also sprinkle some coarse grain salt over the wet mixture, which creates snowflake-like variations in the background. Often I will hit the panel with my heat tool to at least dry any pools of water and ink. Once it’s almost completely dry I will put it under something heavy to help flatten it out before I stamp and emboss images and sentiments.
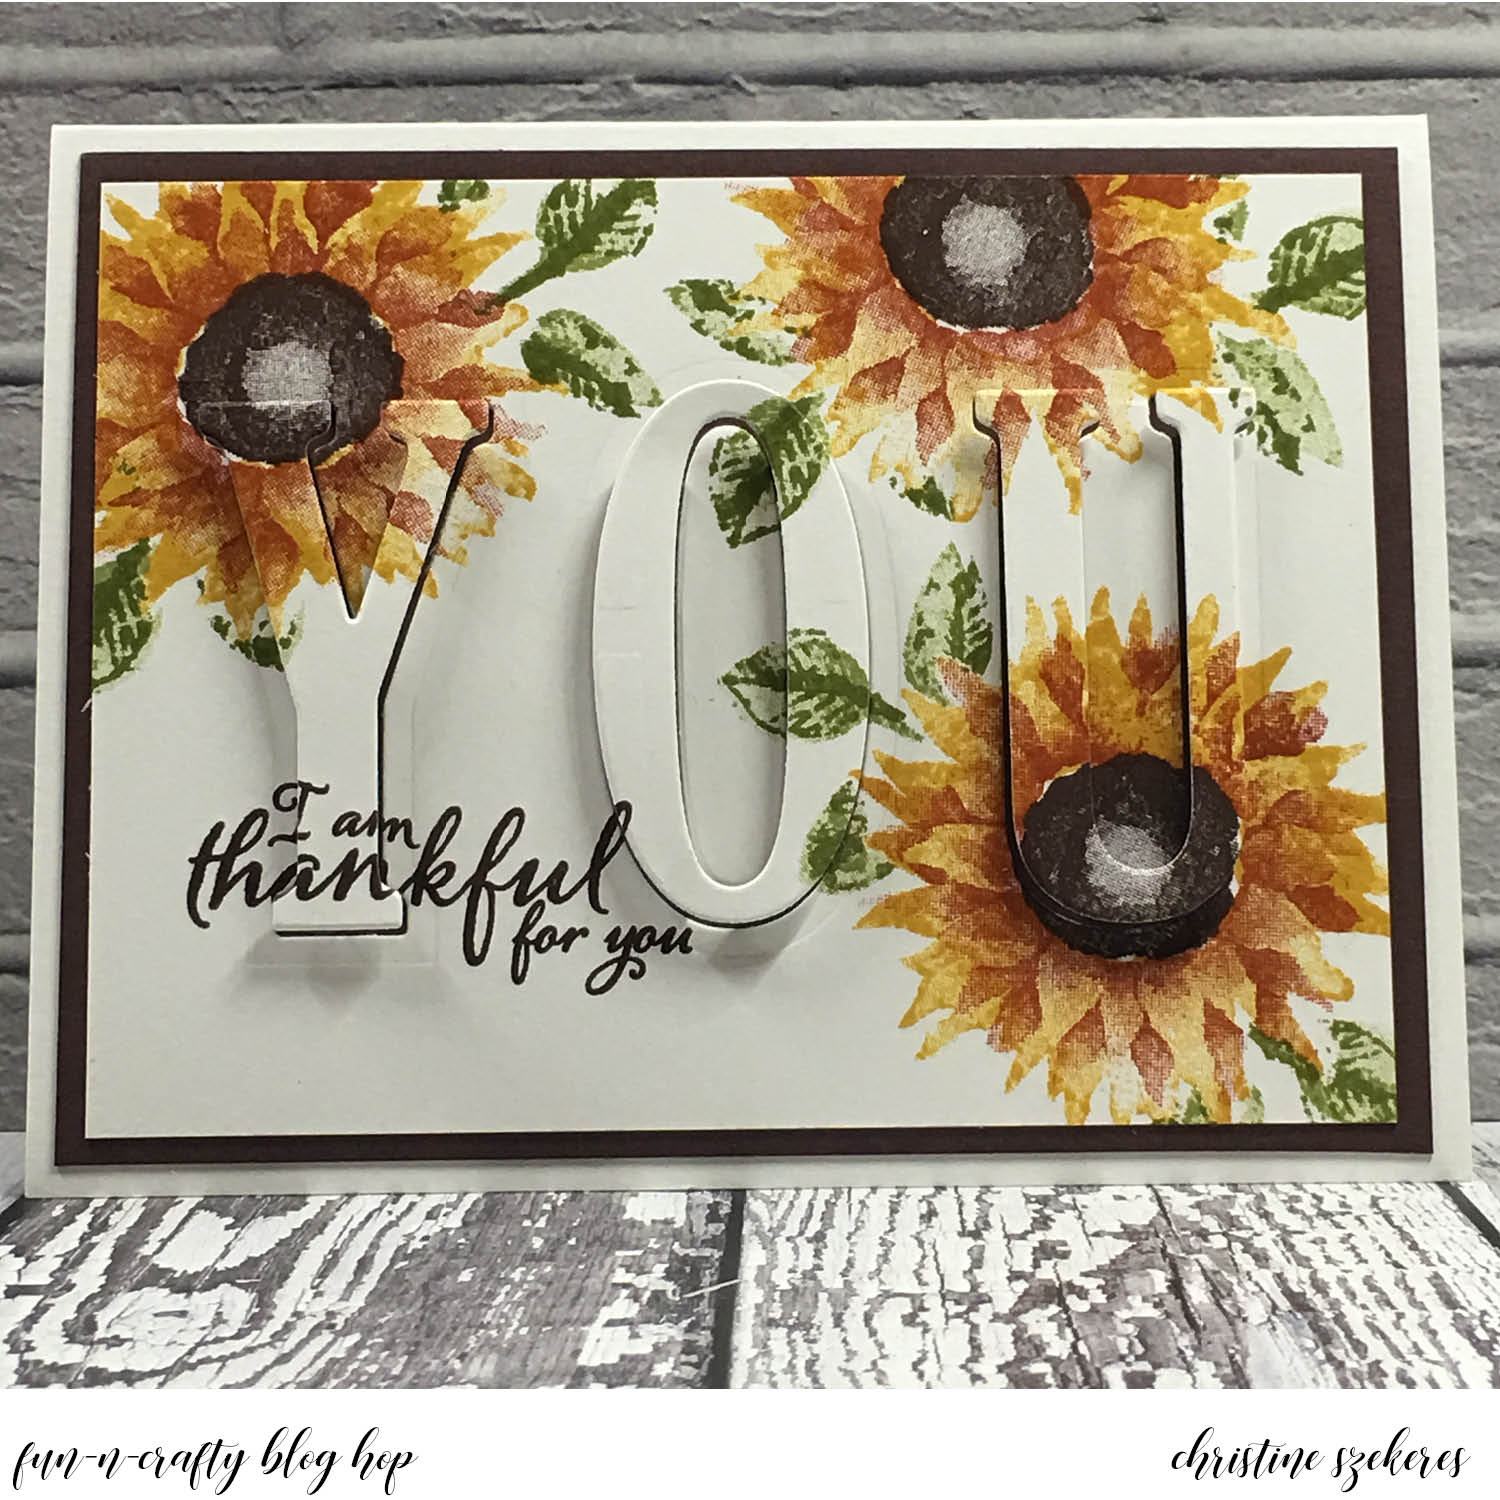
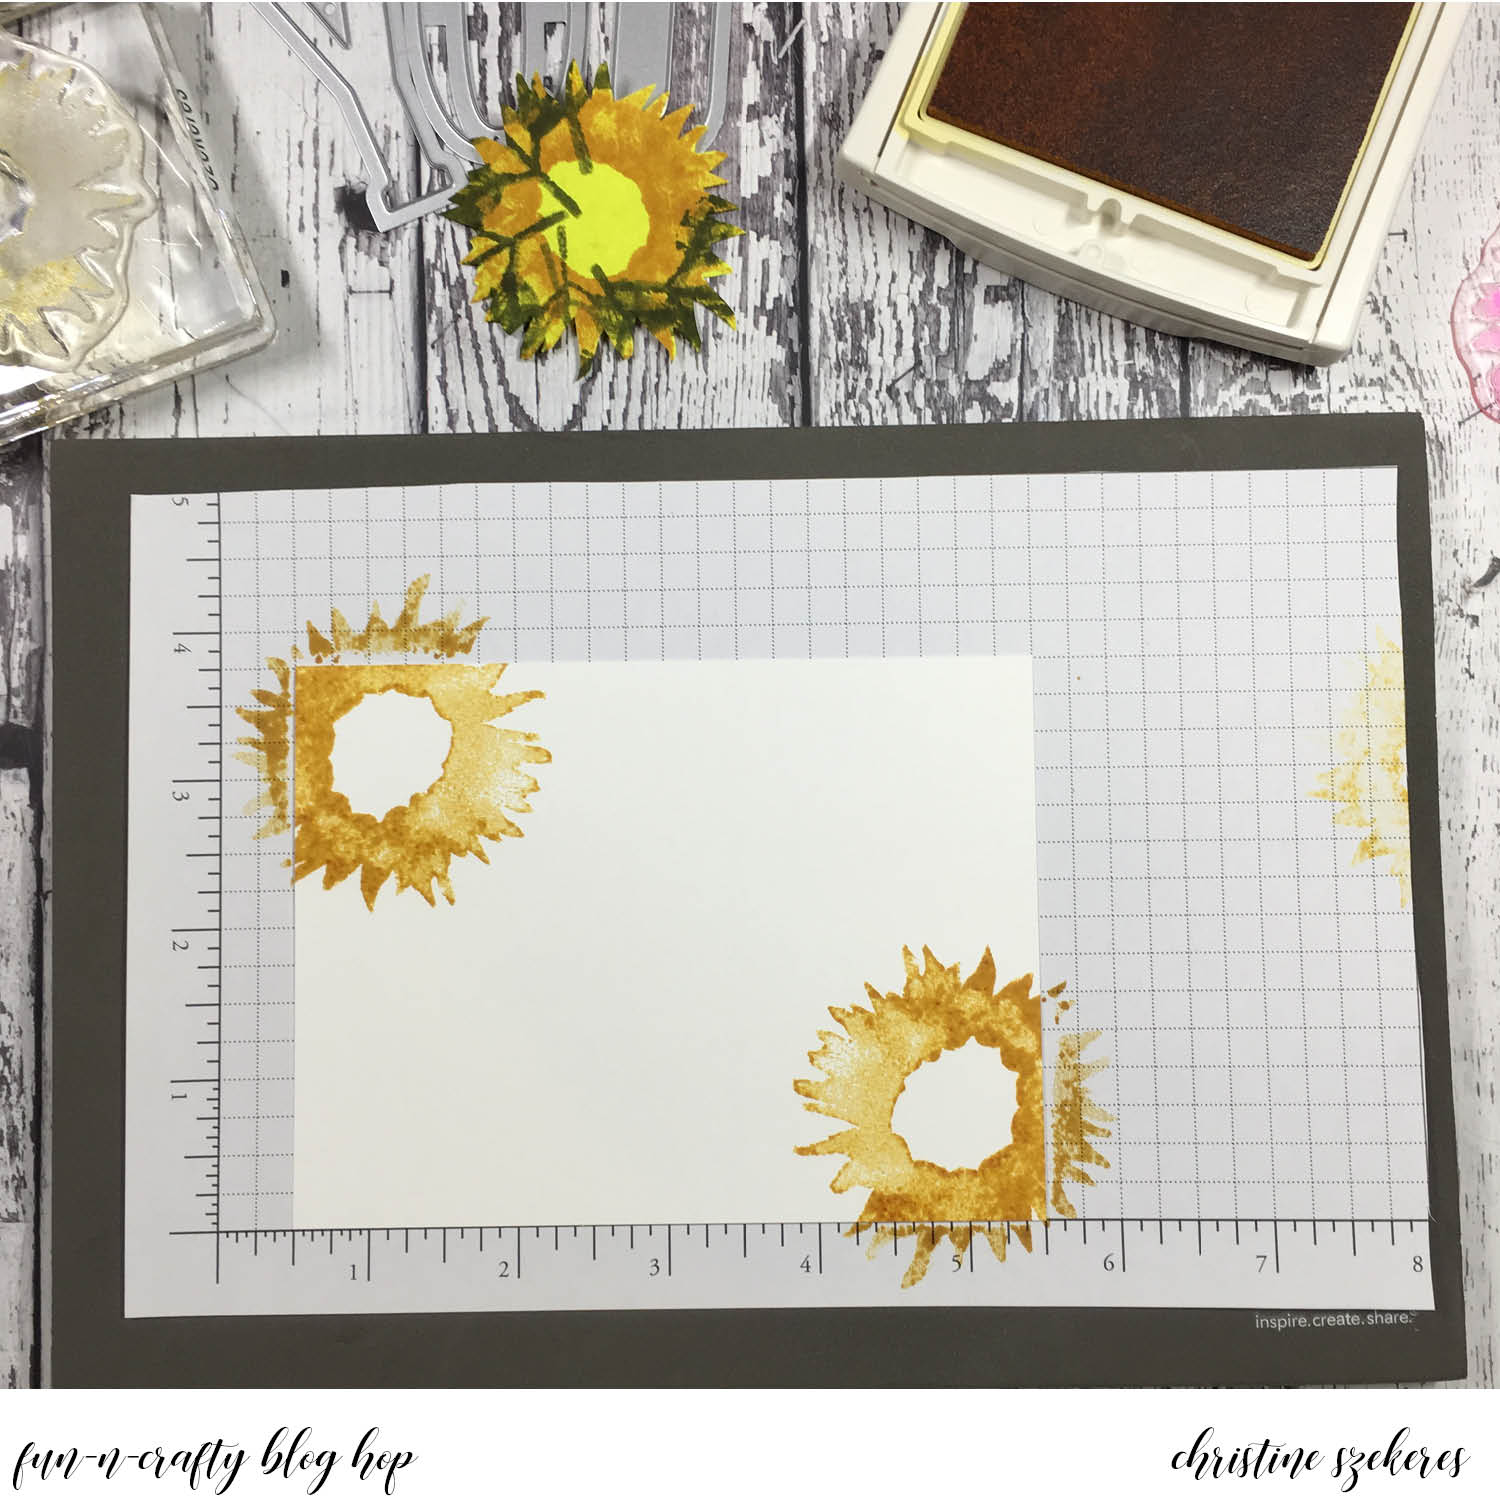
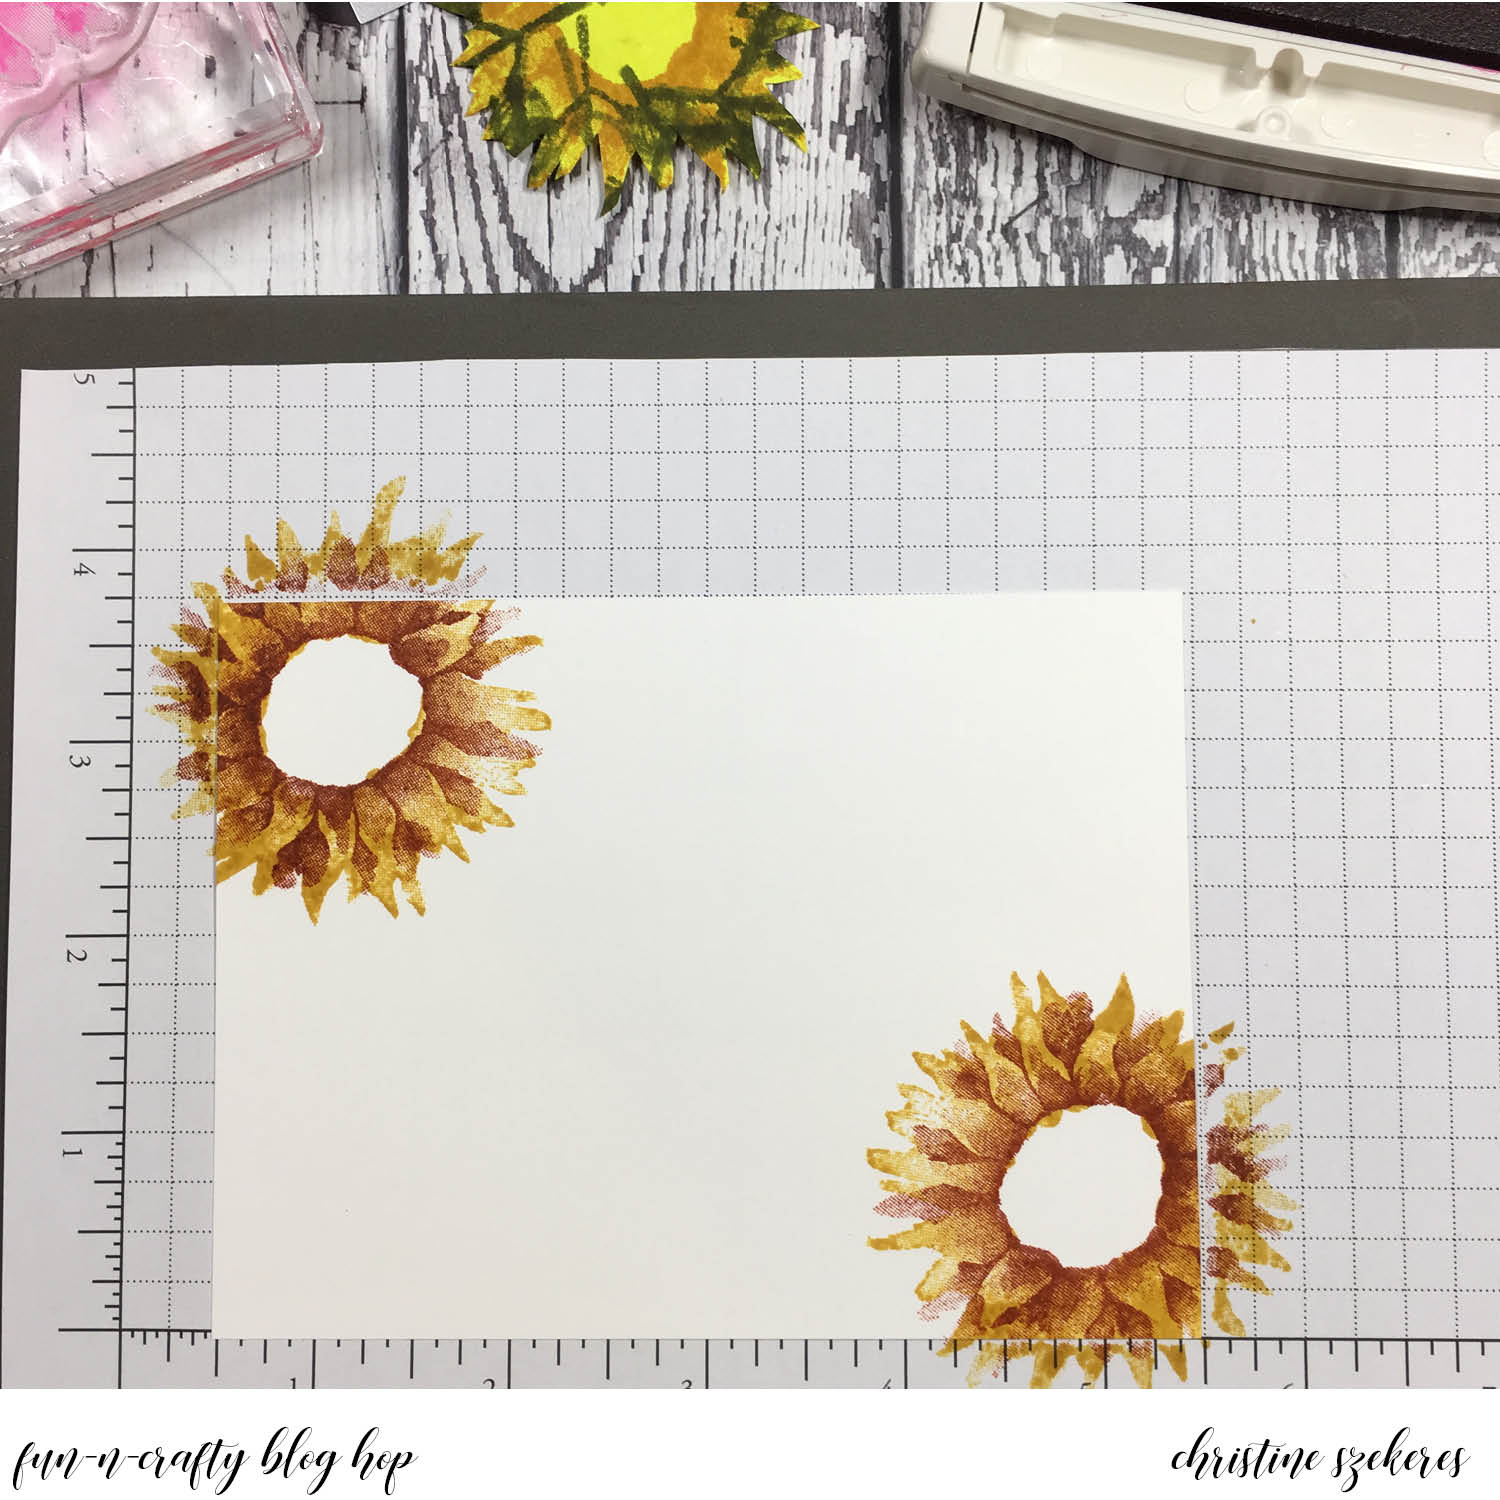
Technique 2: Acrylic Block & Ink Pads
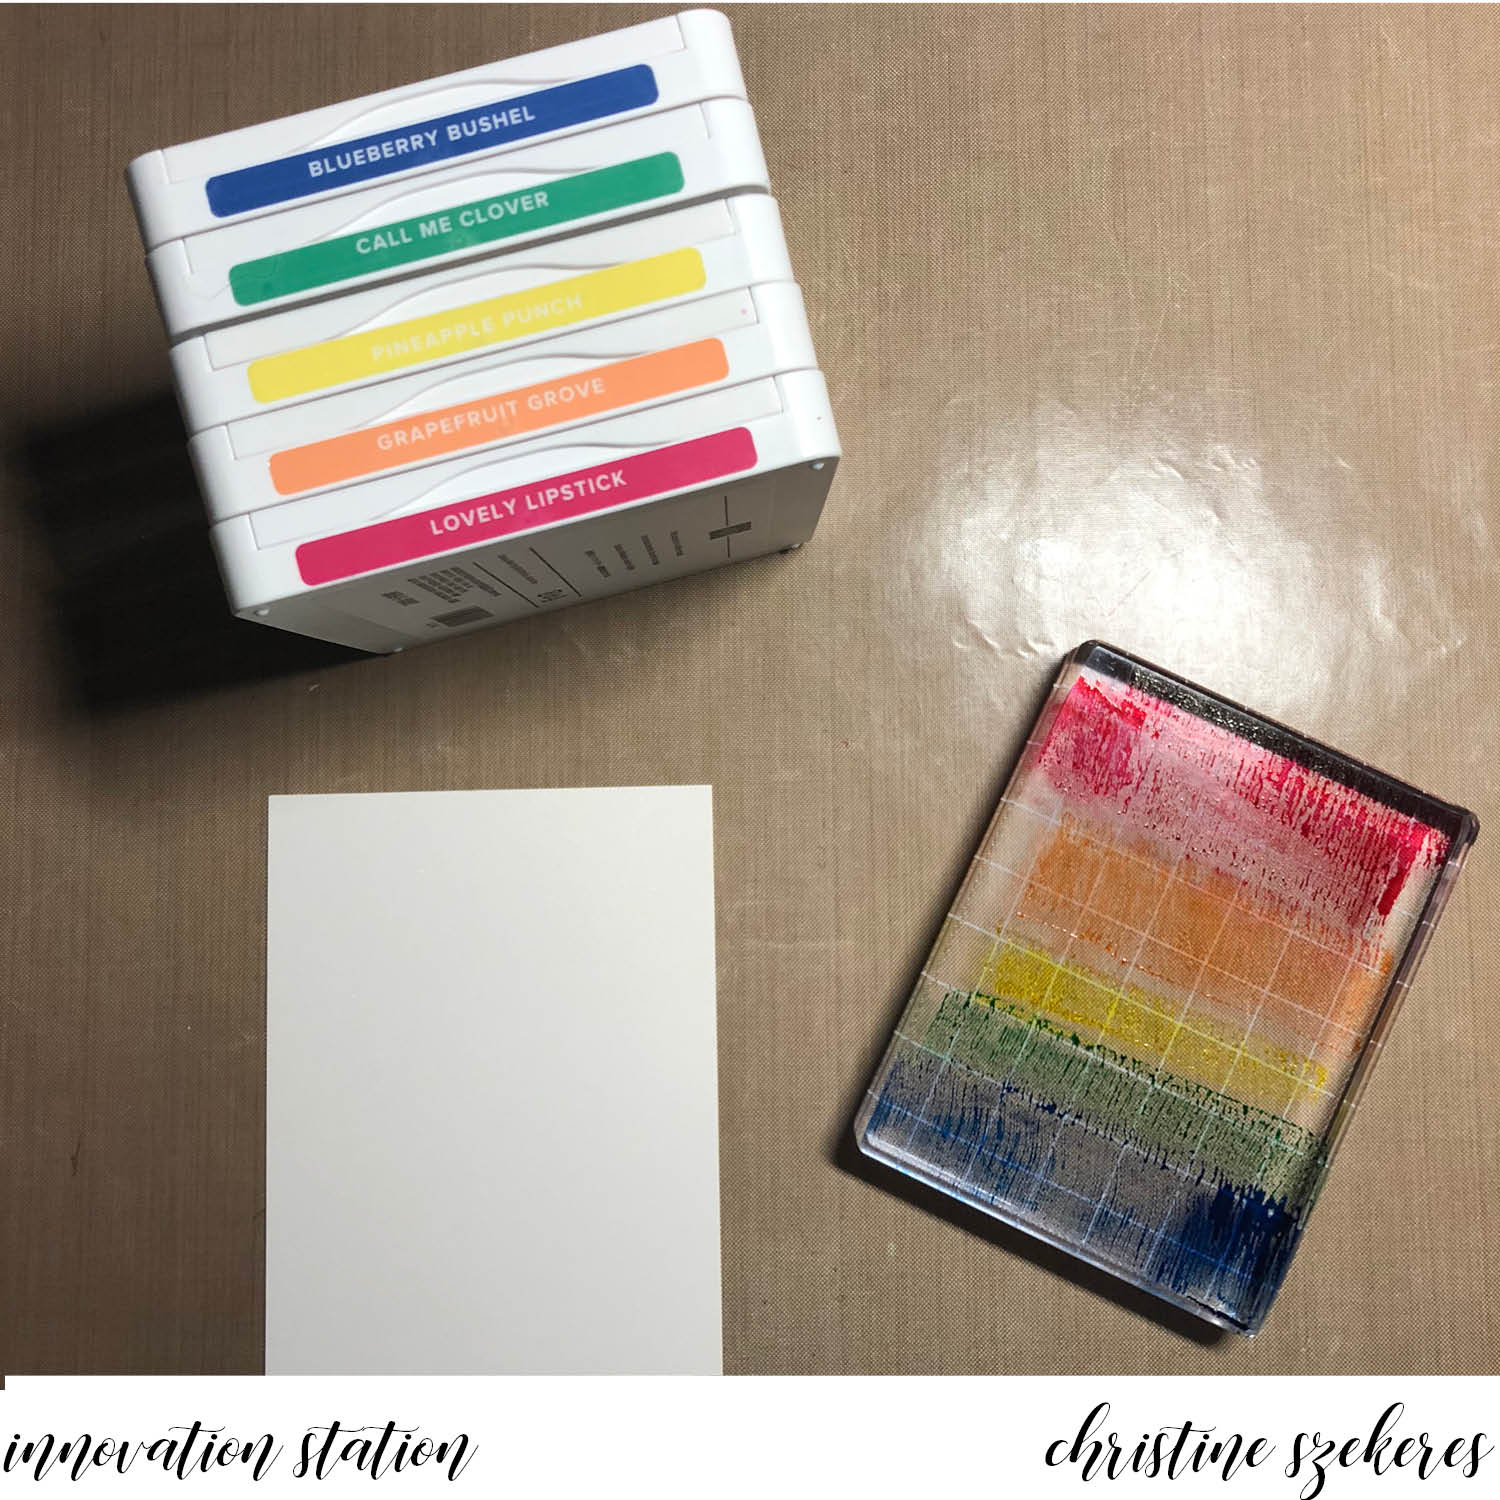
This technique tends to produce surprising results because the colors are more fluid (you get the block very wet and the ink is fairly concentrated). I use the ink pads direct to the block, but you could also drop reinker onto the block and spread out. HINT: When going direct to the block from your ink pad be careful not to overlap while getting as close as you can. Overlapping on a dark pad isn’t so bad, but on a light pad, like Pineapple Punch or Grapefruit Grove can stain the ink pad. You can use a paper towel to remove any dark ink and apply reinker, but the stain will still remain.
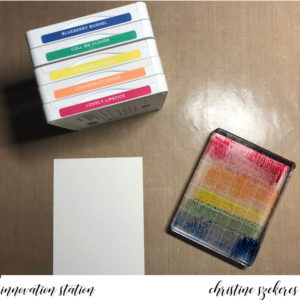
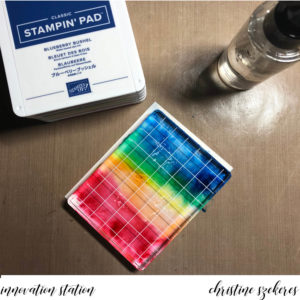

Again, I usually work in rainbow order from light to dark. I also excluded Grapefruit Grove from this mix since it produced some slightly mud-like results with the green. When spritzing the block be aware that ink will splatter, depending on the force of the spritzer and your distance from the block. I often work over my trash can, or keep the spritzer very close to the block to minimize splatter. You want the block wet, but you can also wet the paper. I tilt the block slightly to get the inks moving and mixing as I prepare to place it on the paper. I quickly flip the block over onto the paper. Conversely, you can also put your paper down on your block and then flip the sandwich over. Move the block around, making sure the ink is mixing and covering the whole panel (unless you want white edges).
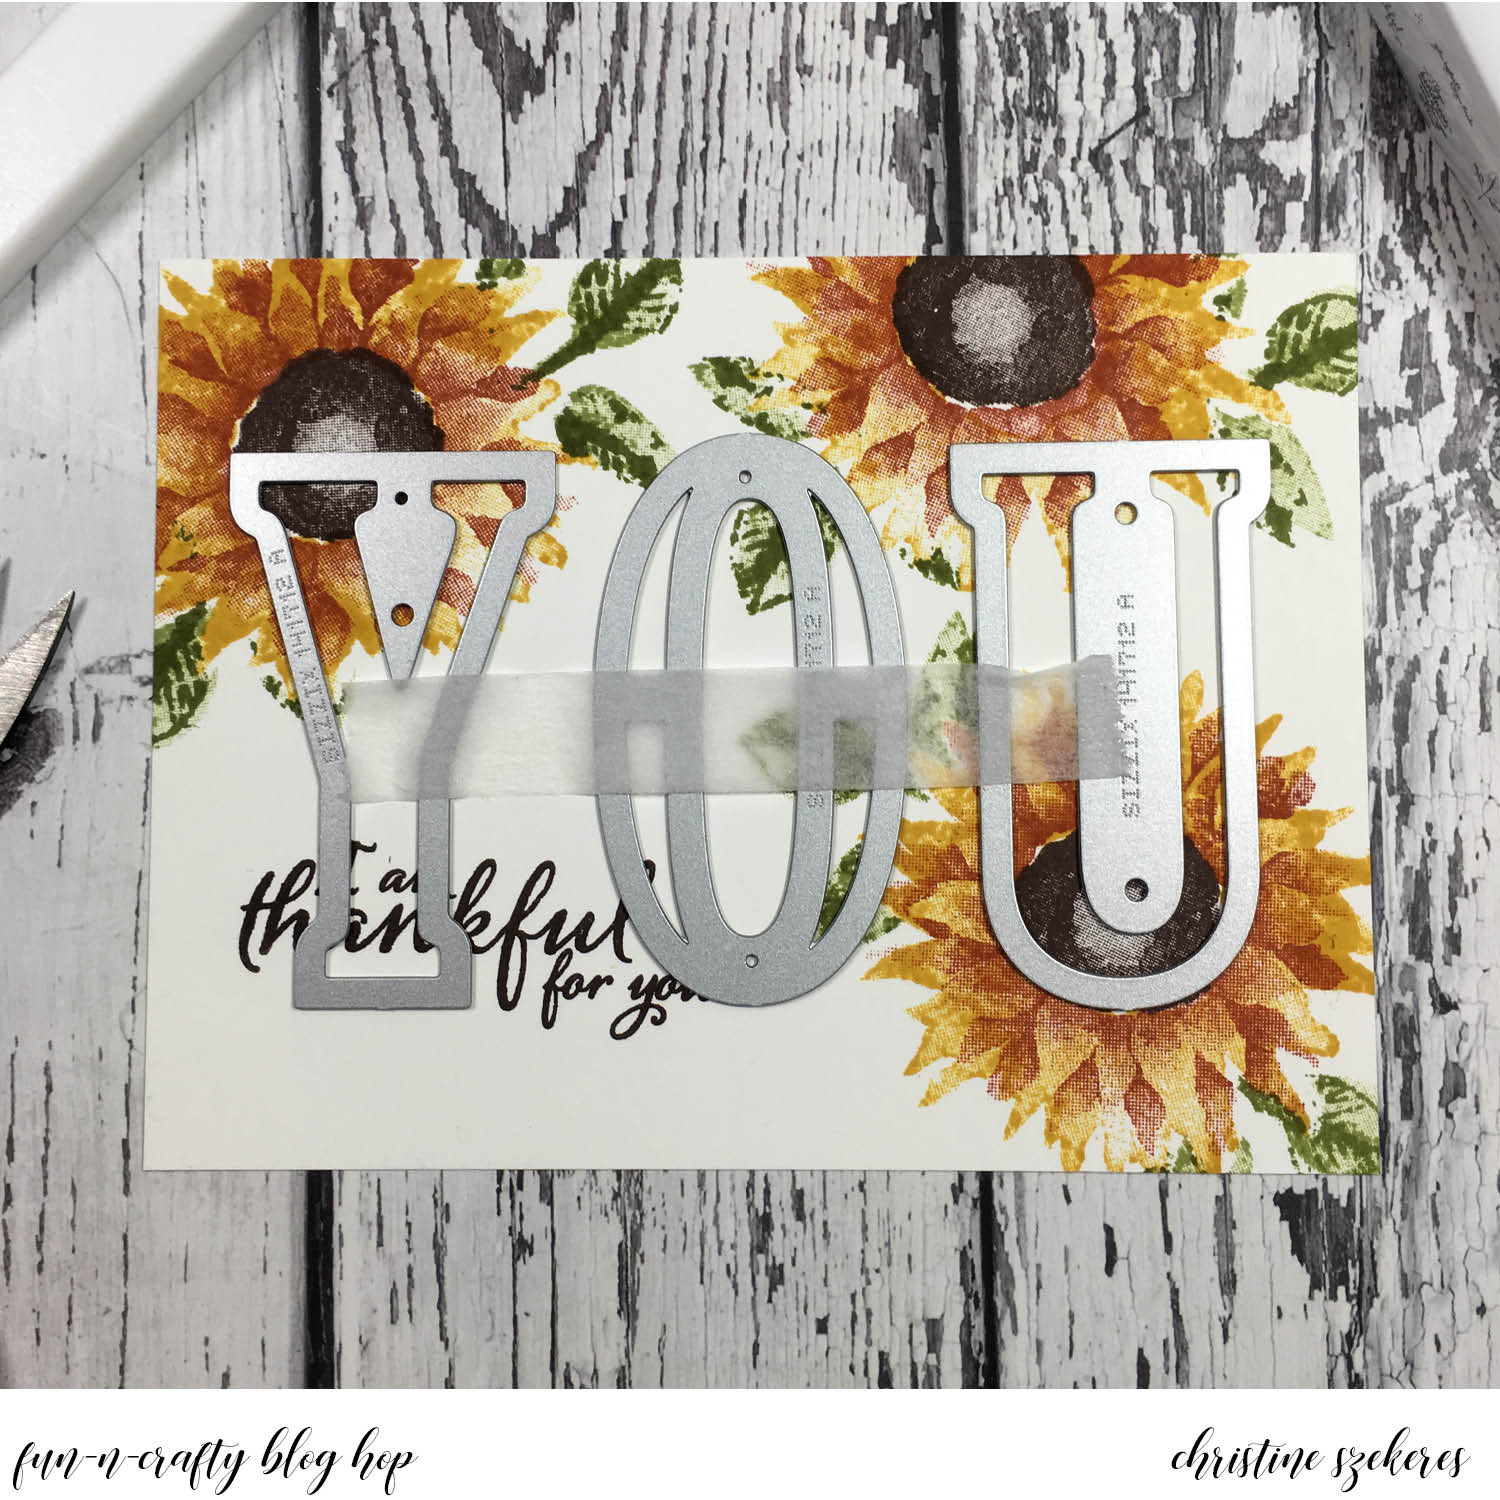
The biggest mistake made with this technique is not having enough water on the block. HINT: You know your block is wet enough if it freely slides around on the paper. The more you slide it the more the colors will mix, giving some dark and surprising results. When you remove the block the paper will bow and may have puddling water. I usually dry it a bit with my heat tool, tilting the paper as I dry to further mix colors. You can also dab it with a dry paper towel to remove puddles of water. As with the other technique I get it nearly dry and then put something heavy on top of it to flatten it out. When it’s flat and dry I rub the embossing buddy over it before I stamp and emboss the images.
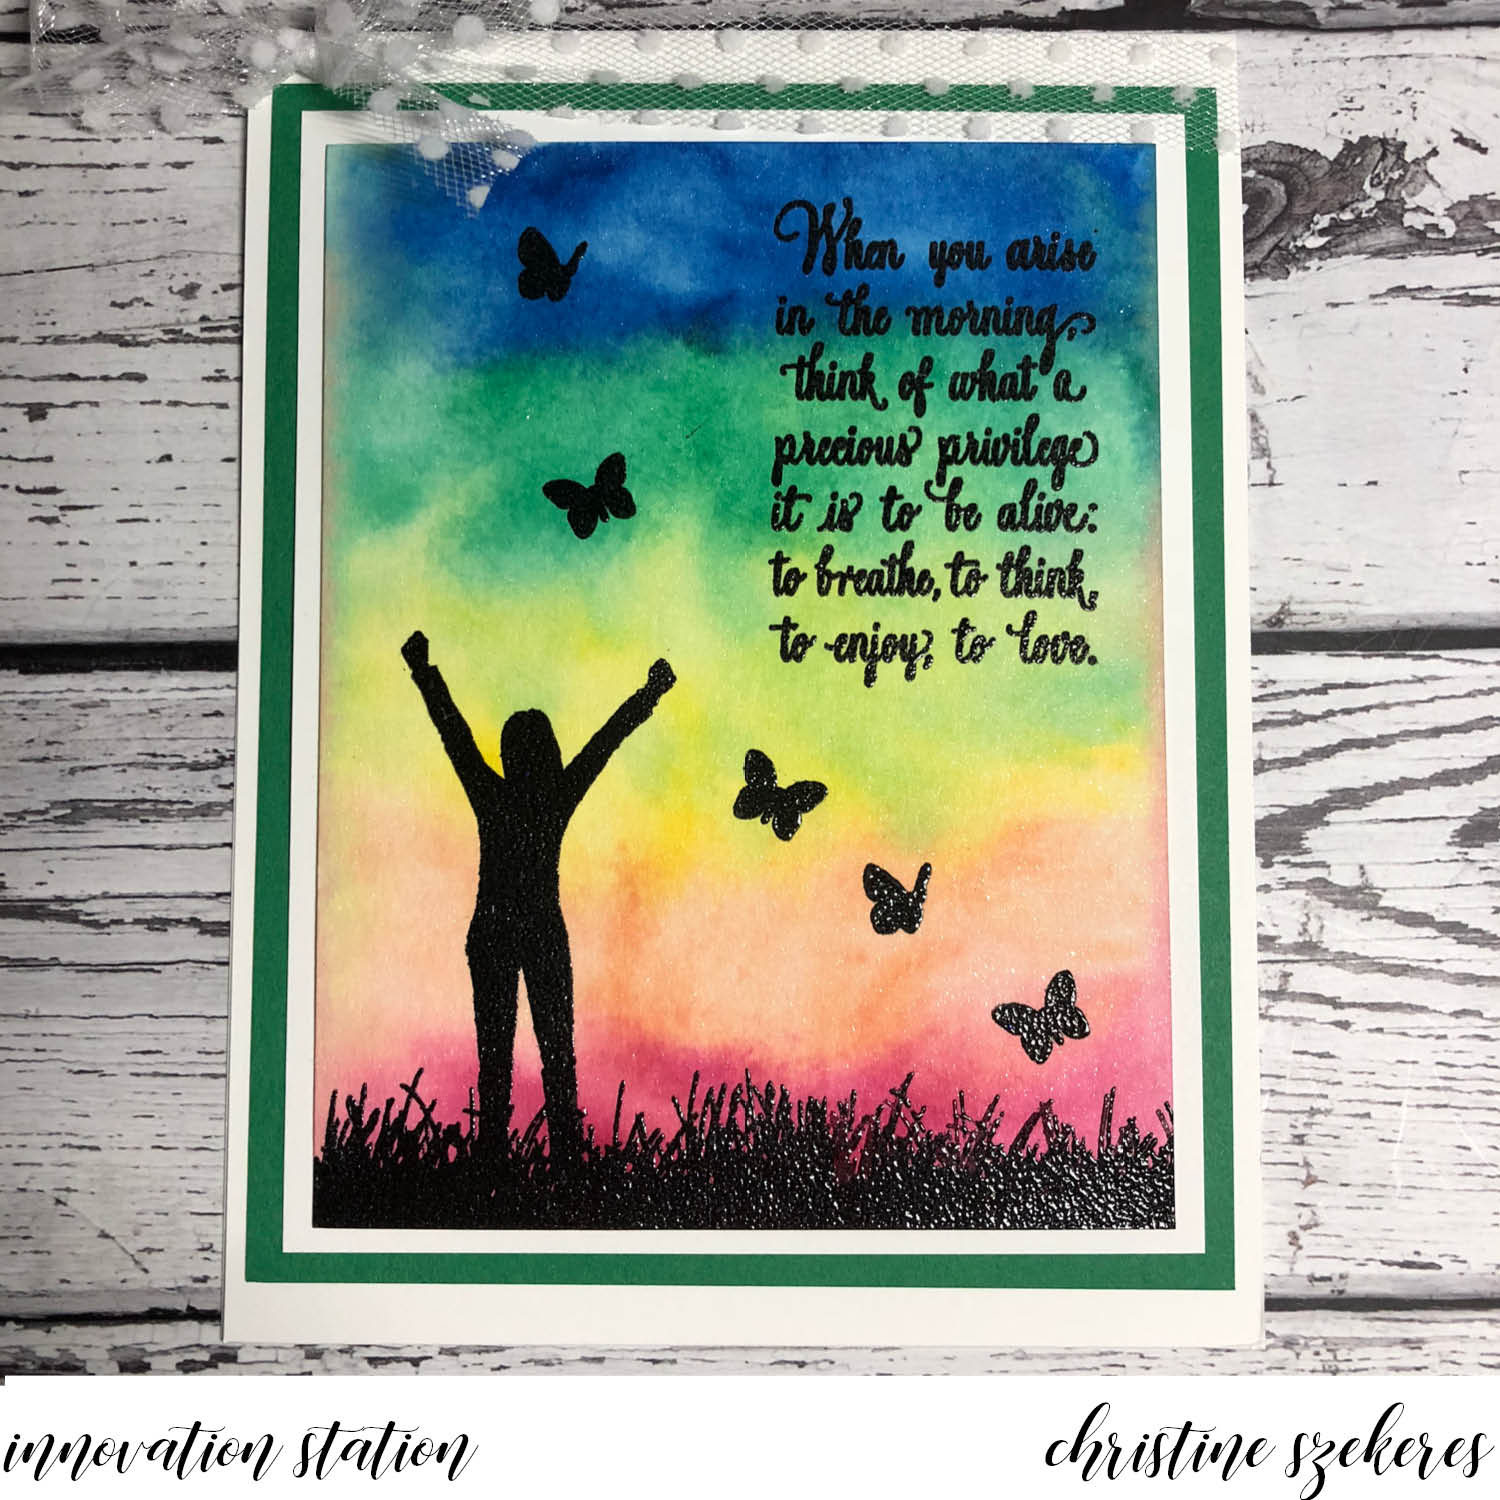
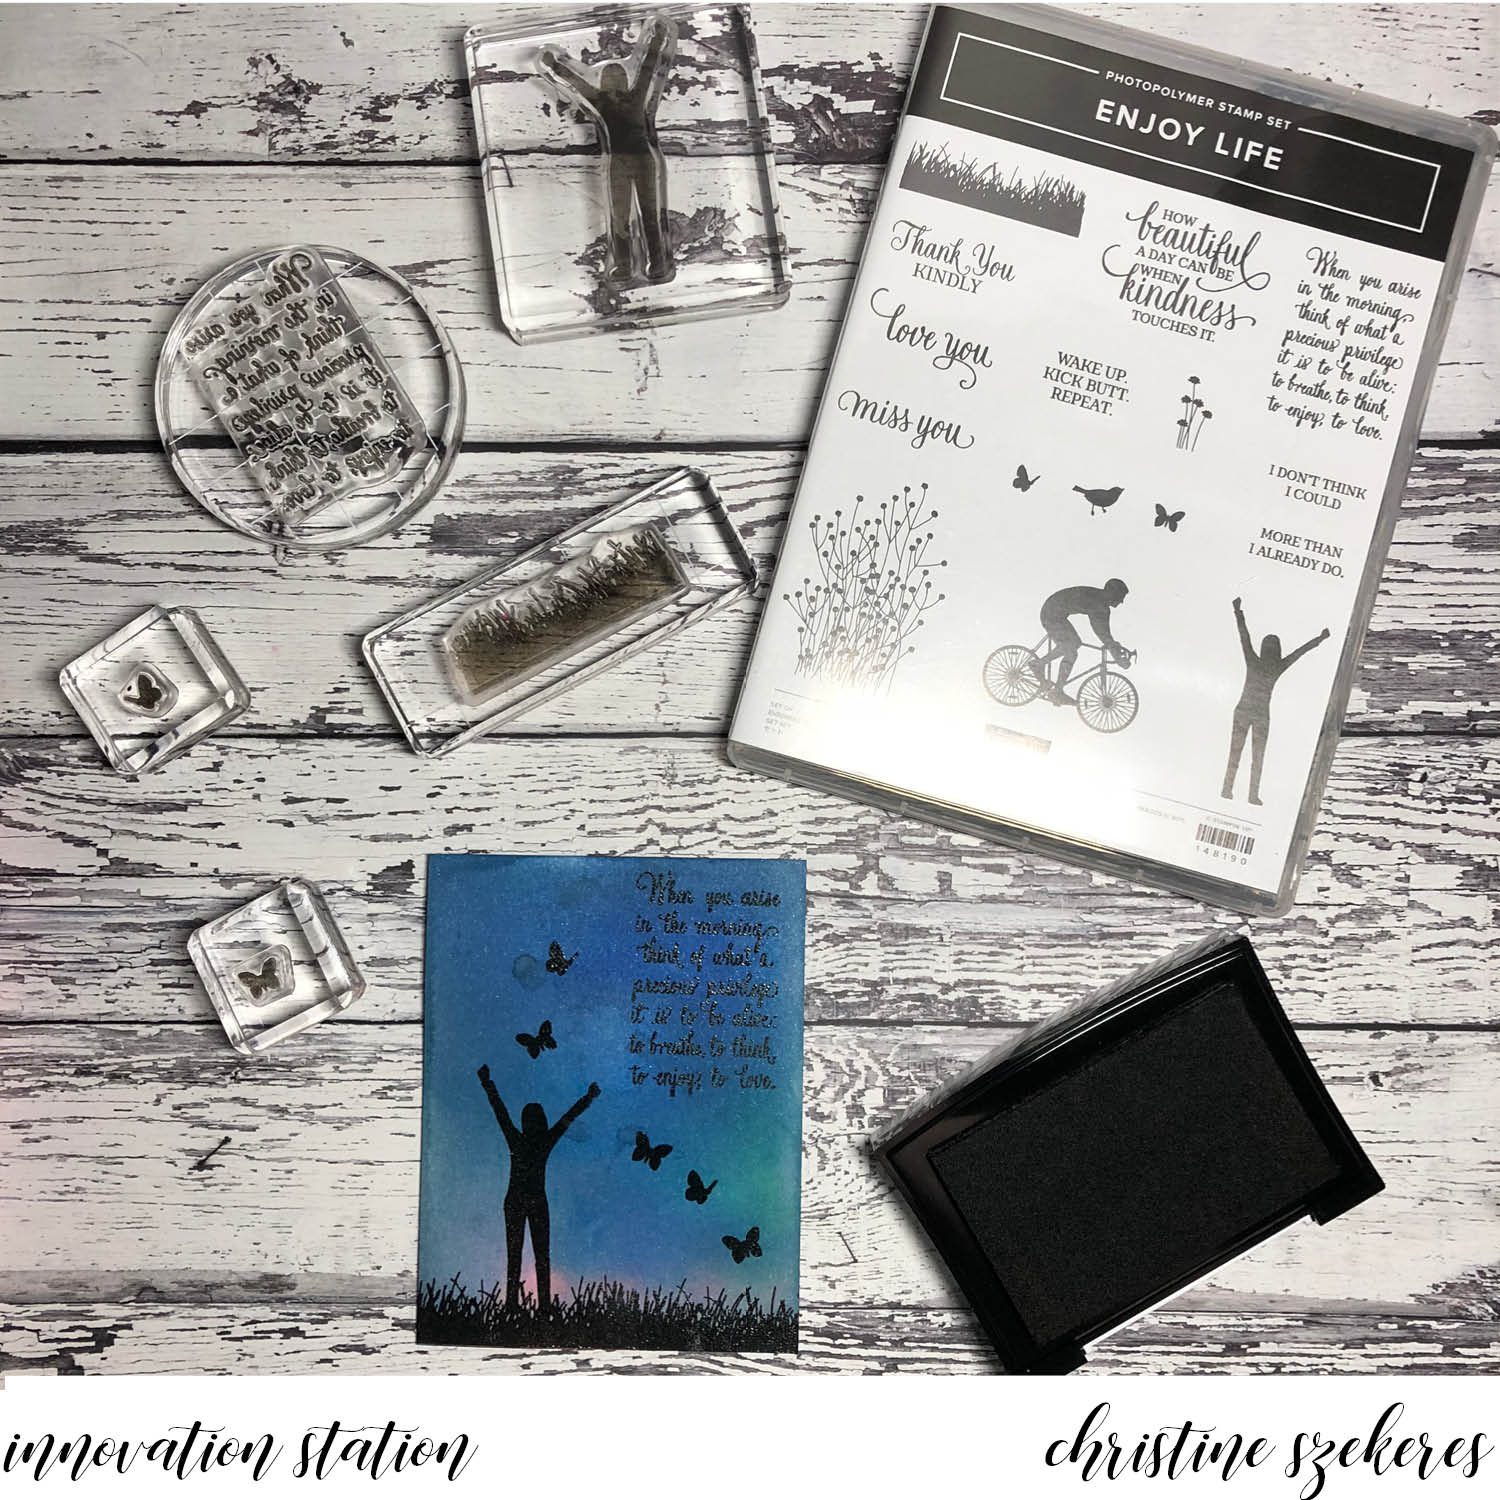
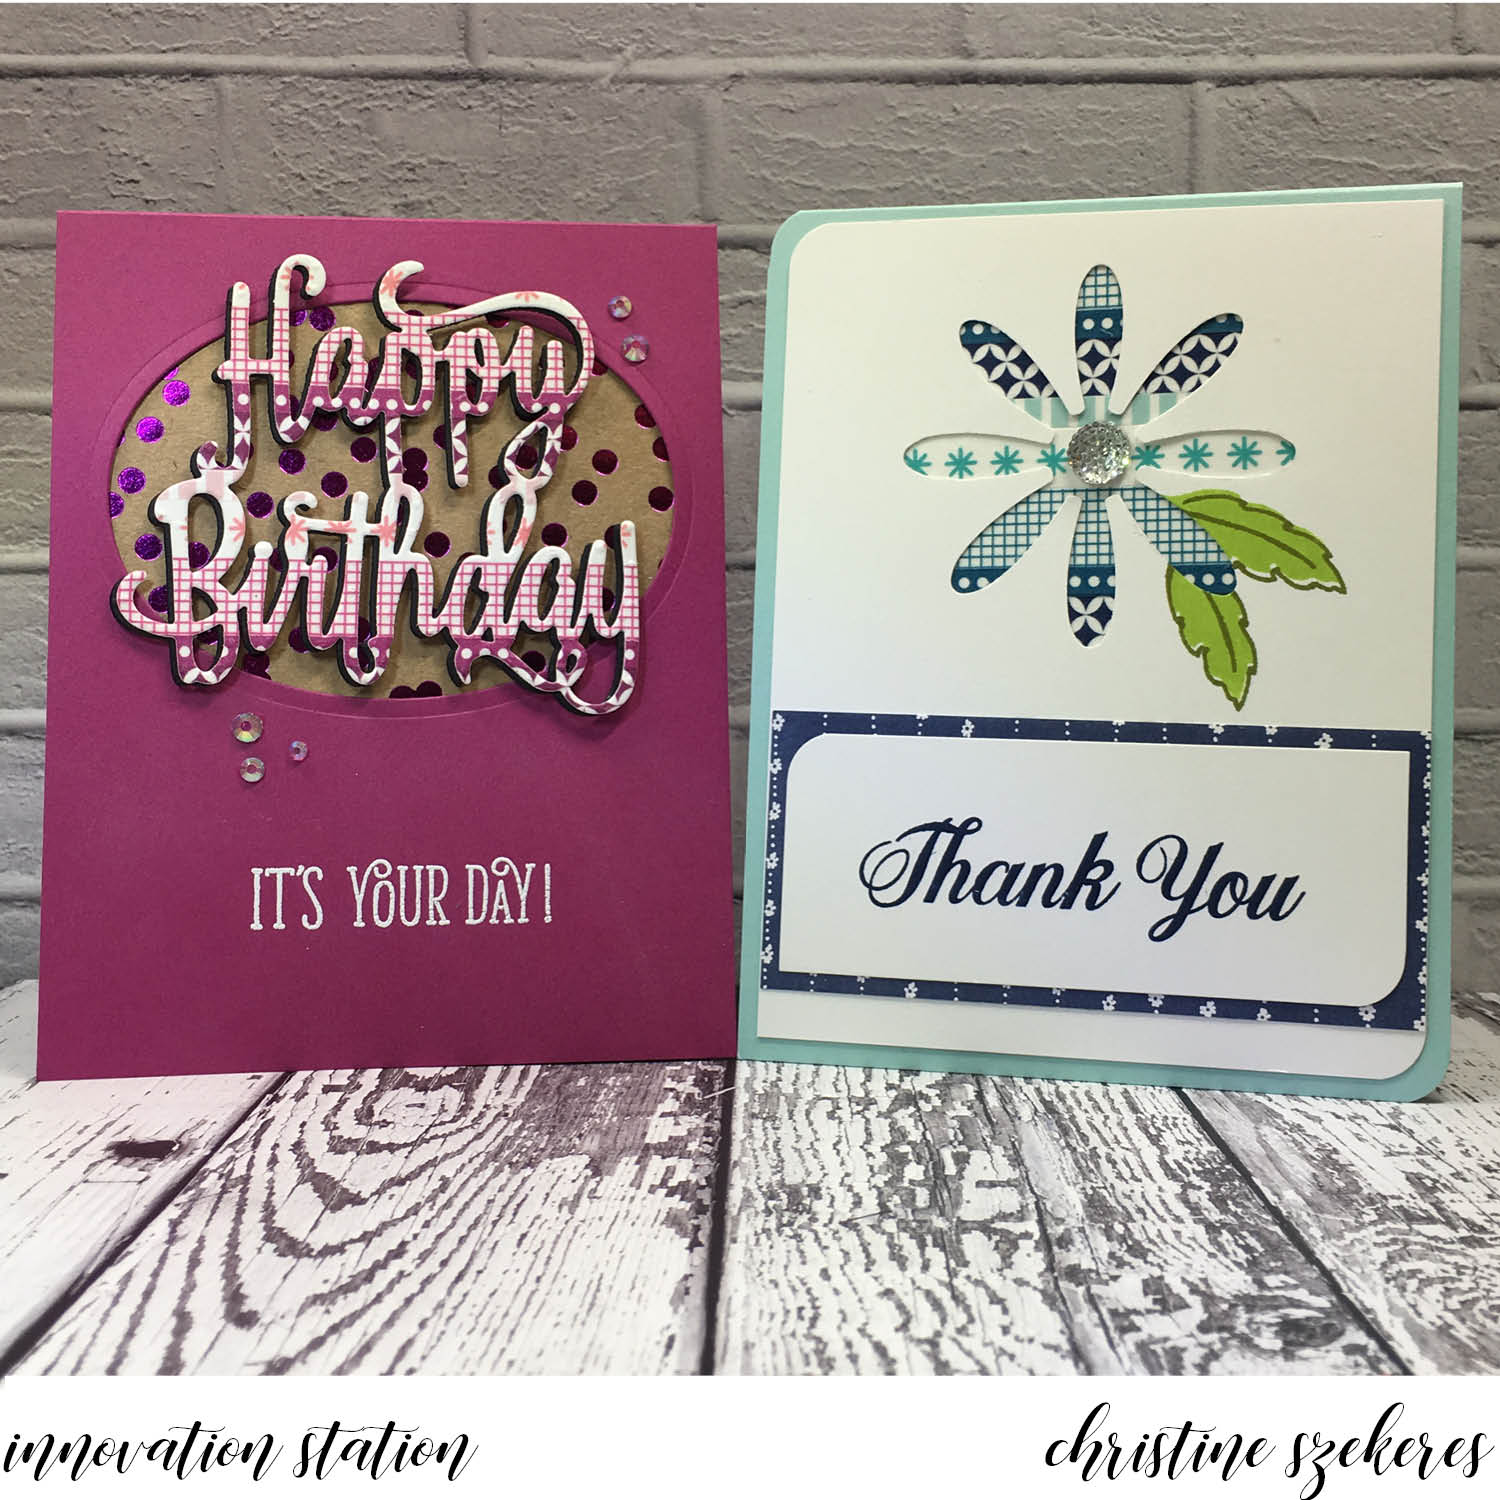
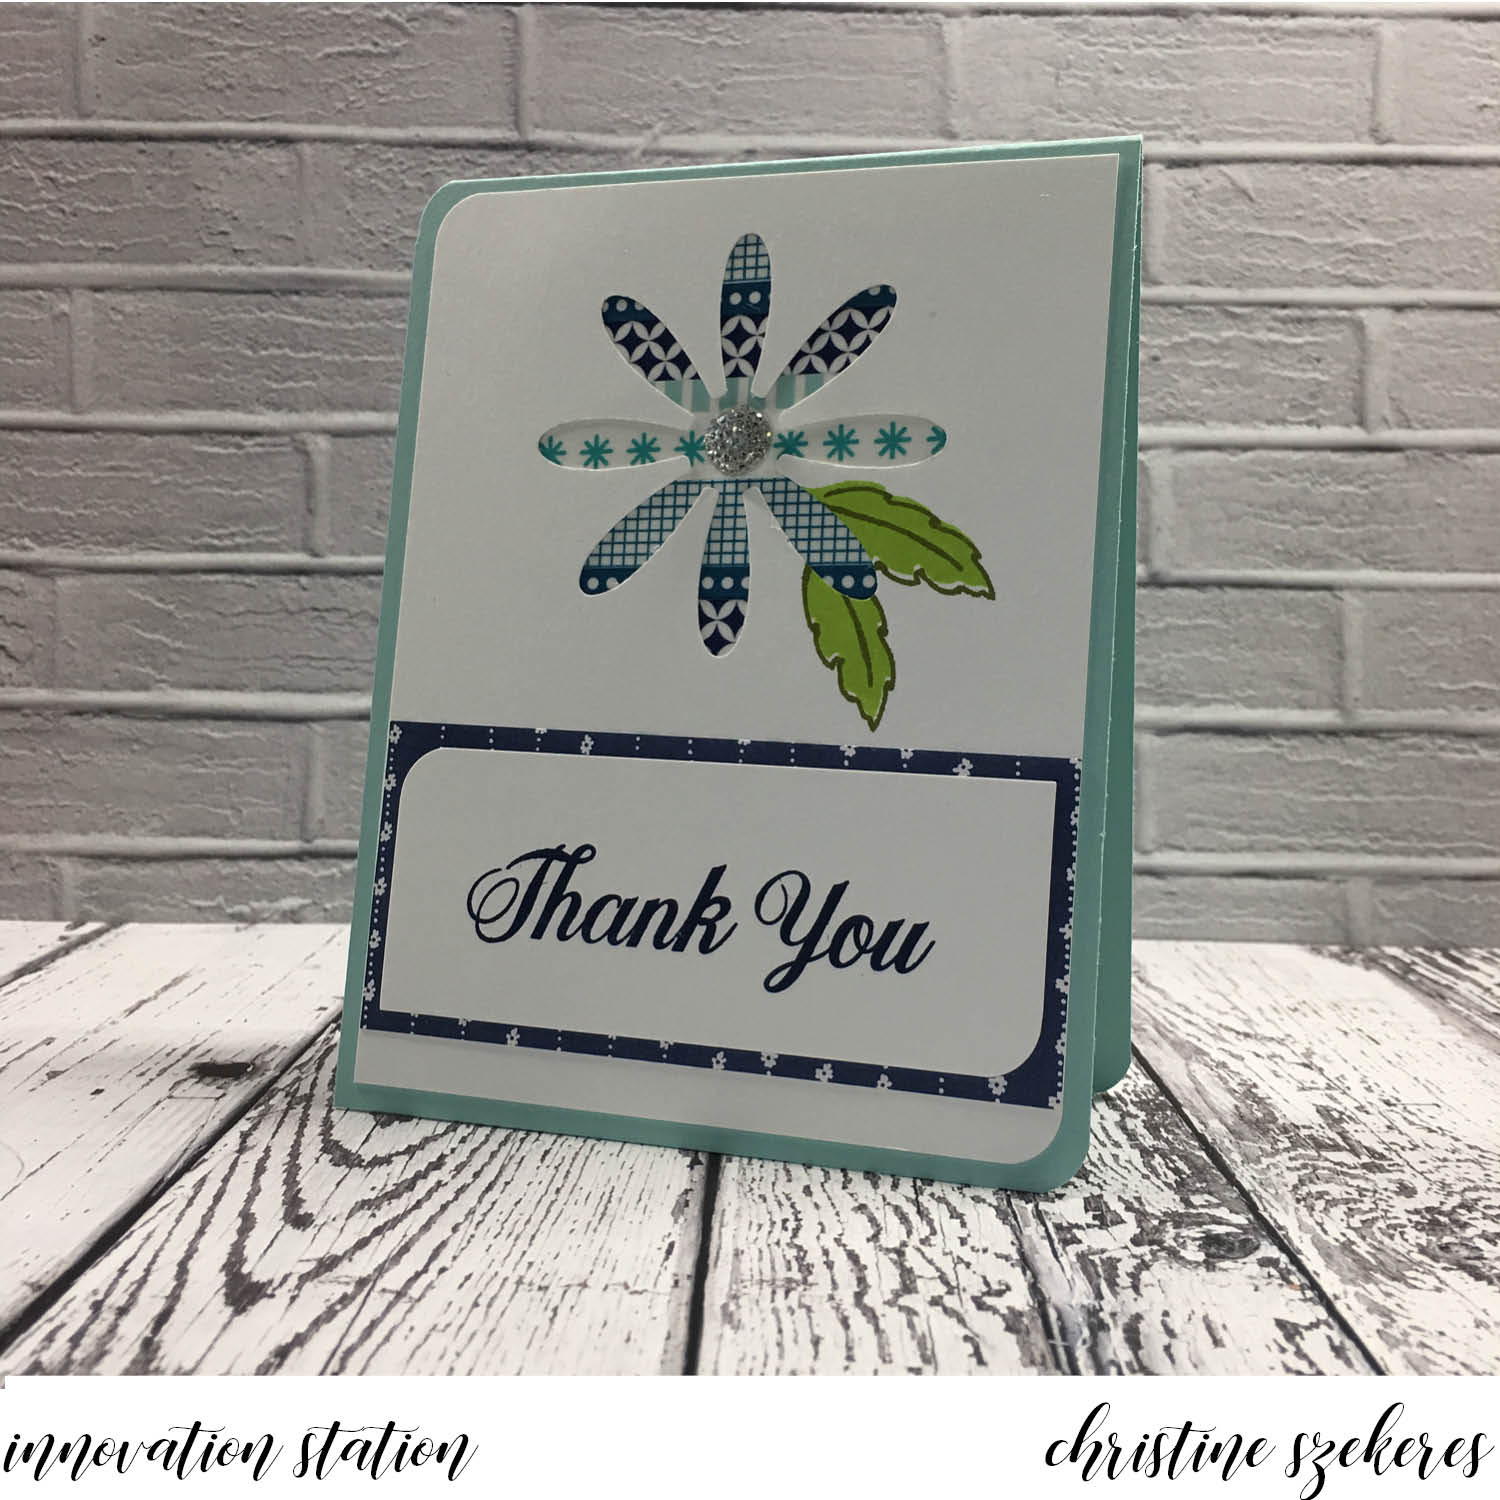
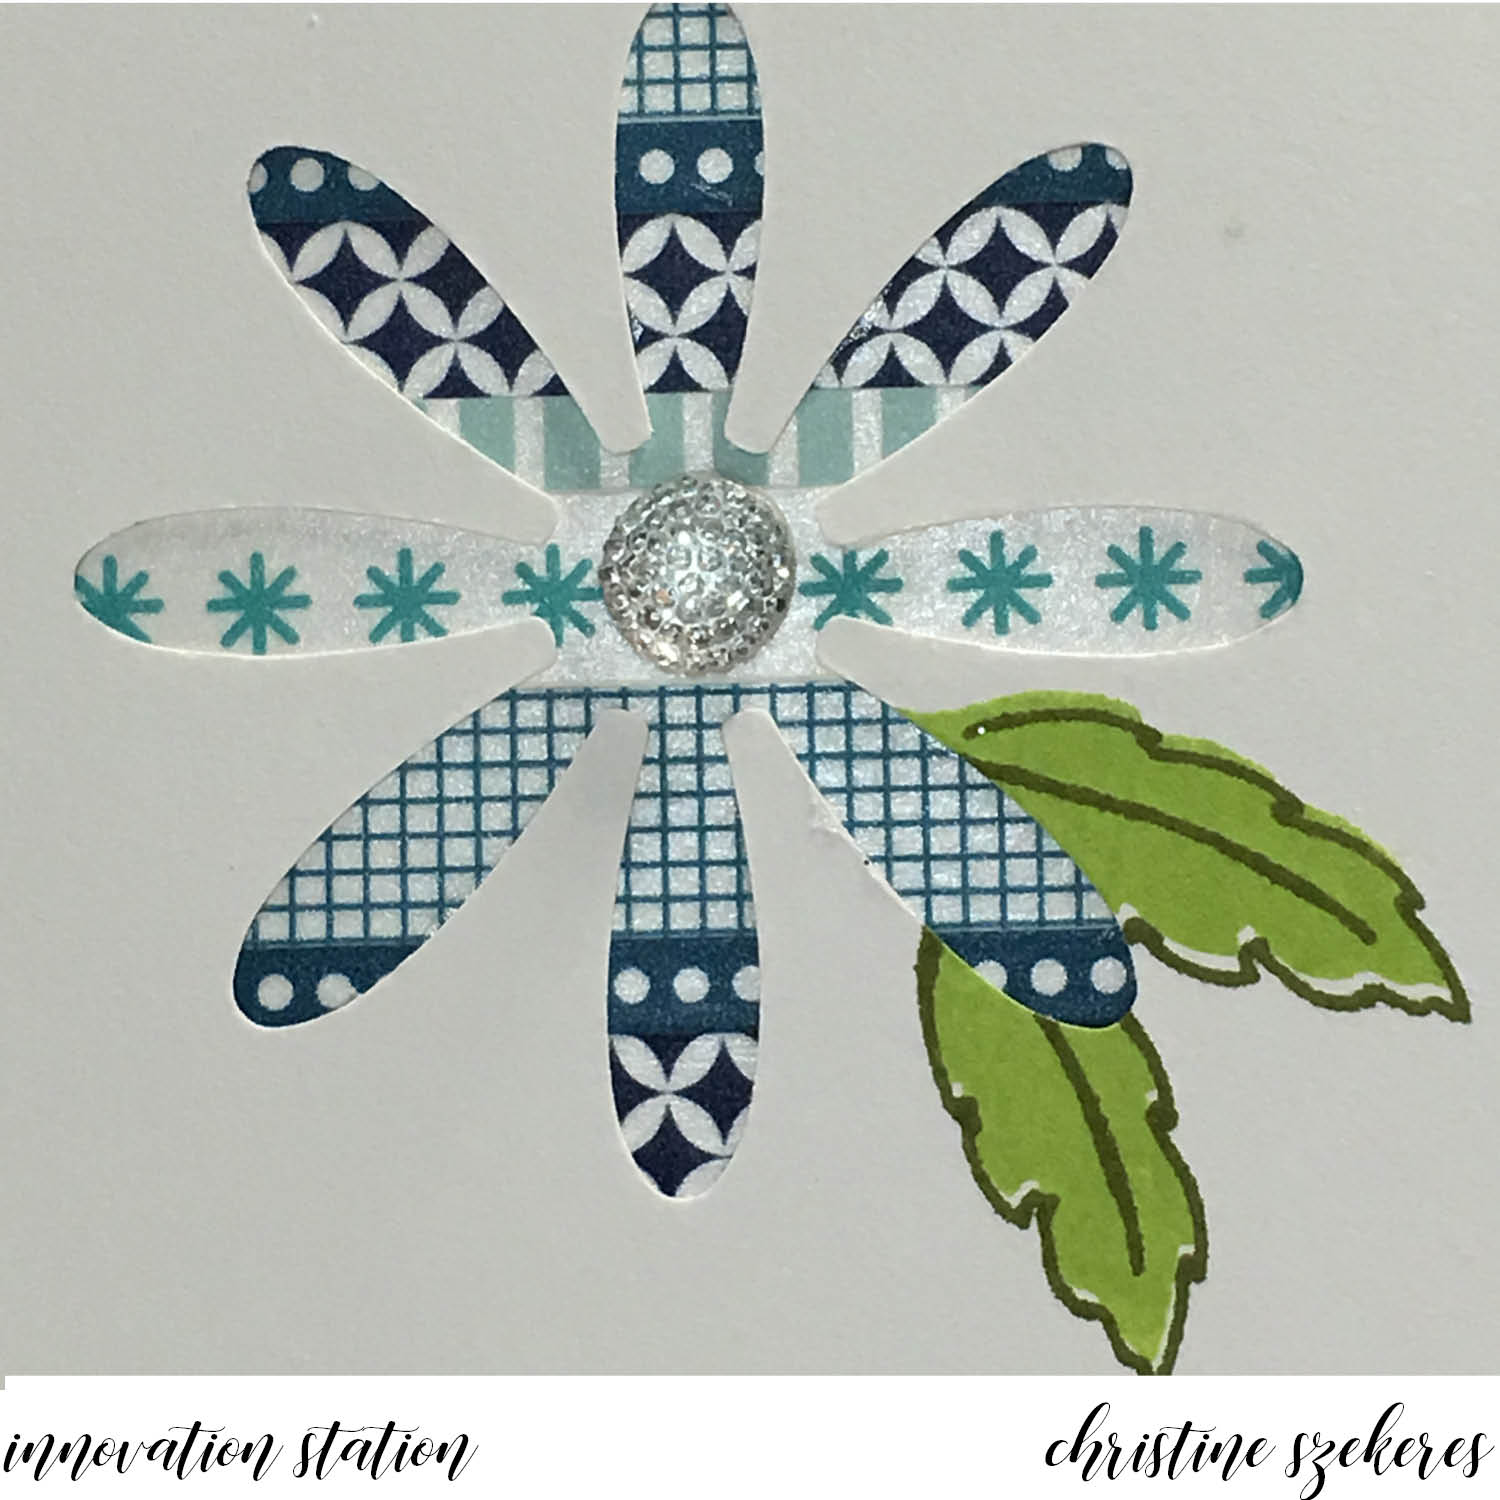
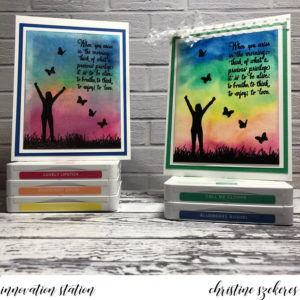
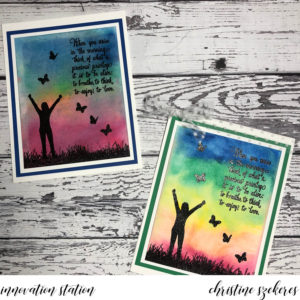
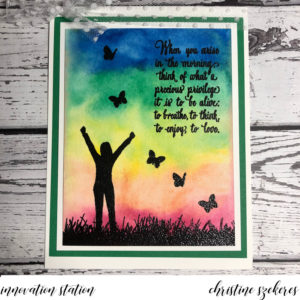
The acrylic block cards are encouragement cards for some friends who are in their busy season. I have wanted to use the new Enjoy Life stamp set for encouragement cards since I saw it and I love how the woman and the butterflies seem to dance across the panel. Inside I stamped the “Wake up. Kick Butt. Repeat.” sentiment, which is the perfect encouragement for the girls at camp.
Thanks for hanging out with me, and learning (or relearning) a fun innovation! Join me next month for another of my go to innovations, shaker cards. Until next time, remember, creativity and imperfection live together in all we do. “Grace is the face love wears when it meets imperfection.”
~xoxo

Supplies Used:
Enjoy Life Stamp Set
Markers & Inks: 2018 – 19 In Color
Card Stock: Whisper White, Shimmer, Blueberry Bushel, & Call Me Clover
Acrylic Block, Heat Tool, Embossing Buddy, Versamark Ink, Black Embossing Powder,
Aqua Painter, Spritz Bottle, Ziploc Bag